DIY Face Mask
Are you like me and constantly pin things on Pinterest, but rarely try them for yourself? Well, I finally tried a “do-it-yourself” face mask and I think it is easy and great. I’ve made a few adjustments and I hope you will try it.
Here is the original post from Pinterest: http://beautydivaindia.blogspot.com/2010/12/diy-peel-off-mask-blackhead-removal.html
The author promises that this mask will give you glowing skin, remove blackheads, deep cleanse, tighten your skin and pores, and control oiliness.
Let’s get started!
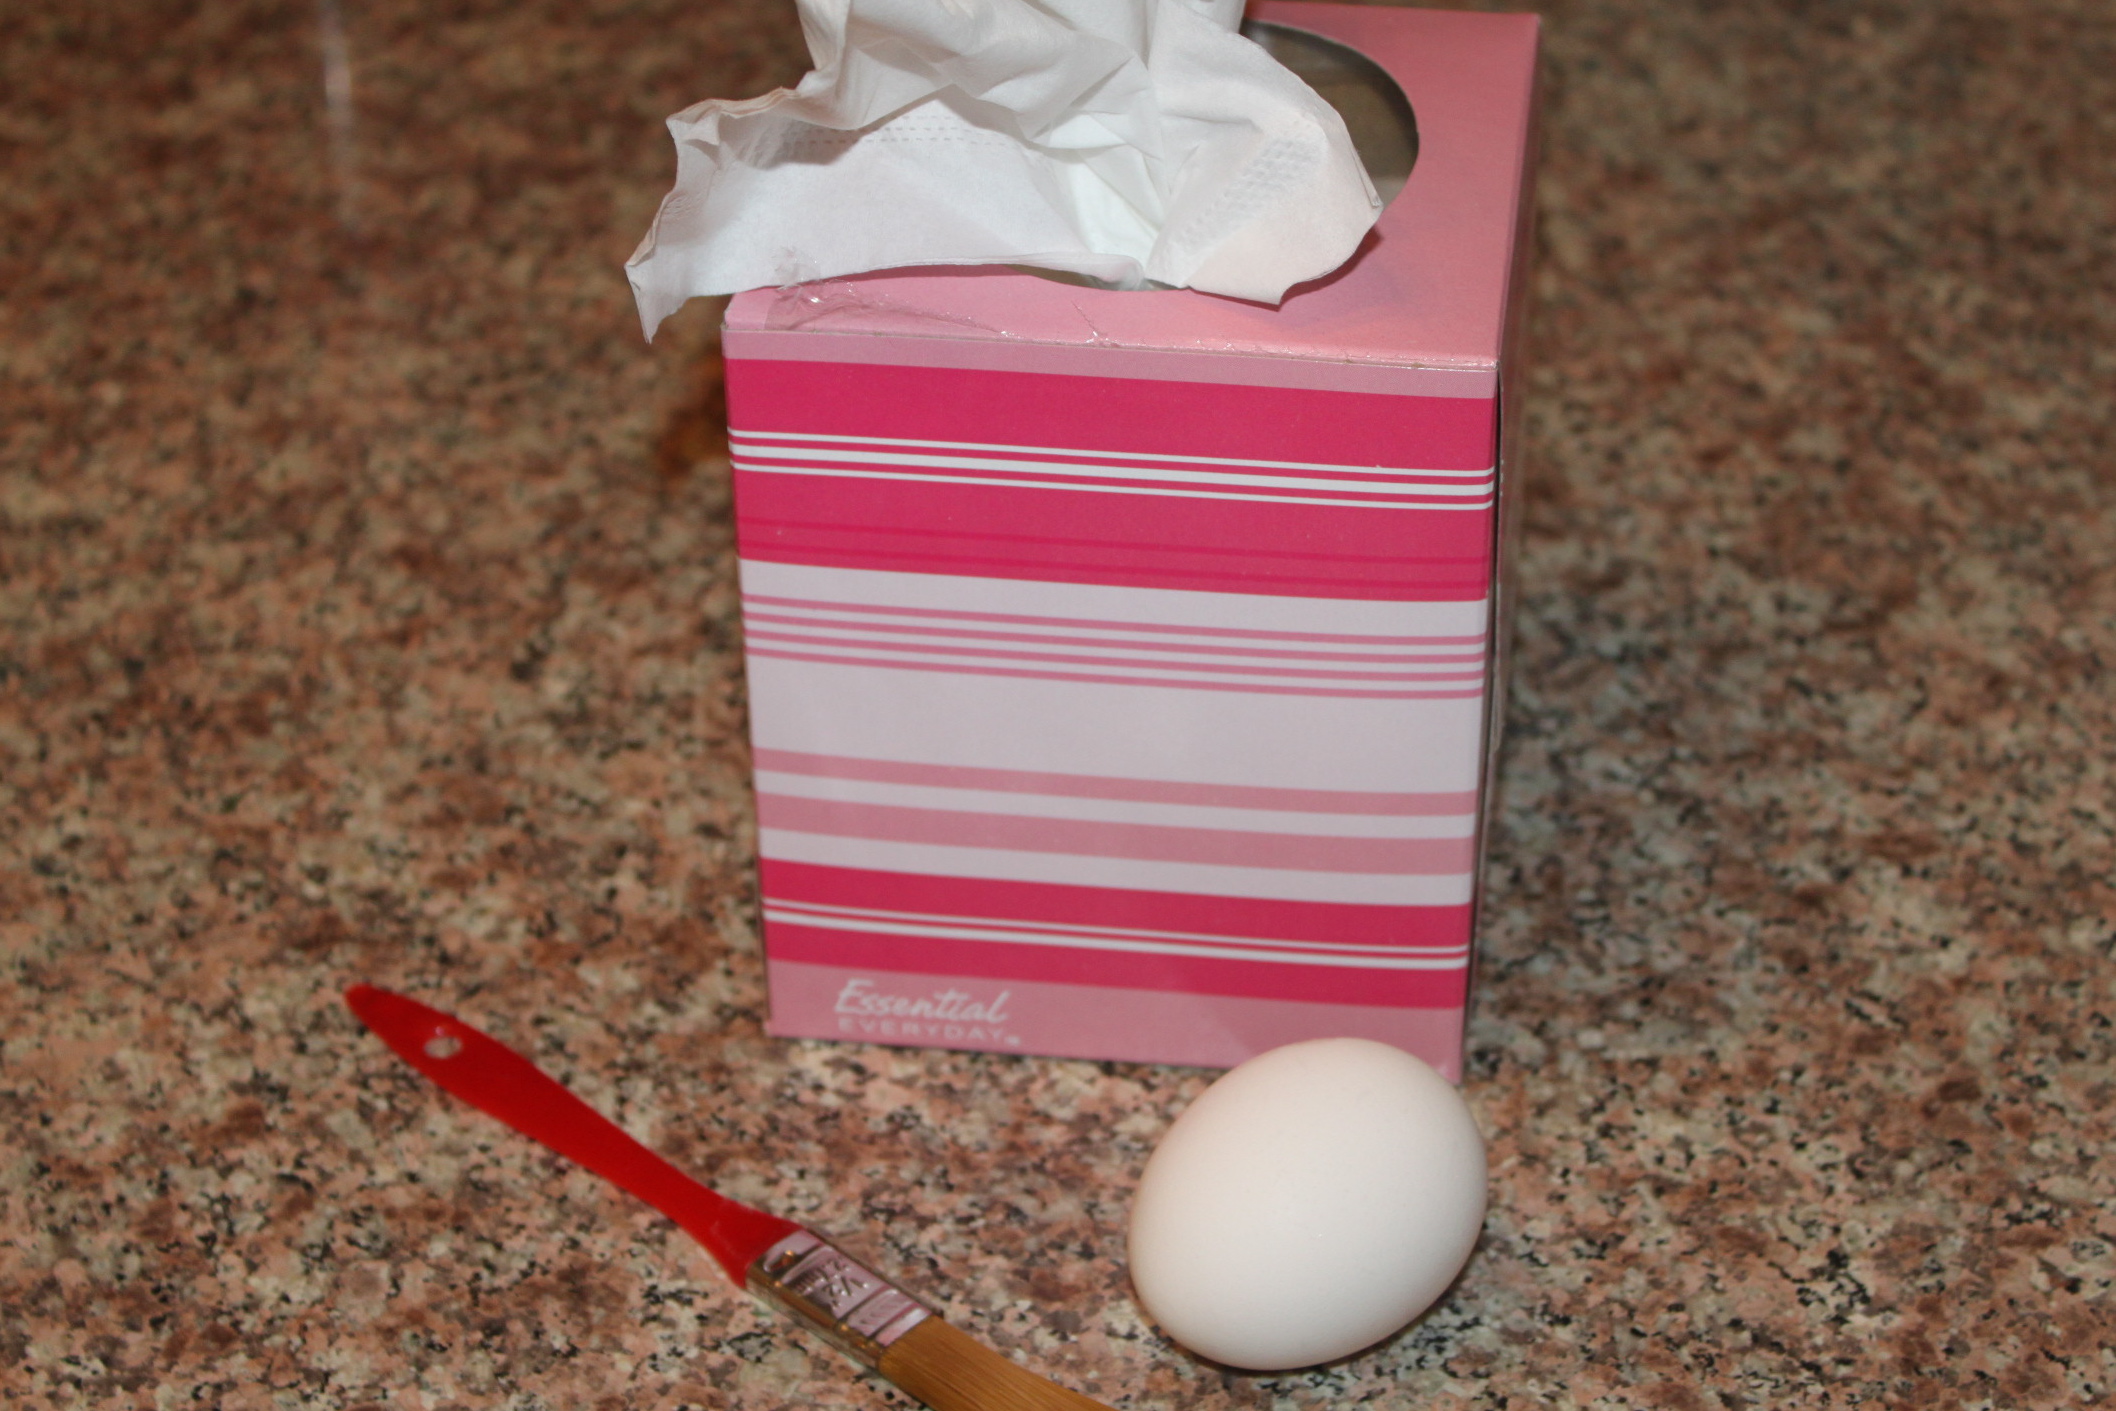
Supplies Needed:
1. A box of tissue
2. A brush (the original post says to use a face pack brush, but I just used a small paint brush)
3. One egg
Making the mask:
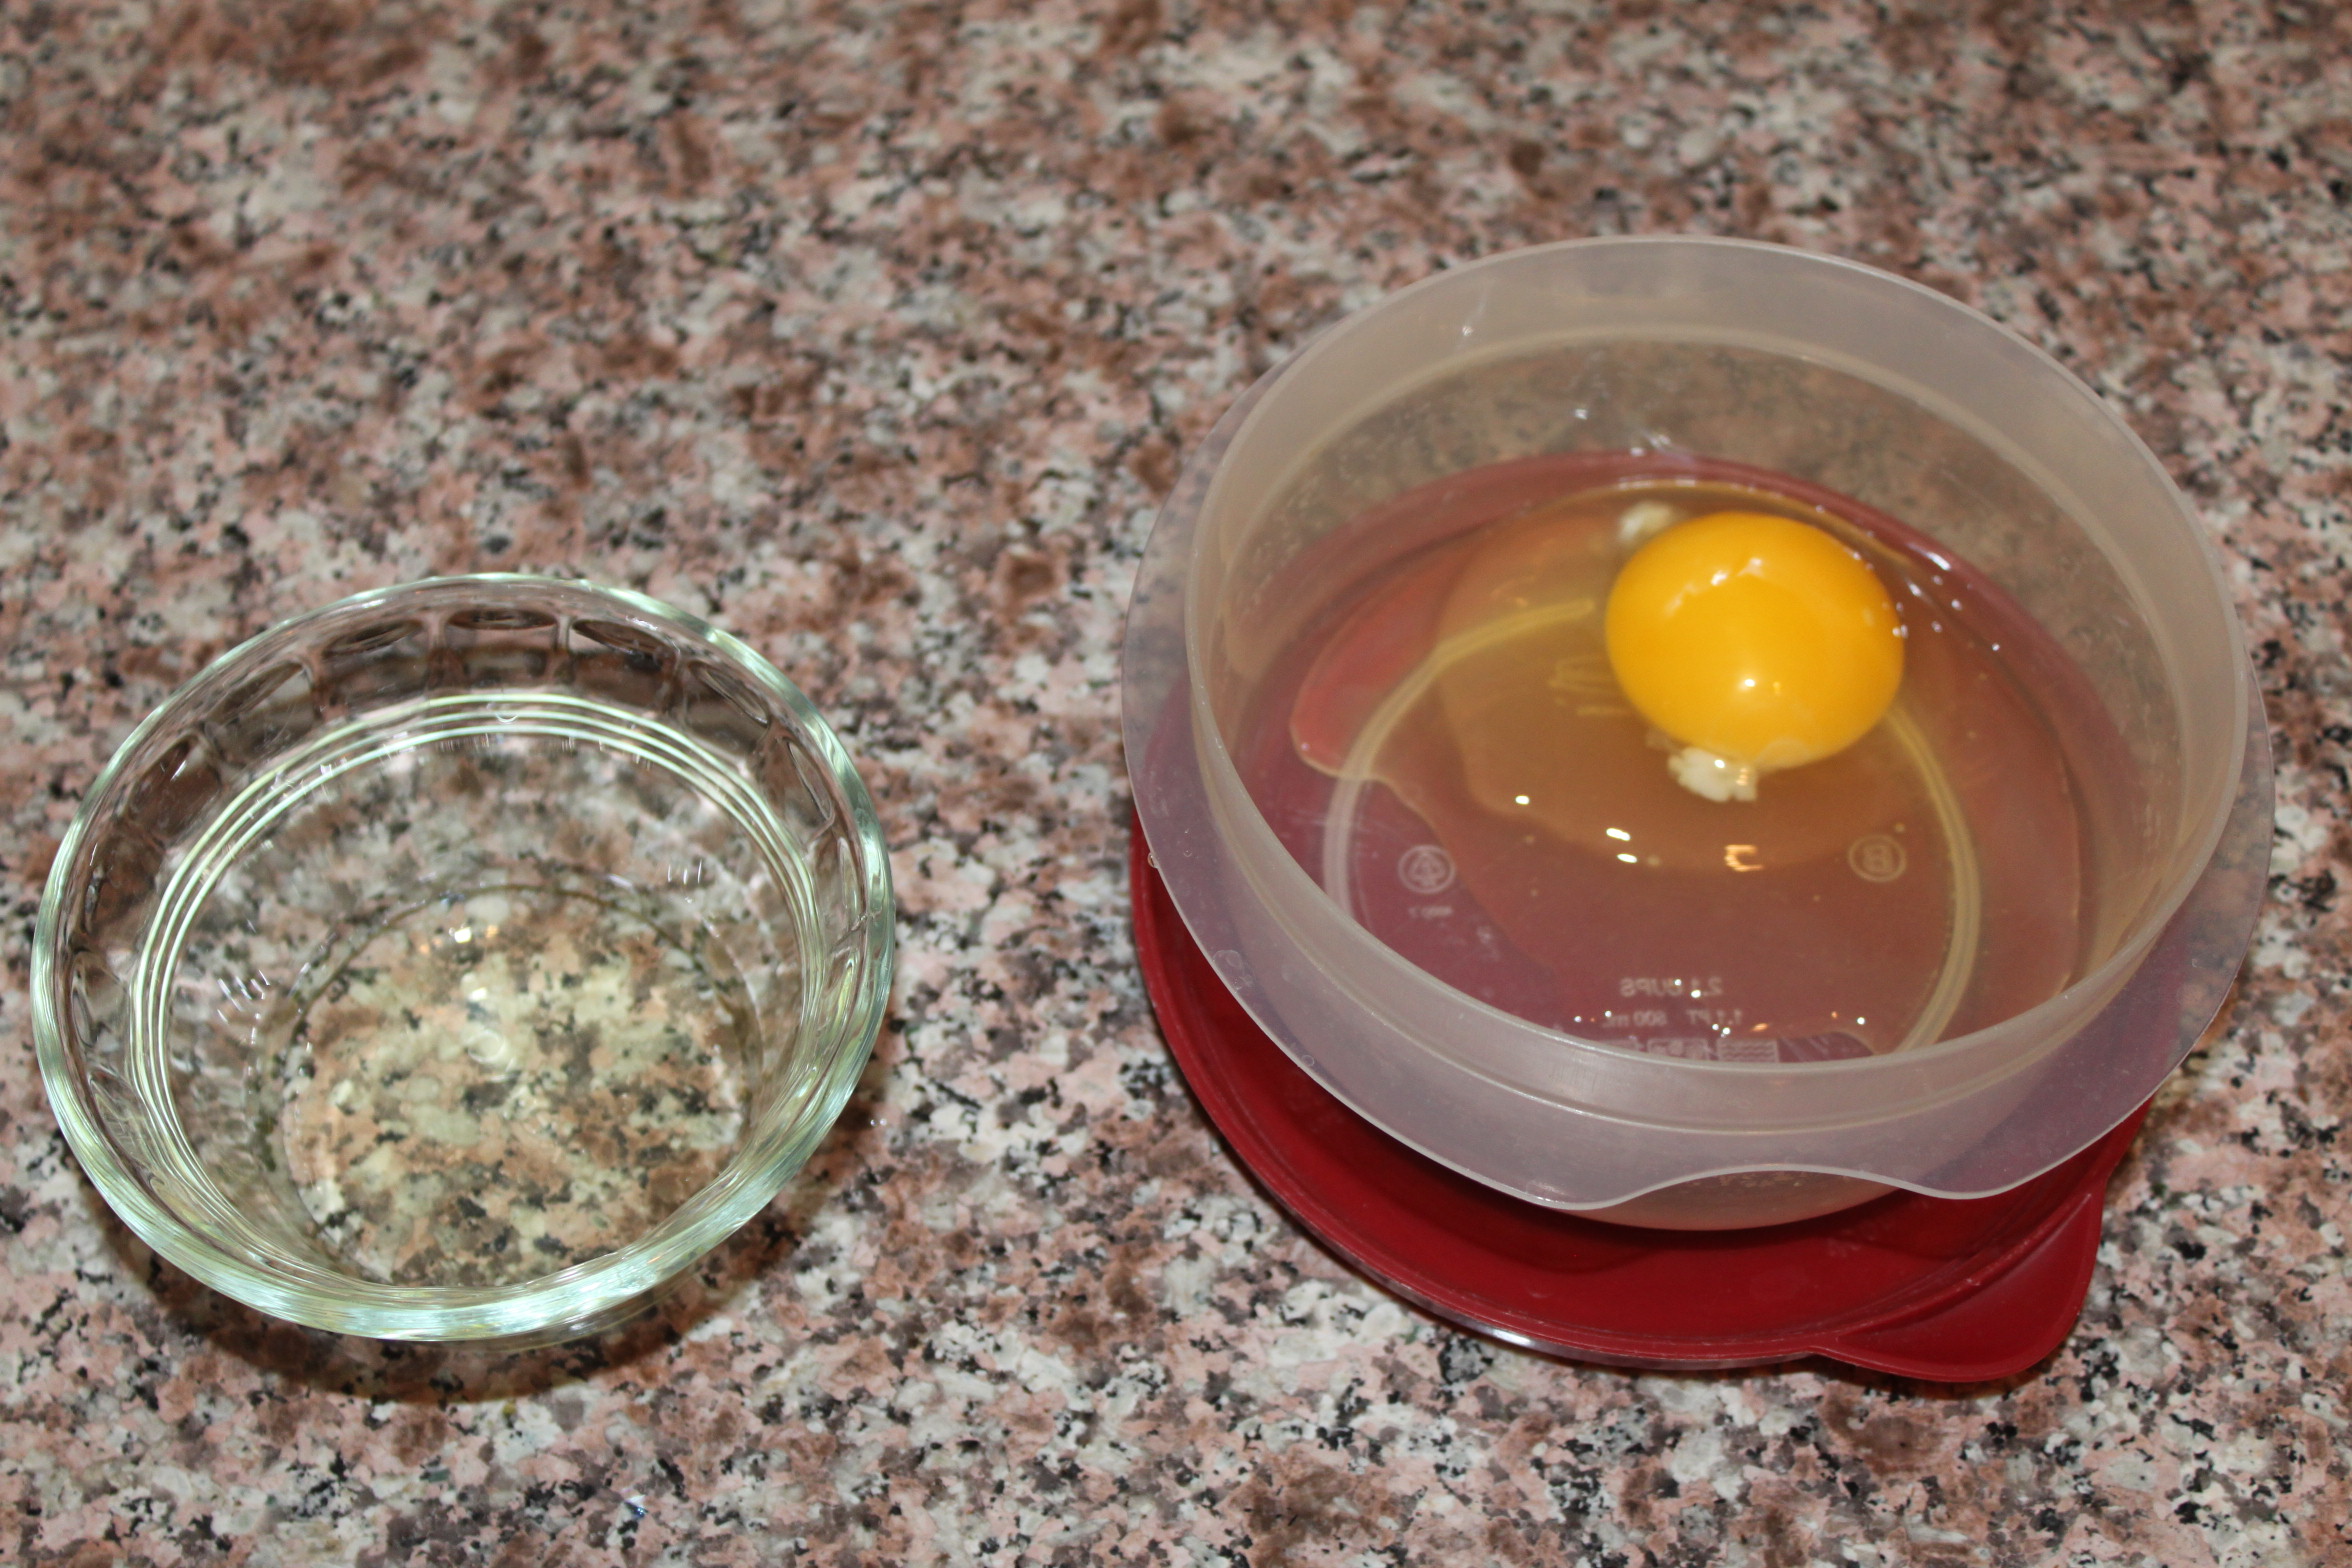
1. Carefully crack the egg and put some of the white in a small bowl. Put the rest of the egg in a container and save in the refrigerator to use in baking. You only need about 2 TBS.
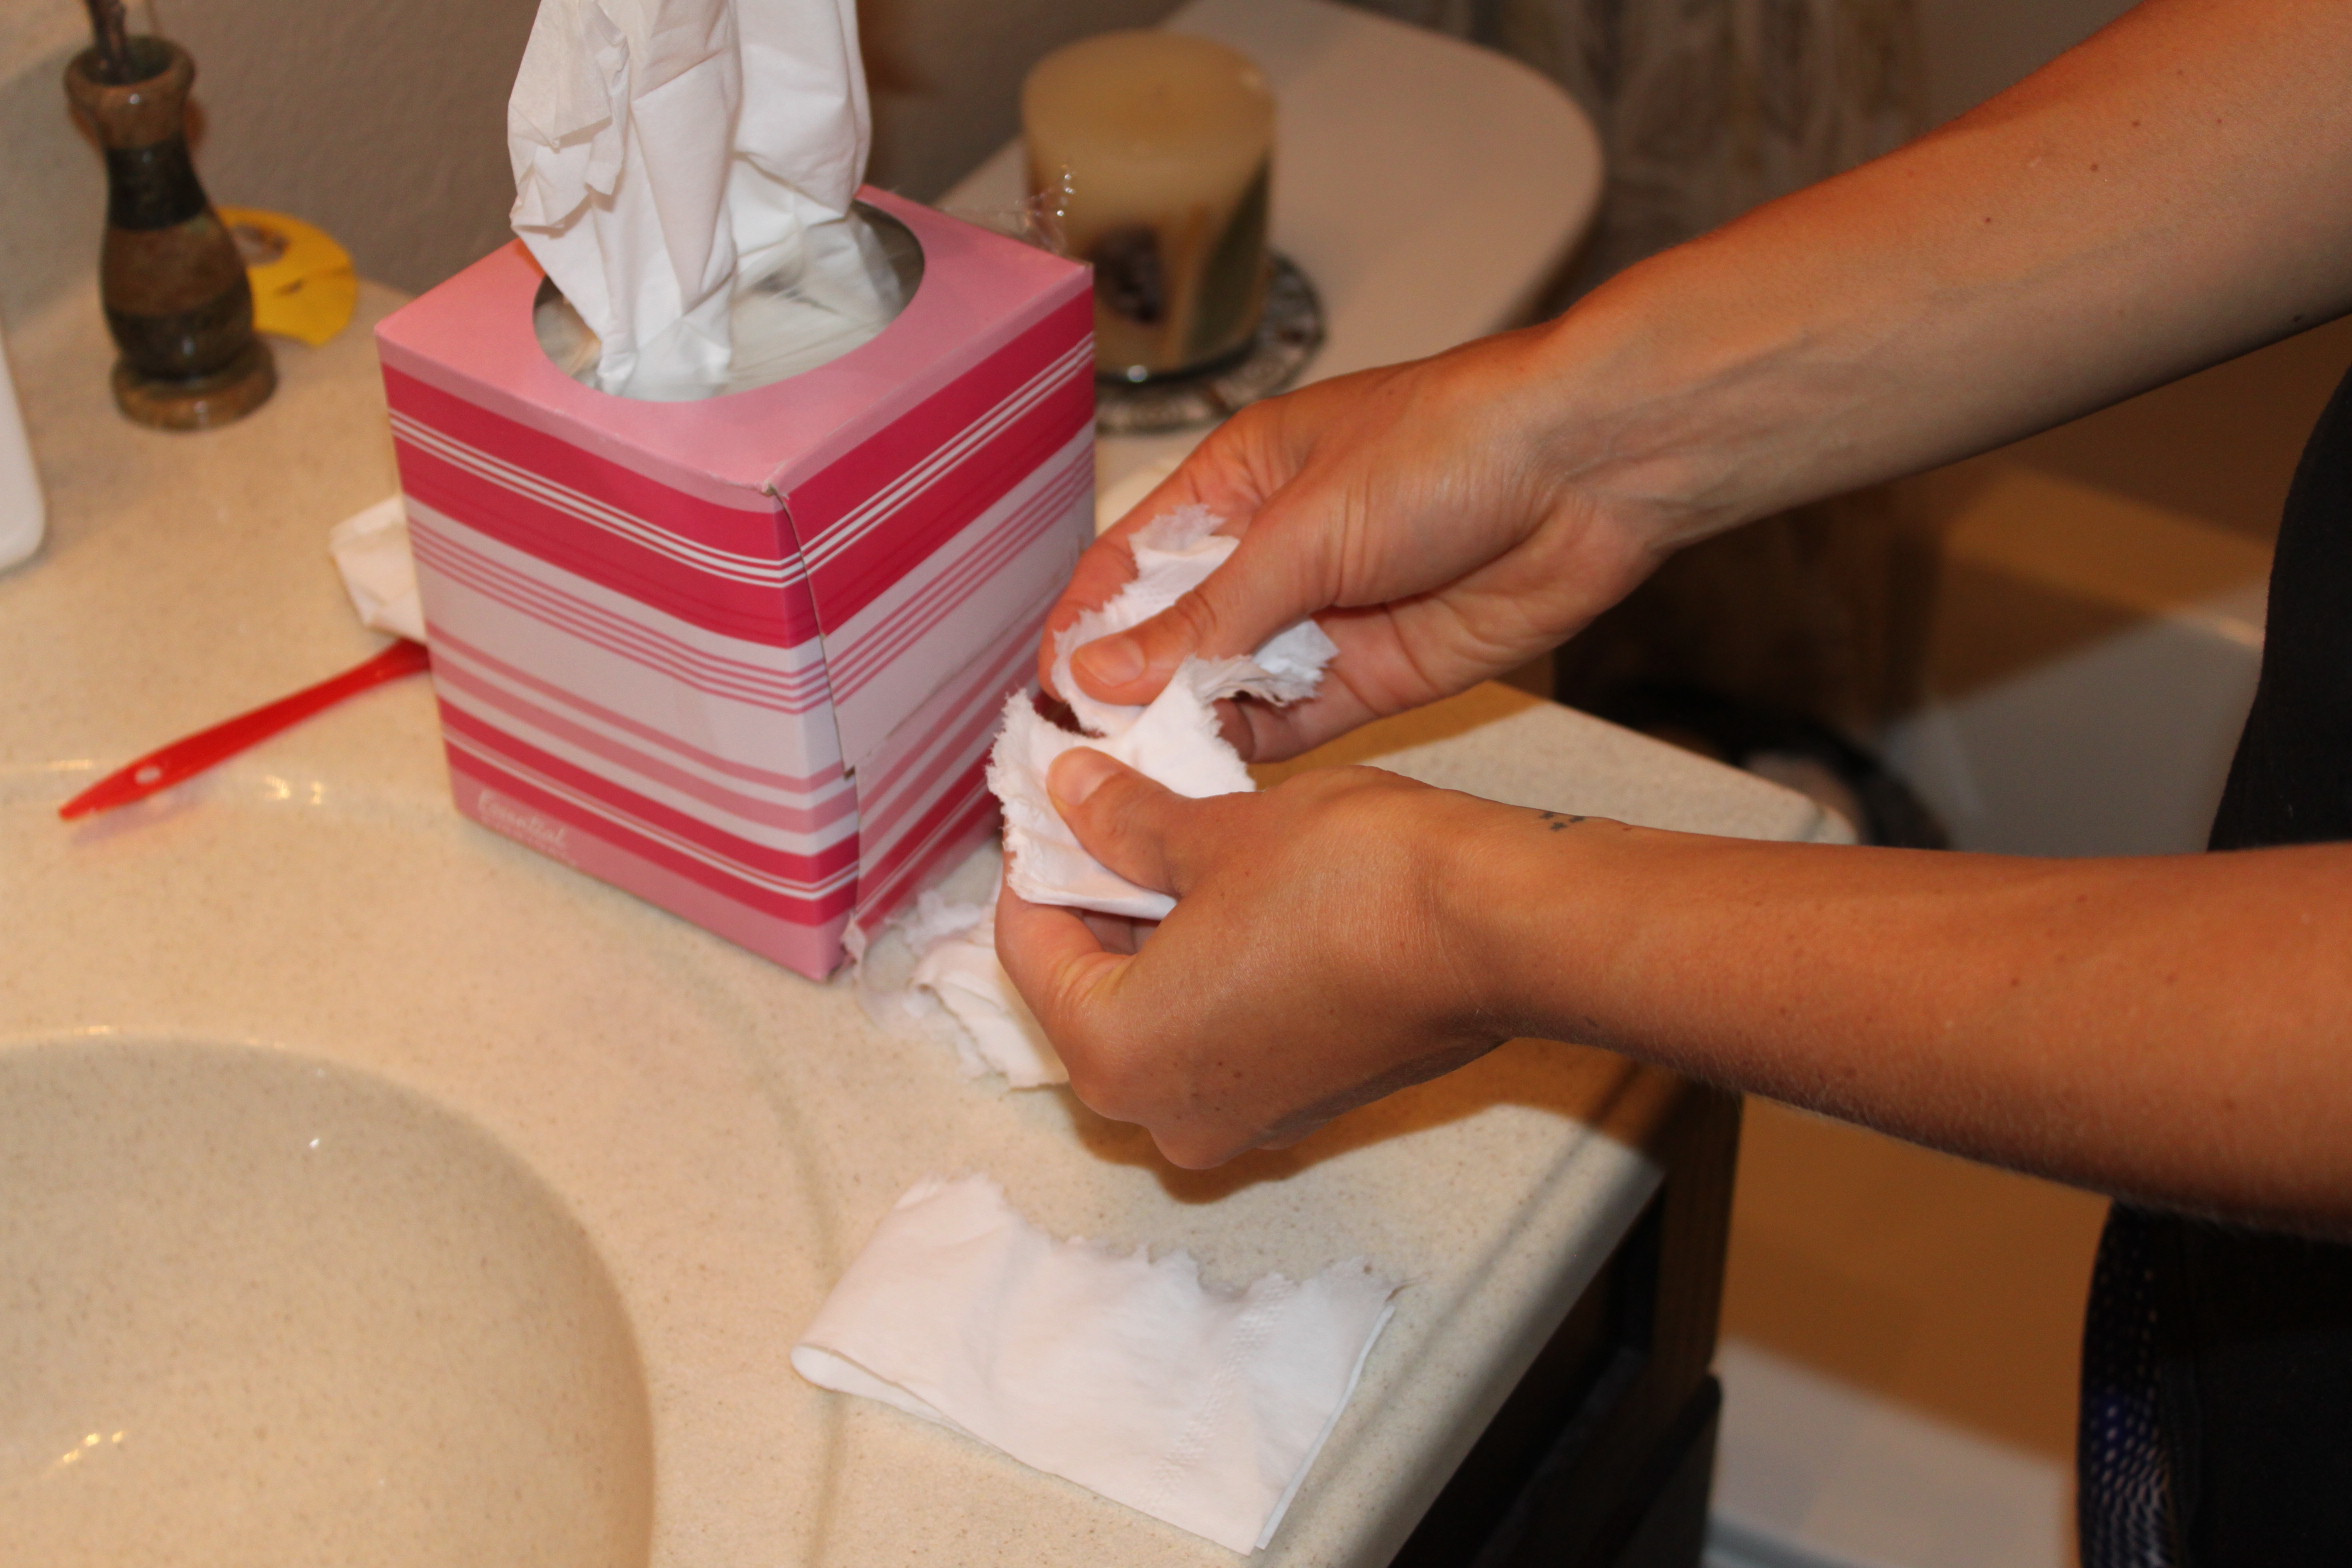
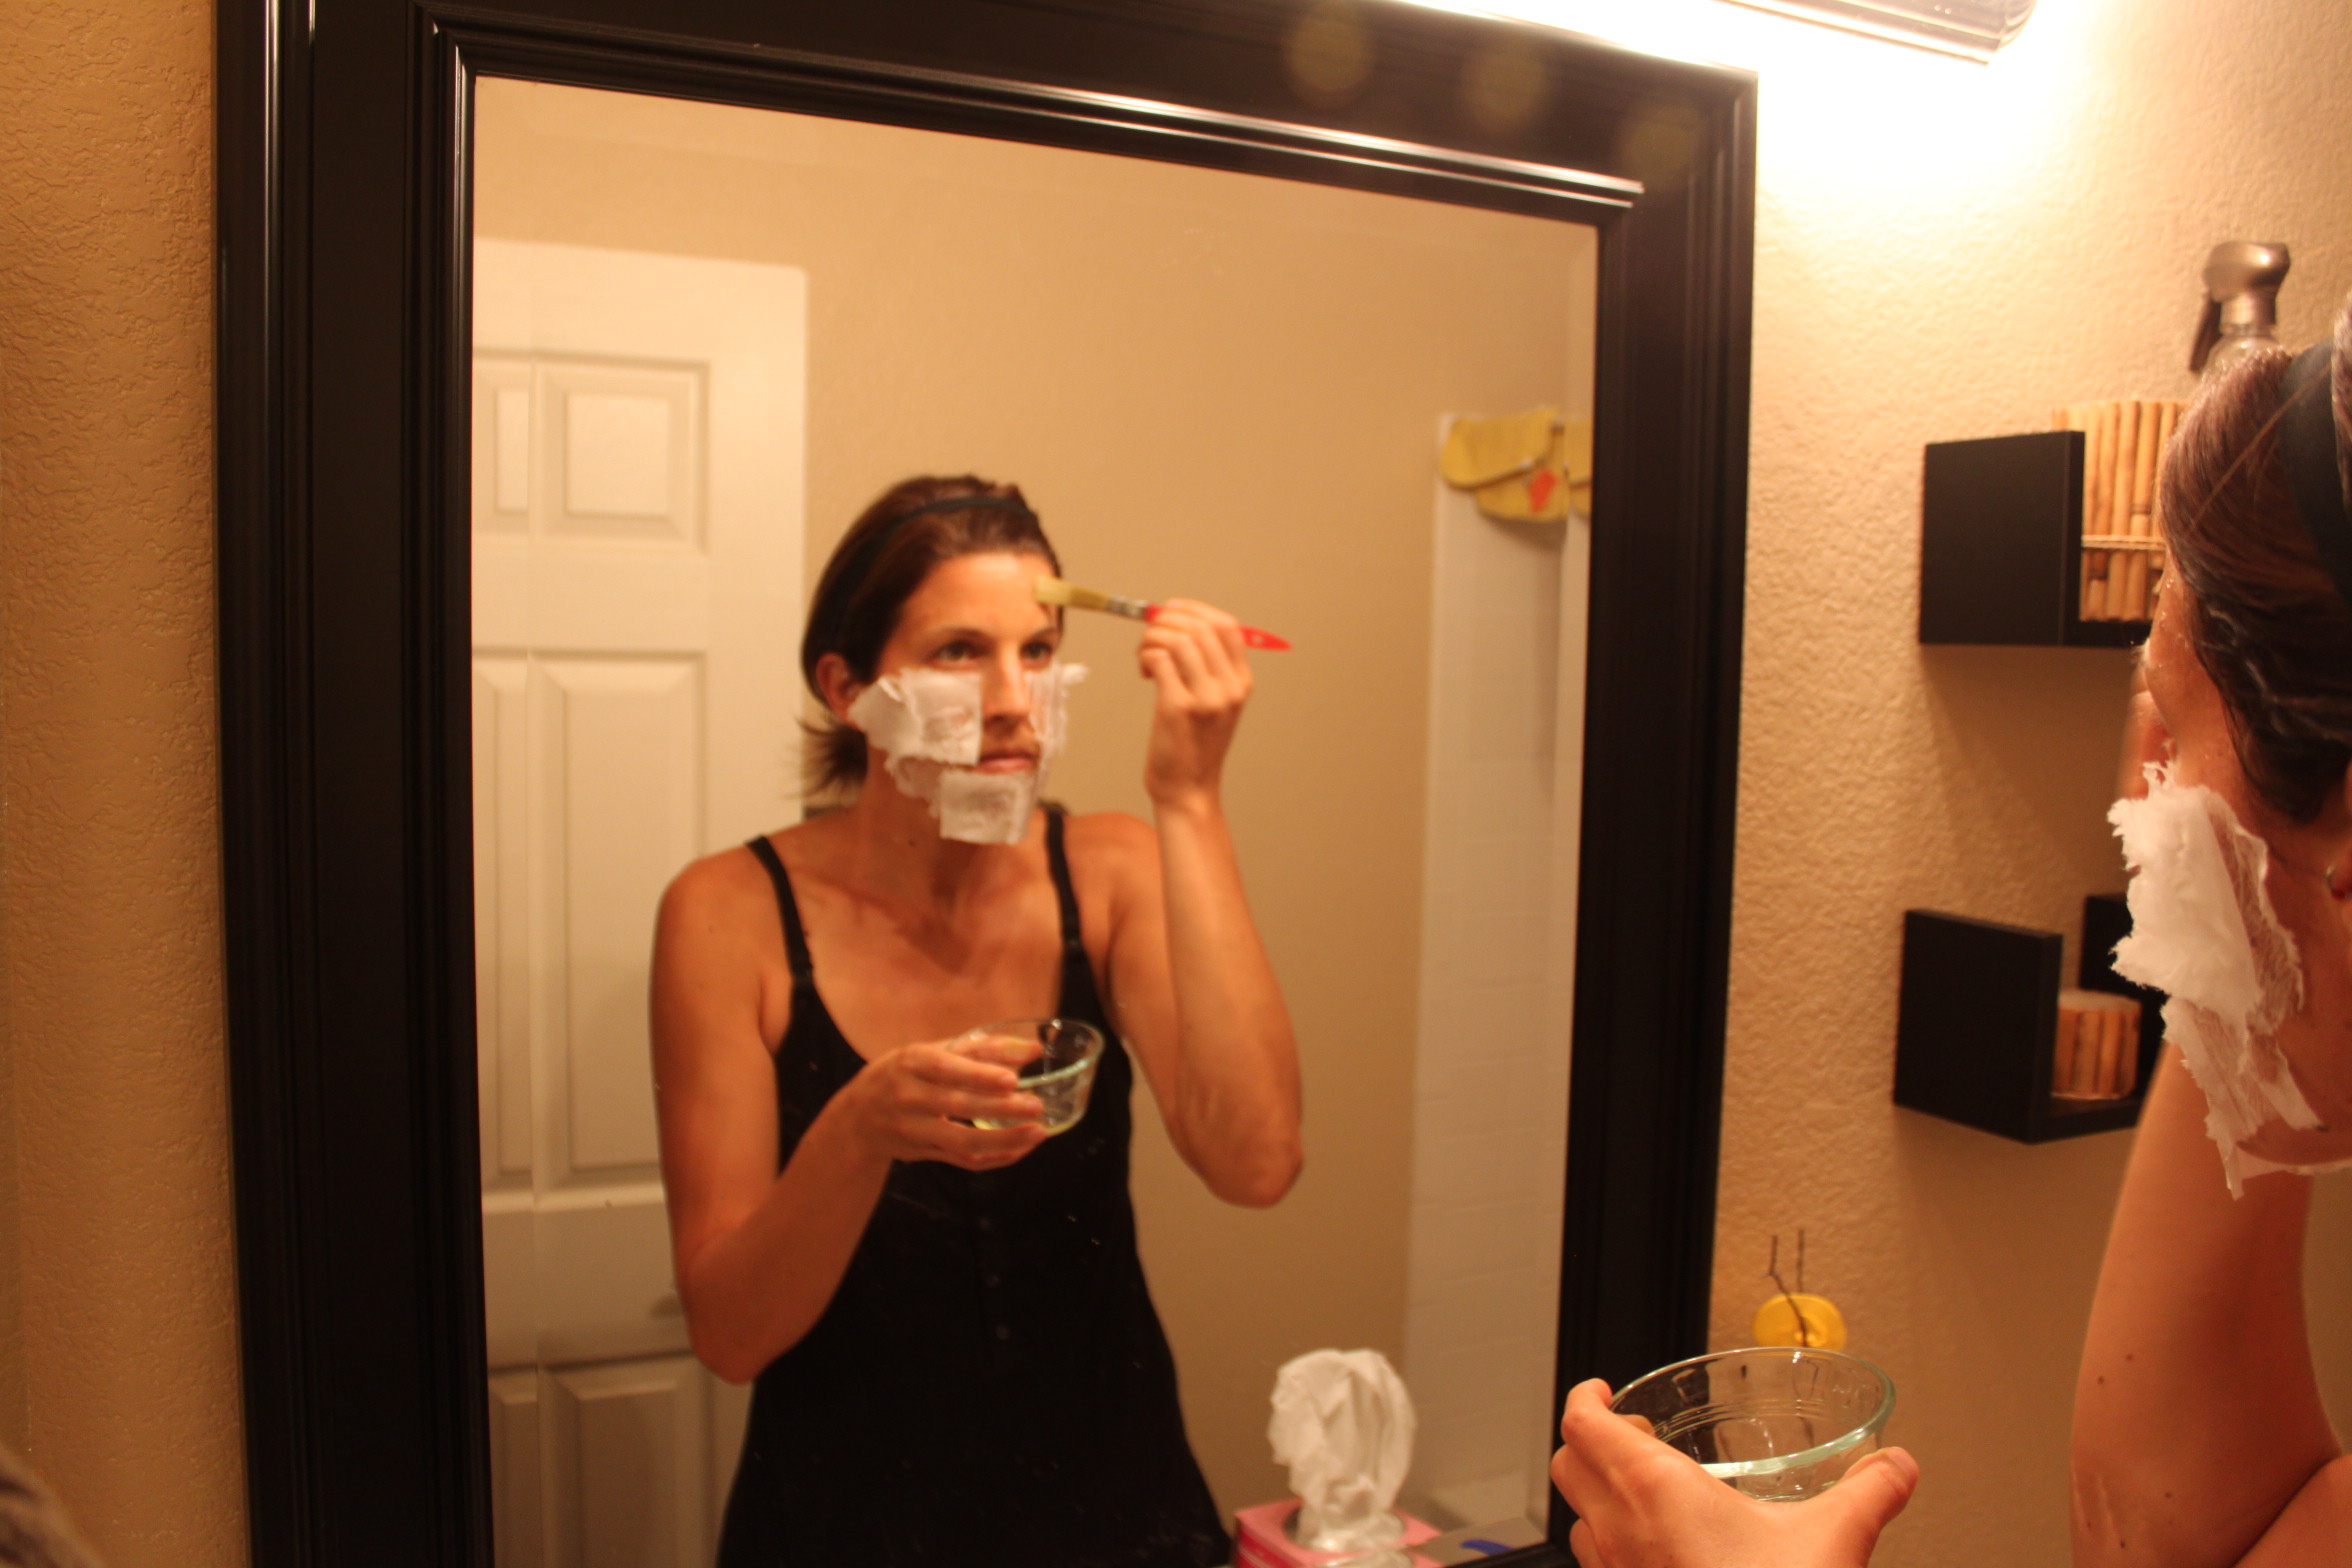
2. The original post says to use one tissue and cut out eye holes and mouth holes. I thought it made more sense to tear the tissue into small pieces to do small areas of the face at a time. The egg dries fast, so this allows me to be thorough in each area.
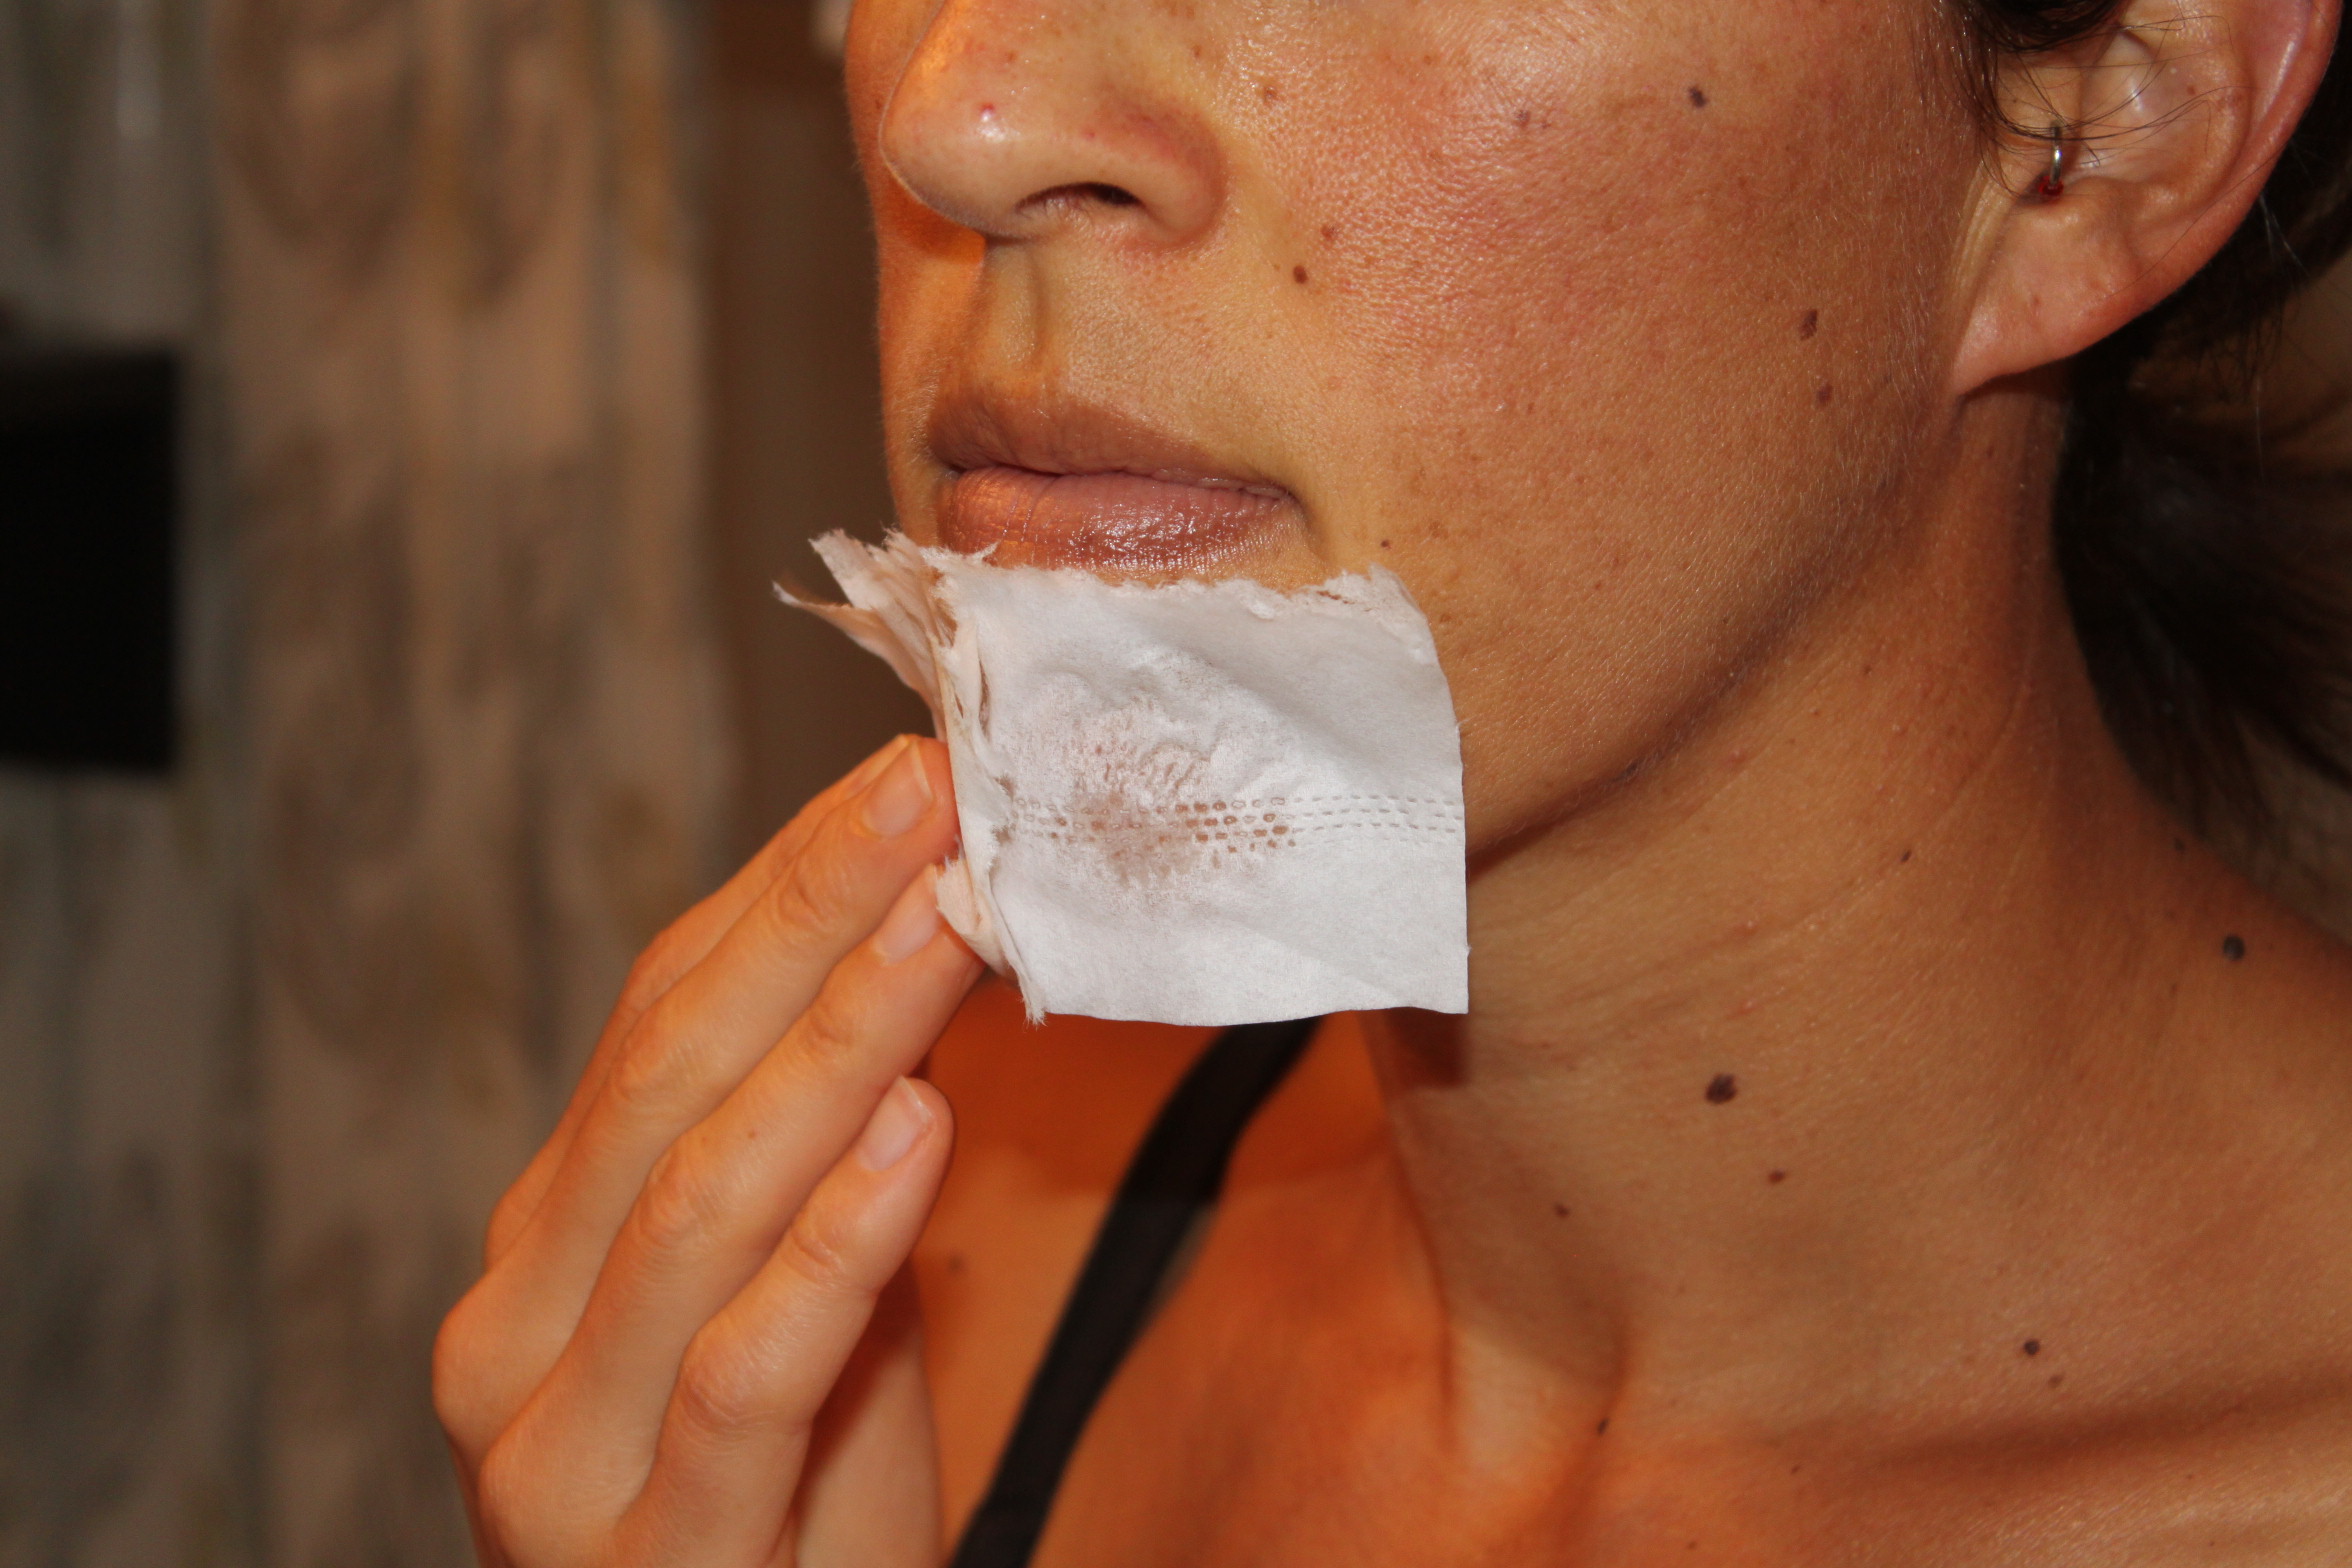
3. Wisk the egg white a bit and then apply to a small area of the face with your brush. Place tissue on top of the egg to stick on your face.
4. Warning: you are going to look REALLY awesome (insert sarcasm). Can you tell from my picture?
5. Continue applying egg followed by tissue to the rest of your face. Avoid the eyes and mouth. The original post says to do 2 layers, but I’ve never been able to do a second layer because if I brush on top of the tissue it gets stuck to my brush. So I stick with one layer.
6. Let sit. Watch a TV show, go find some more things to pin on Pinterest, and 20-30 minutes later peel off your homemade mask. Wash your face with a bit of water and mild soap and enjoy your smooth skin. Follow up with a tsp amount of coconut oil applied to your face to leave it really silky smooth.
Tomorrow your face will look refreshed and clean!
Do you have a favorite DIY beauty routine?
