Kid Friendly
Pumpkin Spice Protein Balls
The kids are back to school and everyone is settling into the Fall routine. Days are getting shorter and mornings are cooler. The local coffee shops are all offering their version of a “Pumpkin Spice Latte”, so we decided to jump on the band wagon and make some Pumpkin Spice Protein Balls. Before we know it, the leaves will be turning and it will be pumpkins, pumpkins everywhere!!! So here is a way to get your pumpkin “fix” without compromising your healthy habits.
Ingredients
½ cup peanut butter or almond butter (use a no sugar added version-our favorite is Trader Joe’s)
¼ cup oats (I blended my a bit in my Vitamix)
1 Tablespoon flax meal
½ cup pumpkin flavored protein powder (we use the Isagenix pumpkin spice protein powder, but you can use any vanilla protein powder and add 1 tsp cinnamon, 1 tsp ginger and ½ tsp cloves)
1 teaspoon cinnamon (add 2 teaspoons if using vanilla protein powder)
3 Tablespoons honey
1 teaspoon vanilla
¼ cup mini chocolate chips, raisins or other dried fruit chopped fine (optional)
Mix all ingredients in a medium bowl until blended. Roll into 1 inch balls. Refrigerate and stop in a tupperware for up to 2 weeks. Believe me…they will not last 2 weeks because they are so YUMMY!!!
This batch is made with peanut butter, some have mini chocolate chips as well.
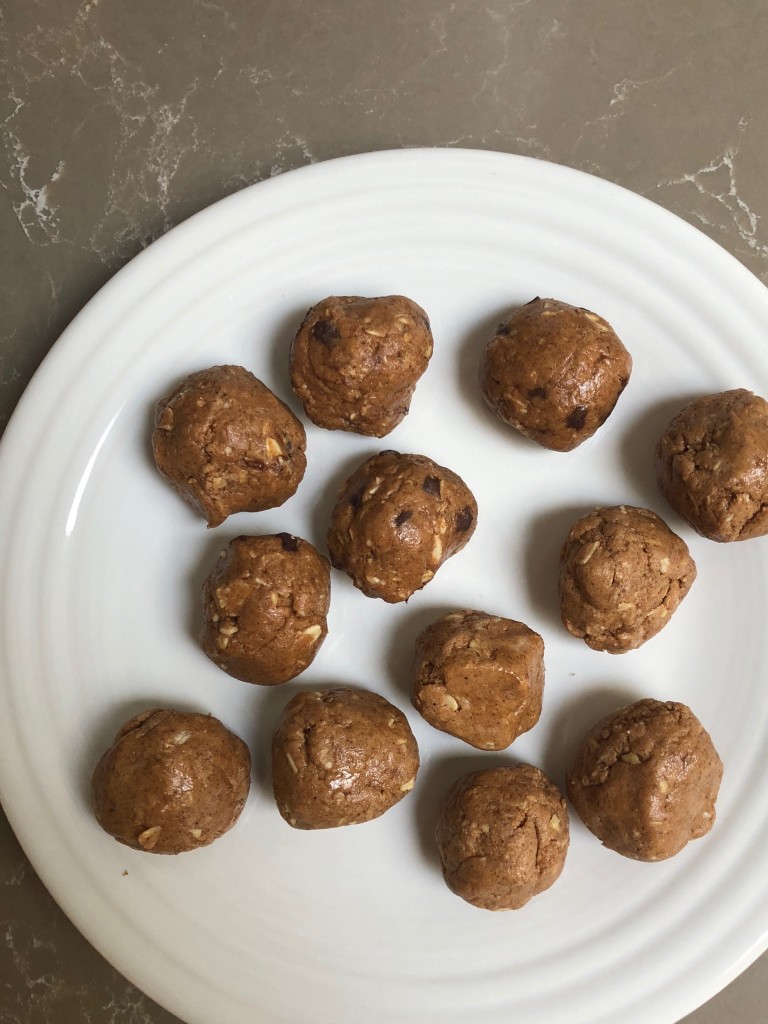
Peanut butter, pumpkin spice protein balls.
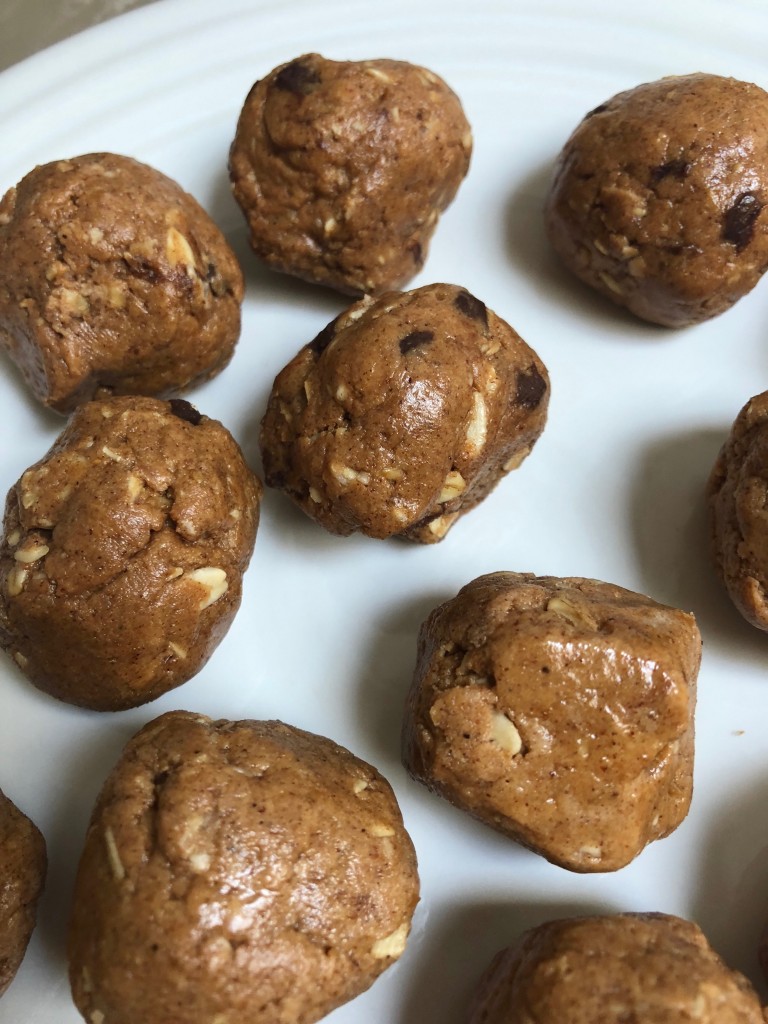
This batch was made with crunchy almond butter and looks a bit heartier because I did not pulse the oats quite as fine and the peanut butter batch.
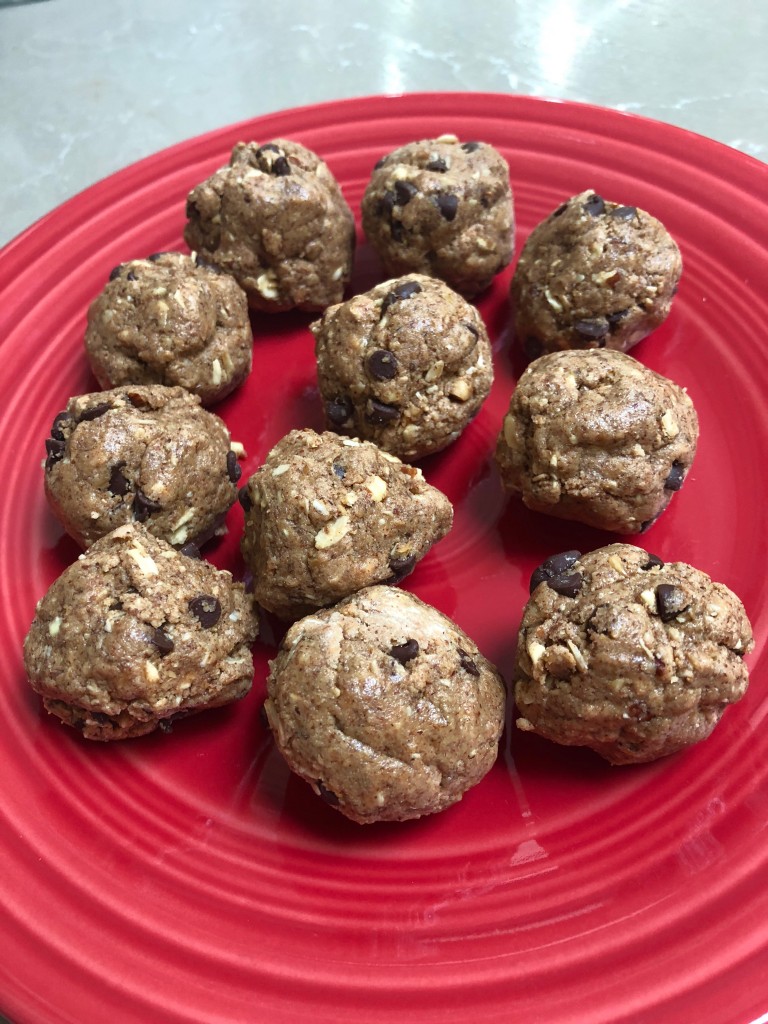
- ½ cup peanut butter or almond butter (use a no sugar added version-our favorite is Trader Joe's)
Lemon Blueberry Superfoods Shake
You know our family LOVES our superfoods shakes, and this recipe will take meal or snack time to a WHOLE NEW LEVEL!!!
We start with our protein and nutrient packed dairy free shake powder and harness the power of citrus and berries to bump up the flavor and health benefits.
Combining the immune health powers of lemon ESSENCE essential oil with the heart boosting properties of blueberries for a seriously delicious meal.
Ingredients
6-8 oz Water
1-2 drops Lemon ESSENCE essential oil
1/2 cup Frozen Blueberries
1/2-1 tsp Cinnamon
Ice as needed
1 packet Dairy Free IsaLean Vanilla Chai protein powder.
To make, fill your blender with 6-8 ounces of water depending on how thick you like your shake. I LOVE the consistency of our dairy free shakes, but you do have to be careful with the amounts of water and ice. Just play around to find what you like. Next, add 1 or 2 drops of the lemon essential oil using a dropper or carefully pouring. Add the protein powder followed by the cinnamon and blueberries. Start to blend. Add ice until you get your desired consistency. Enjoy with a straw or try what I did today: make it a little thicker, pour in a bowl, and top with your favorite grain-free granola!!
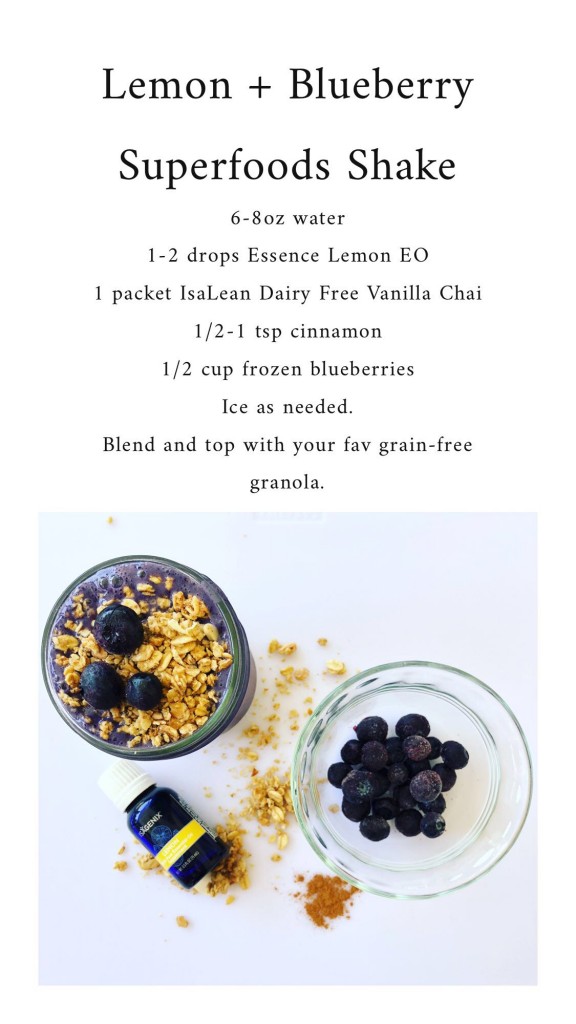
Enjoy!…
Read MoreChocolate Chip Banana Bread
Sweet snacks in the summer are a real treat. When you have little ones that are eager to bake and even more eager to EAT a SWEET TREAT…why not make a healthy snack for all to enjoy. The Spoelhof girls and I tried this recipe over the weekend and it was a HIT!!!
HERE ARE THE INGREDIENTS AND DIRECTIONS….
4 medium sized VERY RIPE bananas
2 eggs
1 ½ teaspoon vanilla
¼ cup coconut oil
¾ cup whole wheat flour
½ cup all purpose flour or TJ’s white wheat flour
½ teaspoon baking soda
½ teaspoon baking powder
½ teaspoon salt
1 ½ teaspoons cinnamon
½ cup brown sugar firmly packed
If you feel creative and want to increase the nutritional value of your bread, substitute ½ cup of cauliflower puree for ½ cup of the banana puree.
Preheat the oven to 350 degrees. In a medium bowl, mix all the wet ingredients; banana puree, eggs, vanilla and oil. In another medium bowl, mix all the dry ingredients; flour, sugar, baking soda and baking powder, salt and cinnamon. Pour the wet ingredients into the dry ingredients and mix until combined but DO NOT OVERMIX! Fold in the chocolate chips. Pour into a well greased 9 x 5 inch loaf pan and bake in a preheated oven for 50 minutes. Test with a toothpick to make sure it is done in the middle. Remove from oven and let cool for about 30-45 minutes. Turn out onto a platter and cut slices. It is delicious warm. You can store the leftovers if there are any leftovers wrapped in foil or saran and store in refrigerator for up to 1 week.
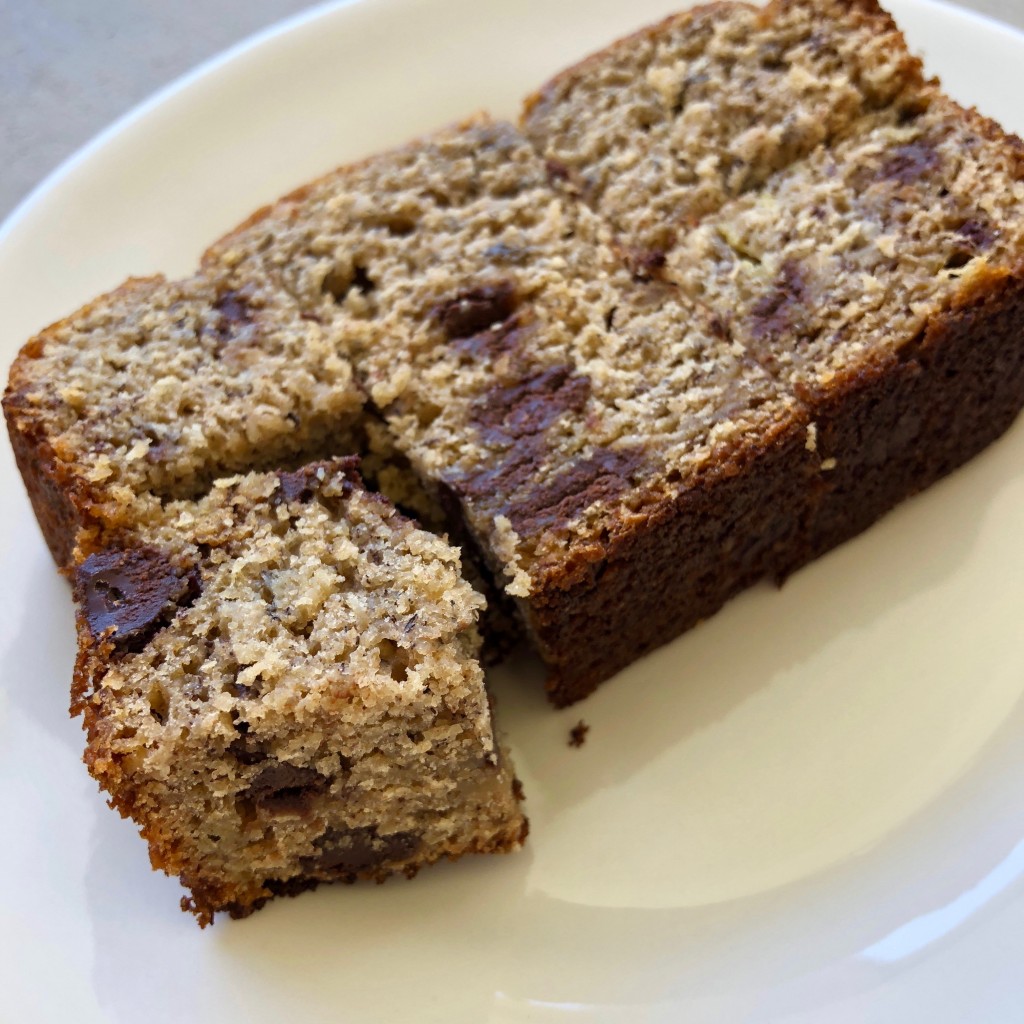
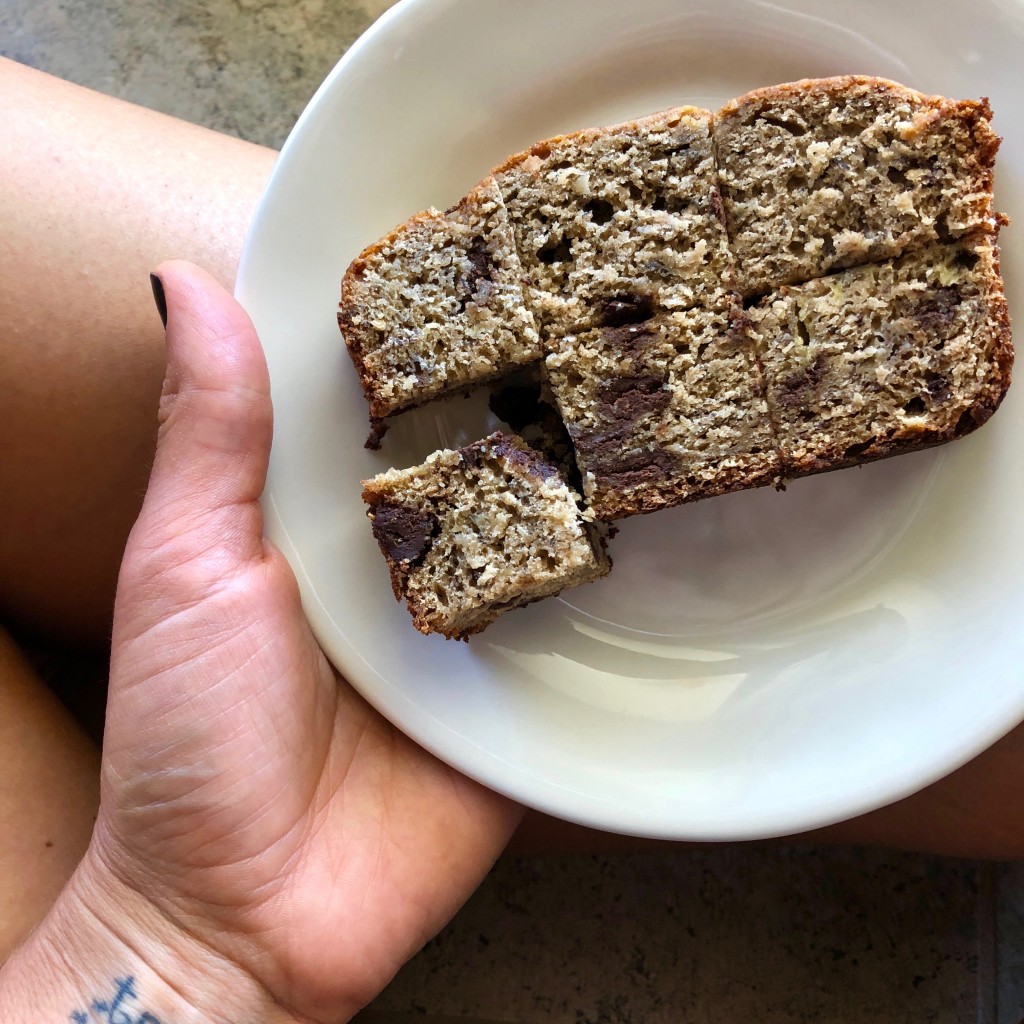

A perfect ending to a perfect day including pizza night and a movie!!!
S’mores at the End of a Sunny Summer Day
Lots of sun and swimming and even a nice walk to the neighborhood park. all in a fun summer day. It seems like a perfect night to have S’mores for dessert. If you have the supplies on hand and an outdoor fire pit it is easy to roast some marshmallows and make a batch of s’mores. But what if you do not have a fire pit?…..Here is a fun and easy way to provide that campground dessert experience for you kids or grandkids by making pocket s’mores.
What you need:
aluminum foil
1 bag of large marshmallows
1 box of graham crackers
one milk chocolate bar for each 2 pouches of s’mores (Hershey’s works well because the bars are thin)
Preheat oven to 450 degrees. Or if you have a BBQ going for your dinner prep you can have your pouches ready and put the pouches directly on the BBQ.
For each pouch of s’mores you need a large piece of foil (about 12 x 16 inches). Give each person
1 large graham cracker and 2 marshmallows and ½ of a milk chocolate bar for each pouch of s’mores. Break up the graham crackers into medium pieces and place in the middle of your foil. Place the two marshmallows on top of the graham crackers. Break up the chocolate bar into small pieces and scatter over the graham cracker and marshmallow mixture. Wrap the foil around the ingredients you have placed on the middle and make a little pouch that looks like a Hersheys Kiss-twisting in the middle. Make sure there are no spaces where melted chocolate or marshmallows can drip out. Place pouches onto a cookie sheet. Bake 10-12 minutes or until marshmallows and chocolate are melted. Open up the pouch and enjoy!!!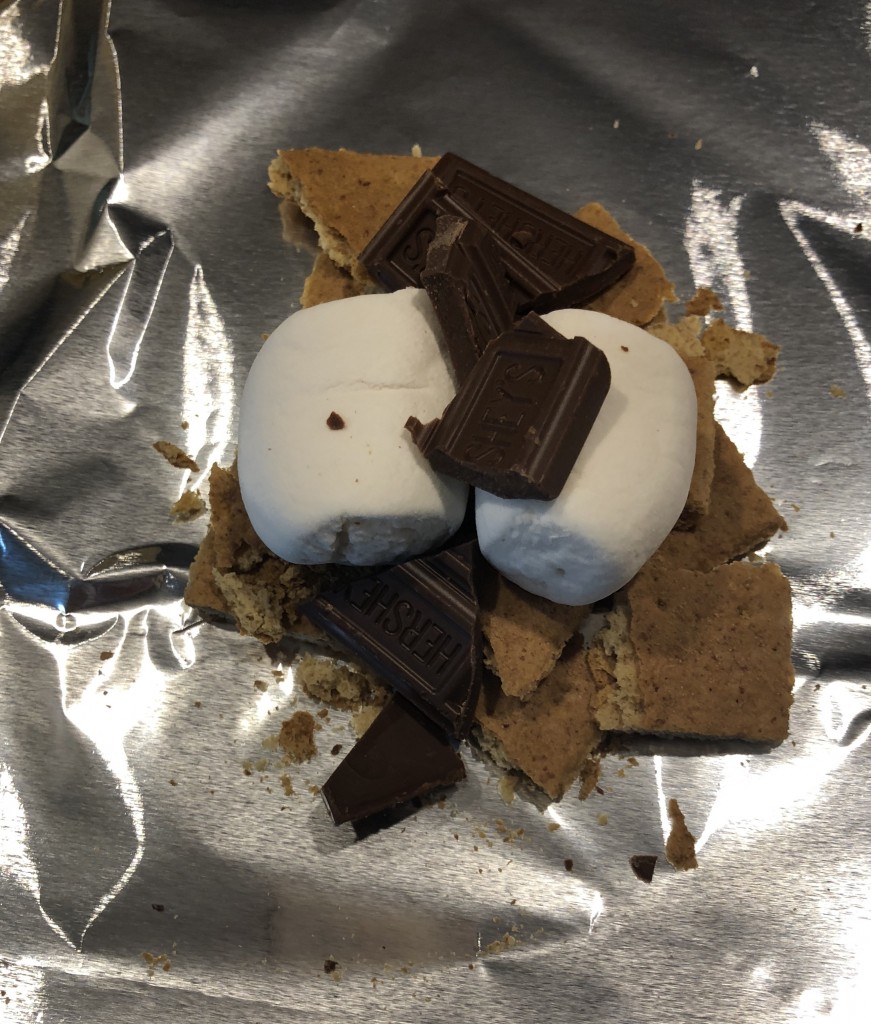
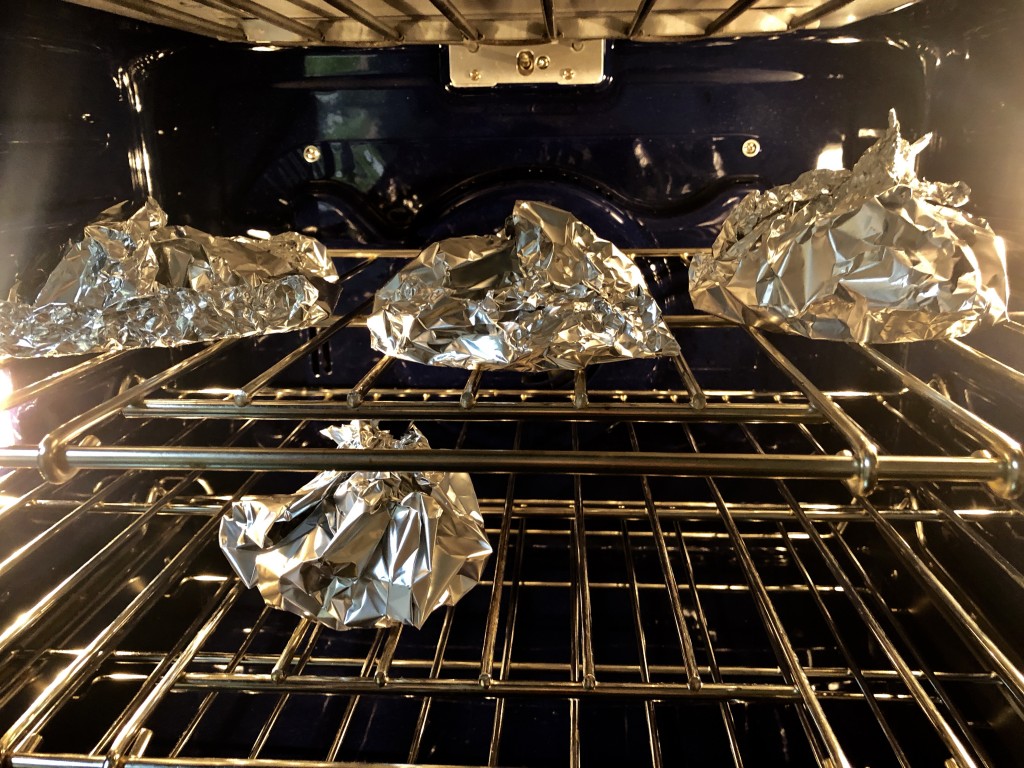
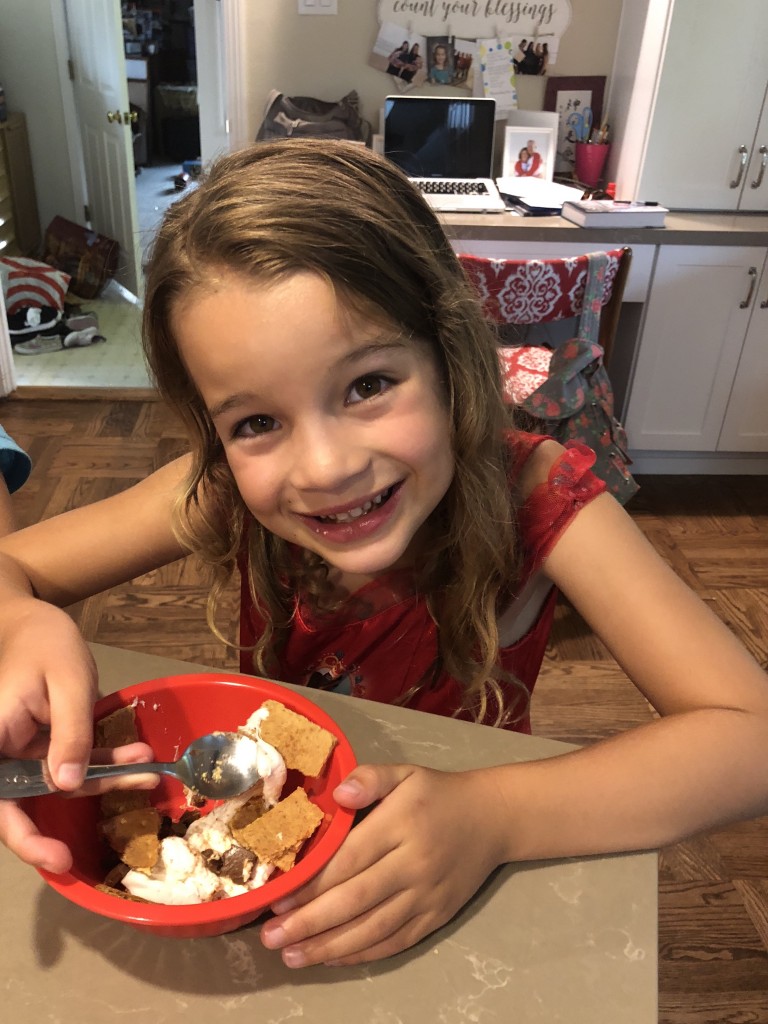
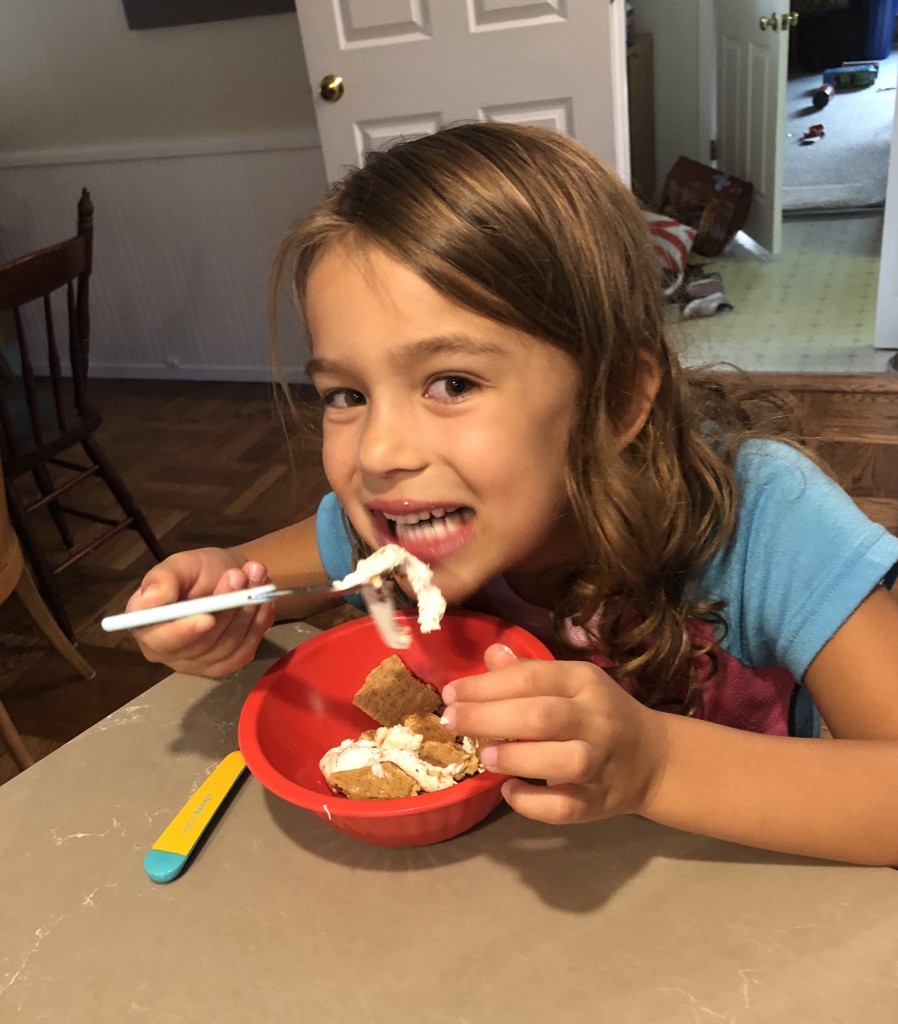
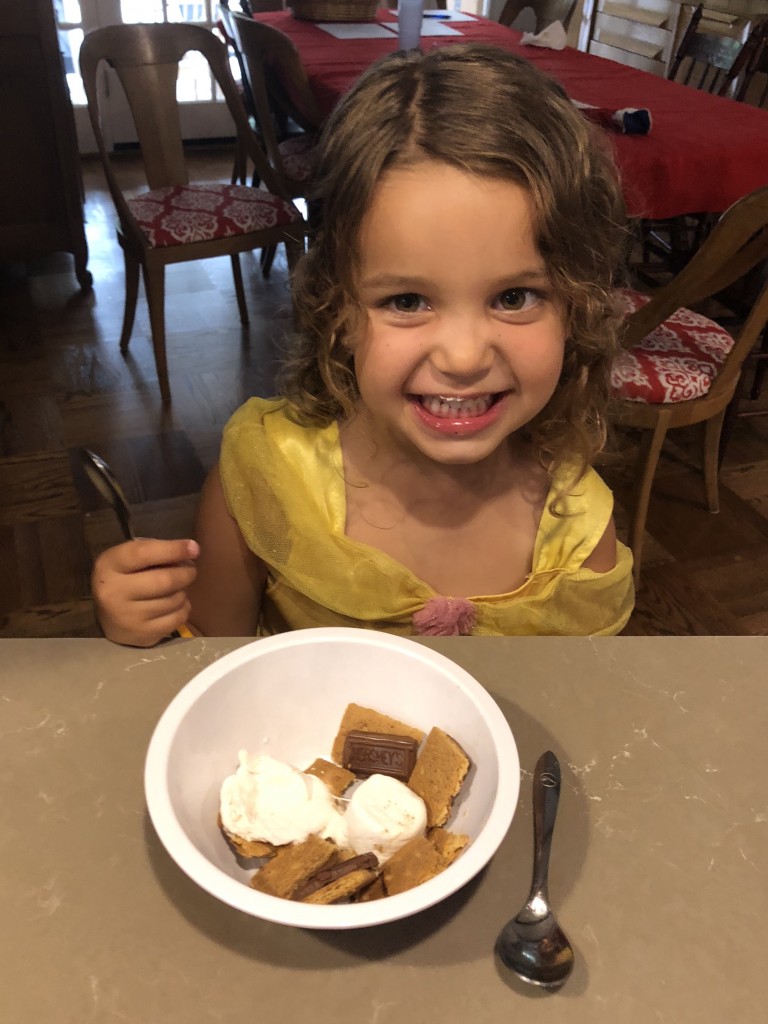
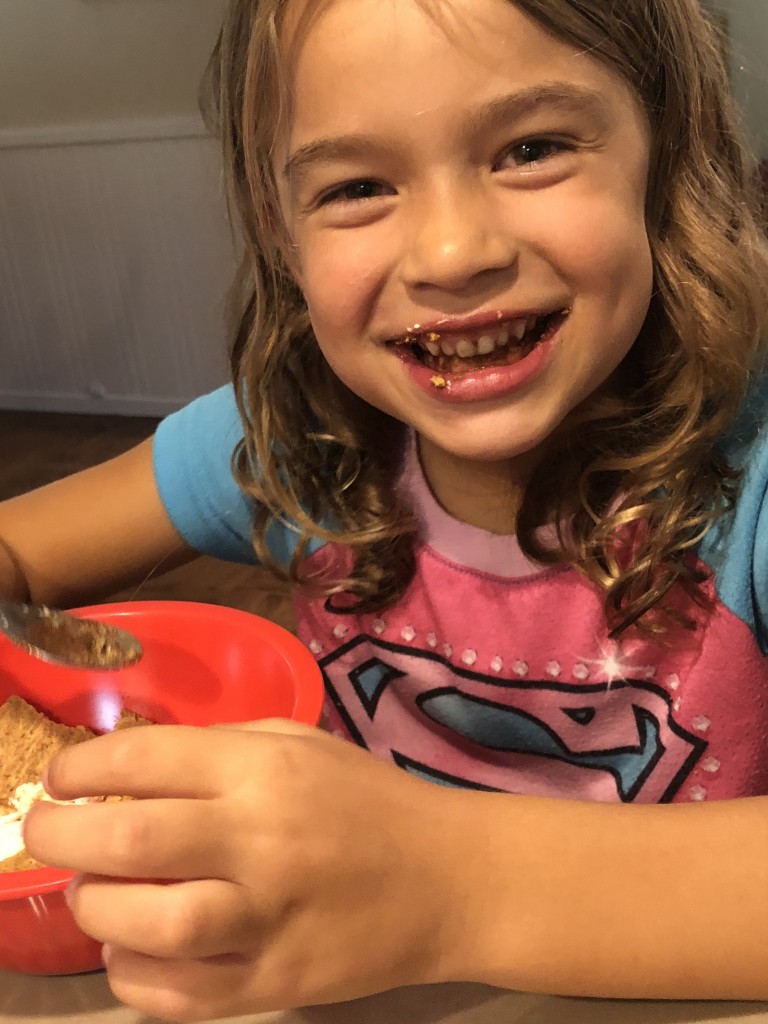
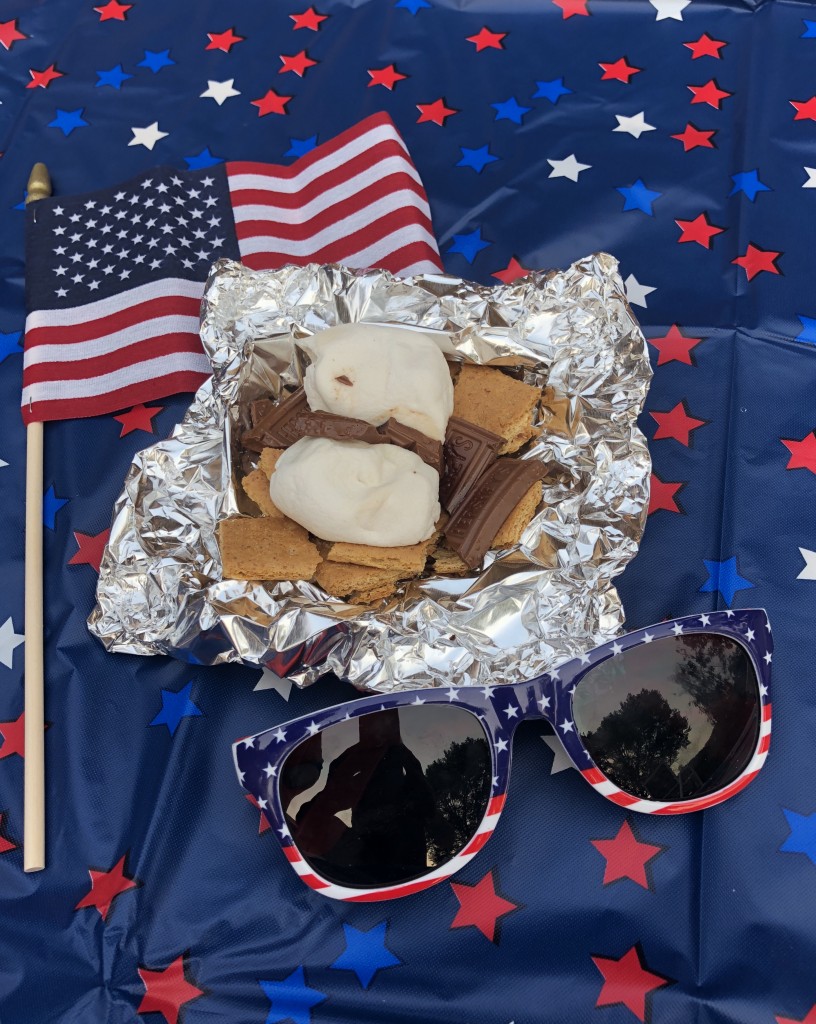 YUMMY in the TUMMY!!! WE had …
Sock Puppets
How many of us wonder why we have so many orphaned socks throughout the years, as we do our laundry? I seem to loose one sock of a pair (usually my new favorite pair) on a regular basis? So for years when the girls where at home and younger, I would use the orphaned socks to curl their hair-in old school ringlets. Now that they are grown and gone and at this point all but one of my grand daughters has curly hair, I needed another option for “what to do with the orphaned socks???”…VIOLA, SOCK PUPPETS!!!!! It is easy and fun to do when your grandkids come for a visit. We made some this last week when Rachel and her husband and daughters were visiting. The girls got to design their own puppets and Gammie did the sewing. You can actually let the kids do some of the sewing if you have more time and the kids are a bit older.
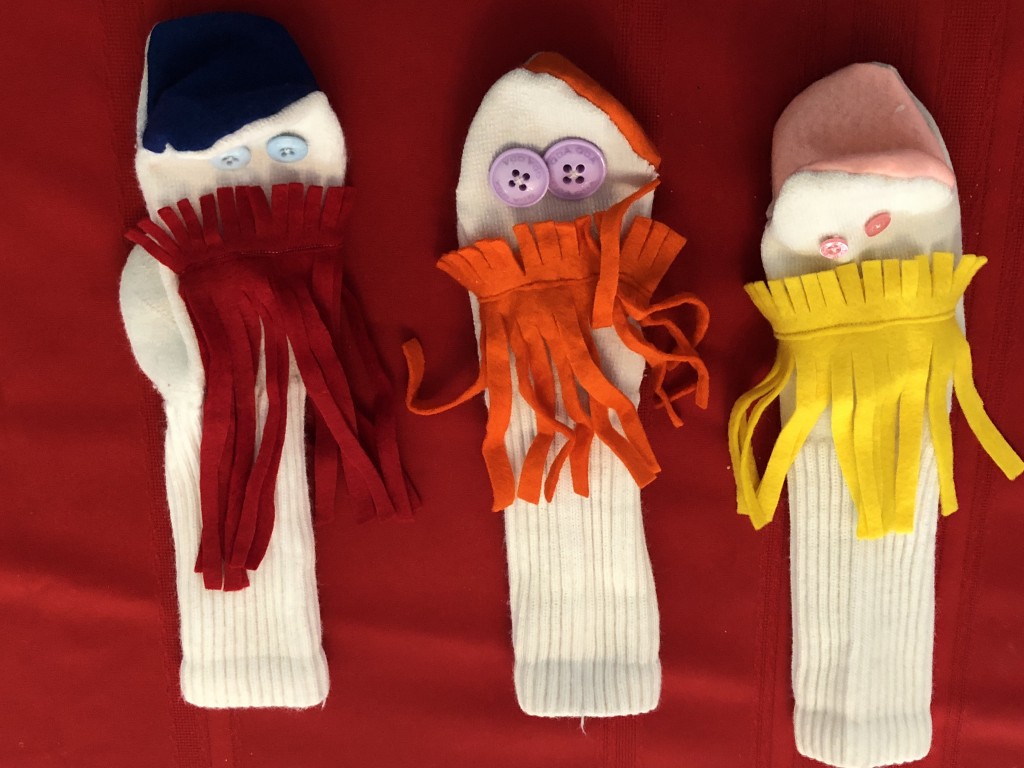
Supplies needed
1. old socks
2. felt in assorted colors
3. colorful buttons for eyes
4. fabric scissors
5. fabrics scraps
6. thread
Take each sock and cut a slit at the end of the toe box, big enough for a mouth. We cut our slits in the adult women’s white tube socks about 2-3 inches on each side from the middle point of the toe box. Lay the open mouth on top of the color of felt that each child picks and trace an oval shape that will be he mouth. Cut about 1/4 inch larger on all sides than the oval you traced. Turn the sock inside out and pin the oval right sides together inside the mouth cut so that edges of oval meet edges of the cut in the sock. Sew on the machine …
Read MoreBEST Summer Banana Bread
During the warm months of summer, I seem to always have a few bananas in my fruit basket that get TOO RIPE, TOO QUICKLY….Here is a perfect solution to that problem. This is a very easy recipe using ingredients you probably always have on hand. It is simple enough to make that you will want to call the kids in from their outdoor adventures to get cooled off for 15 minutes to help you measure, pour, mix and pop this delicious banana bread into the oven. If you have a bunch of kids over, you can make this into muffins for easier serving. Send the kids back outside when you put the bread into the oven and they will have another hour to play before you call them in for their homemade healthy snack.
BEST Summer Banana Bread
1 ½ cups white whole wheat flour
½ cup oat flour or ground oats
1 1/2 teaspoon baking powder
1/2 teaspoon baking soda
1/2 teaspoon salt
1 teaspoon ground cinnamon
1/4 cup packed brown sugar
¼ cup maple syrup
2 large egg
1 1/2 cups (from 4 medium bananas) ripe bananas, mashed
1/3 cup plain yogurt or low-fat buttermilk
3 tablespoons coconut oil
1/2 cup chopped walnuts
Preheat oven to 350 degrees. Measure out the flour, oat flour, baking powder, baking soda, salt and cinnamon into a small bowl and mix. Mash the VERY ripe bananas in a medium bowl. Add the eggs, brown sugar, oil and maple syrup to the bananas and stir until blended. Slowly fold in the flour mixture and yogurt or buttermilk. Add walnuts if desired and stir gently. When blended, pour into a greased 9 x 5 inch bread pan. Bake of 1 hour. Test with a toothpick and remove from oven when toothpick comes out clean. …
Read MoreCinnamon Vanilla Protein Bites
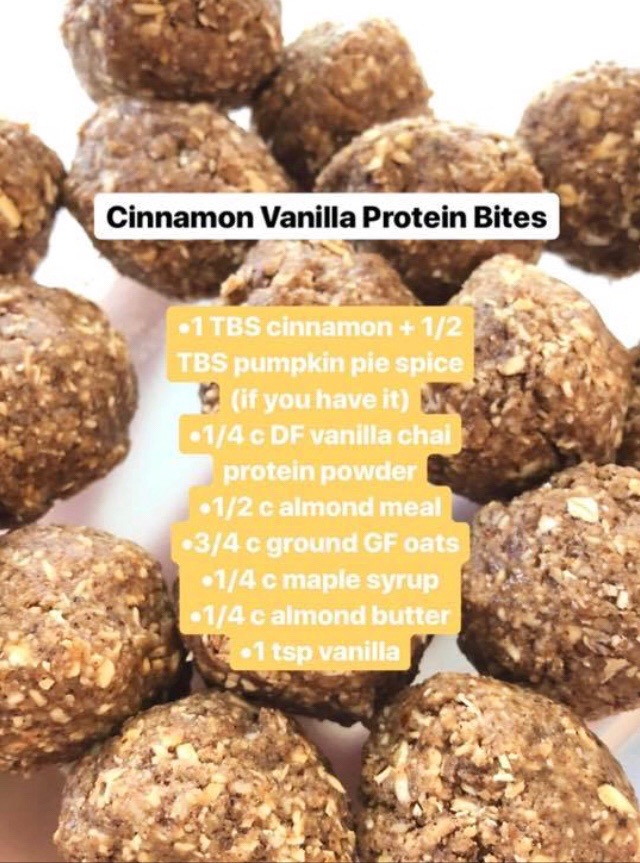
In the midsummer heat, it is so nice to have a quick snack that is healthy and delicious. Here is a perfect high protein recipe for a fantastic snack to keep on hand.
Ingredients
½ cup almond meal
¾ cups ground oats
2 Tablespoons cinnamon
½ teaspoon pumpkin pie spice
¼ cups maple syrup
¼ cup almond butter
1 teaspoon vanilla
¼ cups Isagenix vanilla chai dairy free protein powder (or a vanilla protein powder of your choice)
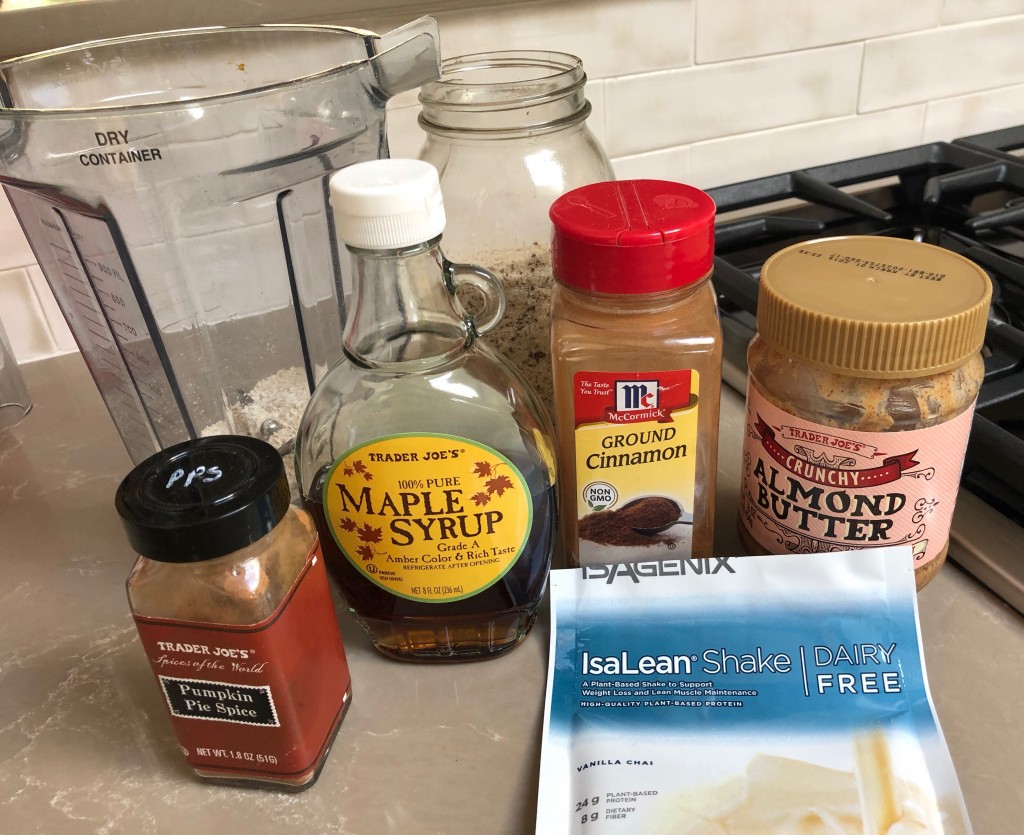
Mix all ingredients in a medium sized bowl. Stir until all ingredients are well blended.
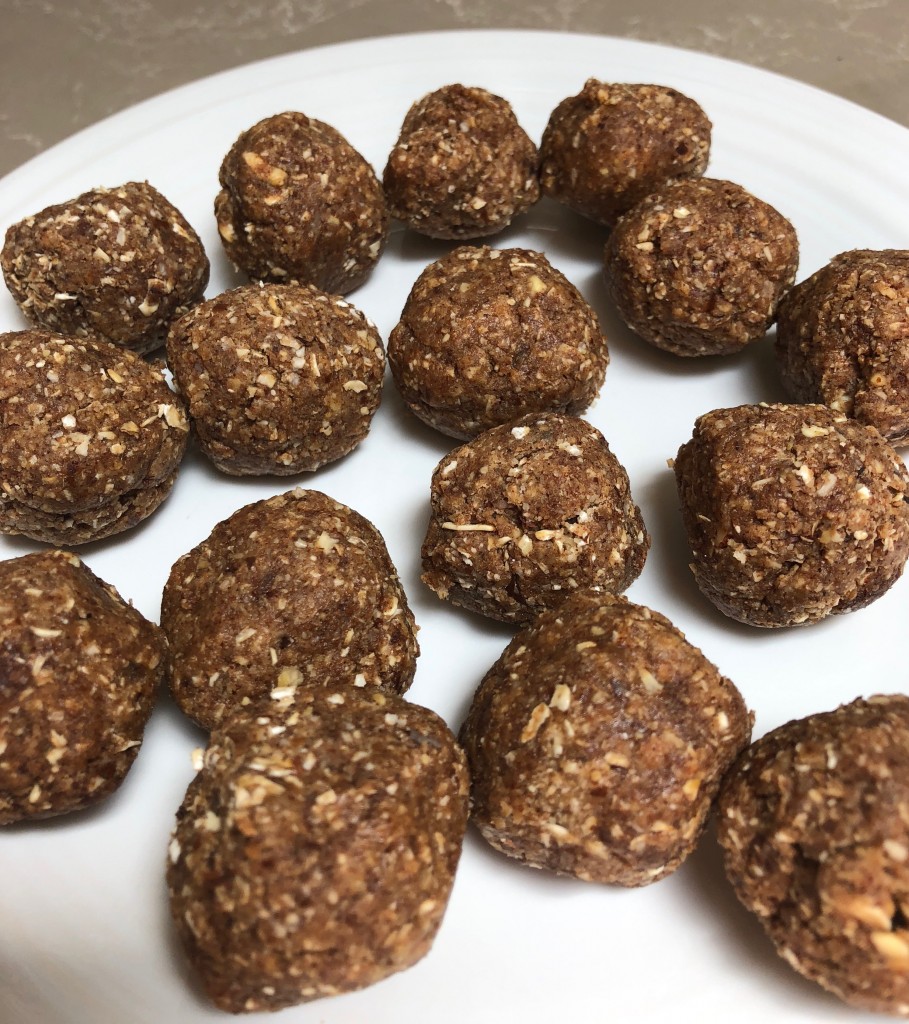
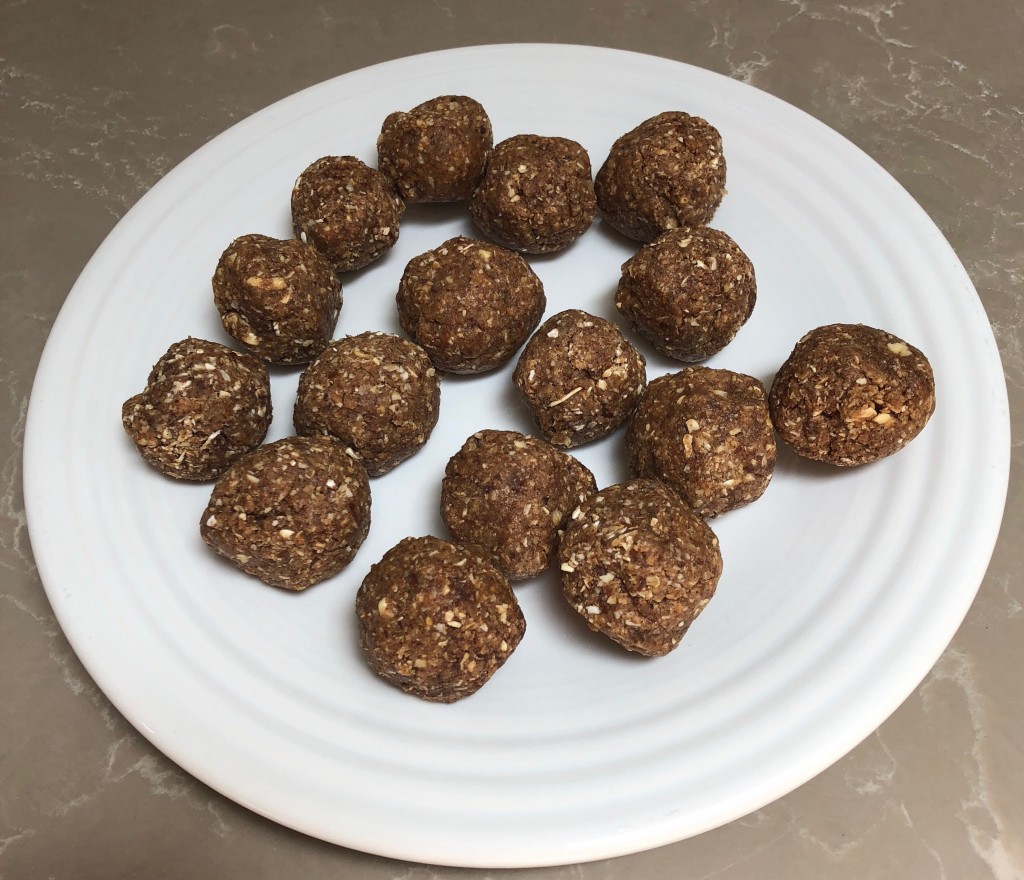
Roll into 1 inch balls. Refrigerate until firm. Store in a tupperware unless you eat them all as soon as you make them.
What are your favorite summer snacks?
 Rachel’s original recipe…
Springtime Survival Tips for Moms
Summer has begun for many families. Some weeks will be filled with camps, Vacation Bible Schools, swim lessons, other sports teams and tournaments……Regardless of your situation, there are going to be long days when you need some ideas in your pocket to make it to bedtime.
We asked some friends to share their favorite ways to survive long days.
Here is a list of our tips and suggestions:
– Easy Dinner – make sandwiches or pancakes.
– Utilize free events and story times at your local library.
– Create an art show with all your kids art projects from school and invite some friends to come!
– Host a play date. Then you can still have company without leaving your house!
– Join a Mommy Group. This is definitely what saves me most days. You can join shared interest groups, find groups on Facebook or Instagram, or a become a part of a church group like MOPS. I have many virtual friends that support me through our talks and sharing on Facebook.
– Utilize technology: text, FaceTime, Skype. Kids love to see family. Ellie, Hanna and Mikah love to FaceTime with their Aunts and Uncles.
– Do a house project to pass the time and stay focused on a task.
– Plan something for yourself at the end of a long day: a Mom’s Night, wine and a good book, a prerecorded favorite show, or a nice warm bath all to yourself.
– Campout in the living room. I can’t wait for my girls to be old enough for forts and campouts.
– Read a good book or watch those guilty pleasure shows your husband won’t watch with you.
– Go on walks or a nature walk. This is one of my favorites.
– Reward the kids with a frozen …
Read MoreHealthy Snacks, Healthy Habits
Summer is right around the corner, and NOW is the time to make some small changes in your health that can yield BIG results!
A great way to support healthy habits is to make filling and nourishing snack choices between meals, or when you are on the go. The Growing Weisser girls ALWAYS have a snack or two (or 10) in their purses or diaper bags for the kids and mama!
Healthy snacking is a great way to boost metabolism, curb hunger, nourish the body, and manage blood sugar. A healthy snack is a balanced snack – one that provides protein, carbs, and healthy fats. Keeping pre-made or grab-and-go snacks around will help you make a simple, healthy choice when hunger strikes.
Here are some more of our FAVORITES!
4 favorite grab-and-go snacks for grown-ups (and kids)
Peanut Butter Super Powerballs
Rachel’s Favorite Protein Balls pick your favorite protein powder and the possibilities are endless!!
What are you snacking on?!
 …
…
Yosemite Bars
When I was young and our family used to go on road trip vacations, my mom would always make a batch of these yummy bars to take with us. They are filled with oats and nuts and some dark chocolate goodness. Yosemite was one of our favorite family vacation spots-thus the name of these family favorites.
Yosemite Bars
1 cup butter
2 cups brown sugar
2 eggs
2 teaspoons vanilla
2 ½ cups flour (you can use gluten free flour)
3 ½ cups oats
1 teaspoon baking soda
1 teaspoon salt
Chocolate Filling
1 (12 oz) package chocolate chips
2 Tablespoons butter
2 Tablespoons vanilla
1 can sweetened condensed milk
1 cup chopped walnuts
Make chocolate filling by melting chocolate chips, 2 TBS butter and 2 TBS vanilla and the sweetened condensed milk in a double boiler. You can melt these ingredients in a large glass container in the microwave, but you have to watch it very carefully so it does not burn. When melted allow to cool a bit and then stir in chopped nuts.
Cream 1 cup butter and brown sugar. Add eggs and 2 teaspoons vanilla and mix thoroughly. Add flour, soda, salt and oats and mix until blended. Pat 2/3 of dough into a greased 9 x 13 pan. Spread chocolate filling over uncooked dough and pat remaining 1/3 of dough on top. Bake in a 350 degree oven for 30 minutes or until top is golden brown. Let cool and cut into squares. Makes at least 24 bars. These bars freeze well and travel well, so bake a batch for your next trip to Yosemite.
