Crafting
Bridal Shower Gift Ideas
There are so many ideas for bridal shower gifts. You can do honeymoon theme, travel theme, date theme, kitchen theme, cooking theme, marriage wisdom theme, lingerie theme, and on and on and on… But a couple of the most creative gifts I received at showers I have tried to put my own twist on and pass along to other people. Here are some of the most recent gifts I passed along.
Frame and dry erase marker: Then you get to fill in the blanks!!!
“I love you because” frame
“We go together like” frame
Date Night question jar: Fill and decorate a jar with questions for the couple to ask
Mr. and Mrs. Mug with Tea in a mason jar. Put chalkboard paint on the top of a mason jar so they can change what they put in the jar and label it with chalk.
Here are some other ideas that I have seen at showers
- Letter decor of the couples initials
- Marriage Books
- Bible with new married name engraved
- Apron
- Mr. and Mrs. Pillowcases
- Embroidered blanket with wedding date on it
- Dress hanger with the bride’s new name
- Movie night package with candy popcorn and gift cards
- Date night to their favorite restaurant
- Game night with board games
- Personalized jewelry
Red, White, and Blue Felt Garland
Just in time for the 4th of July, here is a fun and easy festive craft to decorate your mantle.
I was inspired by this paper garland I bought from Target, and thought it would be fun to make my own red, white, and blue garland for a little USA spirit!
Red, White, and Blue Felt Garland
Supplies I Used:
1 Red 9″ x 12″ felt rectangle
1 White 9″ x 12″ felt rectangle
1 Blue 9″ x 12″ felt rectangle
Ruler
Single hole punch
Fiskars soft touch sewing scissors
Star stencil
3/4in stencil brush
White and glitter fabric paint
Red polyester trim 3/8in/9.5mm
Black sharpie pen for marking
Instructions:
1. Cut out three 4″ x 6″ rectangle from each color felt. You should have a total of 9 felt rectangles.
2. Cut an isosceles triangle shape in the bottom of each rectangle on a 4″ side. The two equal sides should measure 2 1/2″ long and cut 1 1/2″ up.
3. Now you will stencil a star on each of your three blue felt pieces. I arranged my star where I liked it and used blue tape to secure the stencil on the table under the felt piece. Try not to tape on the felt because it will pull. I mixed white fabric paint with glitter fabric paint on a plate and painted the star using my stencil brush. Allow time to dry.
4. Next, you need to punch holes in the felt. I punched two holes at the top of each rectangle 1 cm down from the top and 1/2″ in from each side.
5. I cut my ribbon 84″ long (based on the side of my mantle), and I spaced each felt piece about 3″ apart with 12″ left on each end to secure to my mantle.…
Read MoreFun Summer Activities With Kids or Without Kids
It is summer time! Time to get outside and enjoy the sun or stay inside and be creative! Don’t get stuck in front of the TV with all your extra time. Get busy! Here’s a reference list of some fun things you can do with your kids, or without kids if you want to have some good natured fun!
Outdoor Activities:
- Sidewalk Chalk: Draw Pictures. Make a Map. Play Hopscotch. Make Chalk dress up dolls
- Slip n Slide
- Fun-noodles
- Water balloons: Have a water balloon fight or host a contest
- Run through Sprinklers
- Ice Cream Man: Make this a special treat
- Find a local farm to go berry picking
- Lemonade Stand: Help your kids make some money
- Picnic at the park
- Pick flowers
- Wash Cars: Have some fun while being productive
- Catch Fireflies
- Camp in the backyard
Indoor Activities:
- Make homemade popsicles: use your popsicle maker, or if you don’t have one use dixie cups and popsicle sticks
- Homemade ice cream: try making a new flavor of ice cream
- Cookies: Have a cookie making contest
- Go to a library
- Visit a fire station
- Make Jewlery: friendship bracelets, beads, lanyards
- Puppet Show
- Take an art class
- Have a tea party
- Have a dance party
- Read a new book
- Legos
- Write a story
- Tie-dye
- Scavenger Hunt
Make a structure for your days. But also let your kids pick. Letting them pick will give some ownership of what they do each day. Also make a jar with popsicle sticks that has ideas of what to do when bored. So if they ever say they are bored, they can have some go to ideas and you don’t always have to think of something on the spot. But also help them realize they are not bored, they just need to use their imagination and create …
Read MoreDIY Rice Filled Hot/Cold Pack
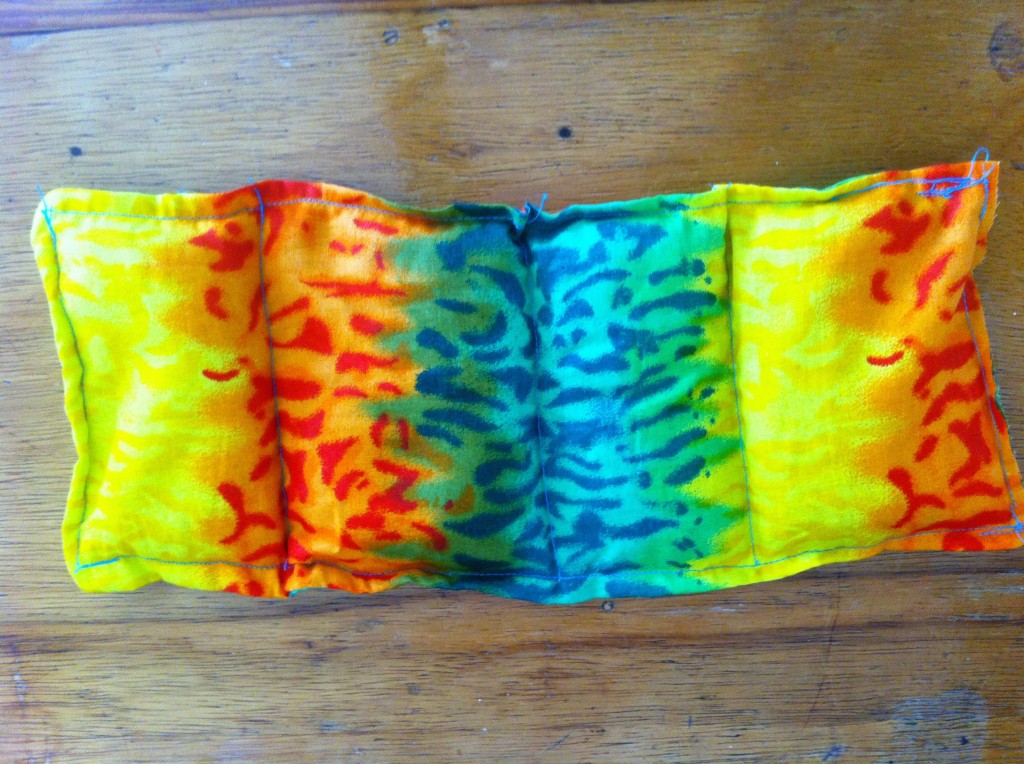
I am sure most of you have had the experience of feeling stiff and sore at the end of a long day, or after a hard workout. Your neck is holding the stress of the day and your shoulders just need a good massage….but you don’t have the time to stop for a massage…this is when it is wonderful to have a handy Rice Filled Hot/Cold Pack. There were many DIY hot/cold pack ideas on the web and this one was easy to customize. In under an hour and for less than $5 you can have a solution to your aching neck and shoulders.
Here’s what you need:
¼ yard of soft Cotton Fabric
Matching thread
Sewing machine
Scissors
Funnel
Uncooked rice (I used 2 ½ -3 cups)
Essential Oil (I used an essential oil called Balance that is a combination of spruce, rosewood, frankincense and blue tansy)
Here are the easy steps to make your DIY Rice Filled Heat Pack:
1. Cut your fabric into two strips about 16″ x 8″. Place fabric right sides together, pin and sew ⅝ seam around 3 edges, leaving one long edge not sewn. On the one long edge that has not been sewn, mark off 2 inch segments with a pin every 2 inches. Sew on this 4th side between every other pinned off section. Your result will be a fourth side that has 2 inch gaps that will be used to fill the four sections of your heating pack.
2. Trim corners, turn your bag right-side out and use a pencil or chop stick to push out the corners from the inside. Iron.
3. Measure and mark your bag into 4 equal sections at the edge of each of the gaps. Start sewing these dividing lines from the top of the …
Read MoreEaster Table Runner & Napkins in Less than One Hour!
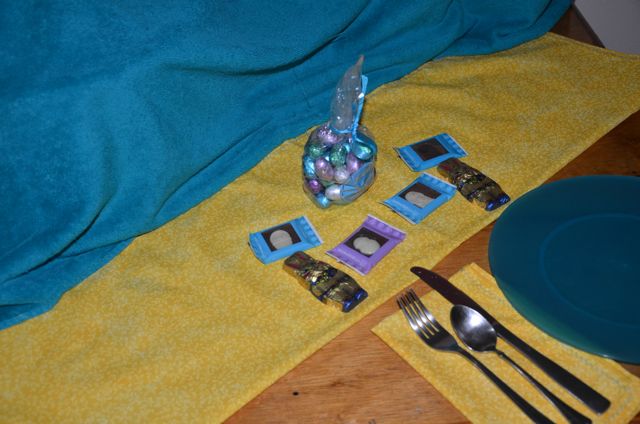
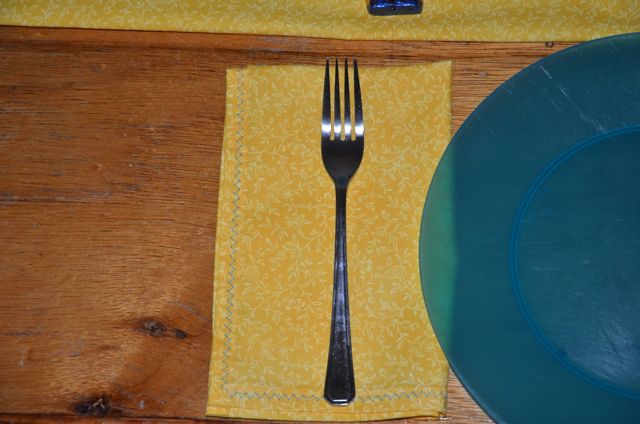
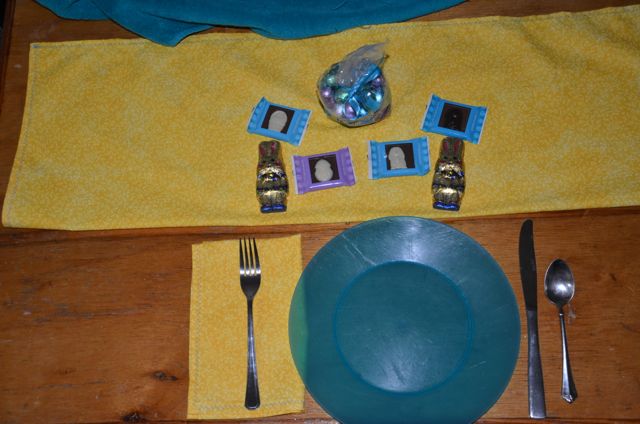
A simple table runner and napkins can really make your Easter table look great this year. This craft is so simple, taking less than an hour to complete, and will cost you about $5!! Go to JoAnn’s and choose a fun Spring-colored fabric, a bright floral-patterned fabric, or find a fabric that matches your Easter printables! You haven’t purchased your Easter printables yet?!? You still can right here!
https://www.etsy.com/listing/
Once you choose your fabric, you are an hour away from having a new table runner with matching napkins!
Here is what you need:
1 yd. cotton fabric (45″ width)
Thread
Iron
Scissors
Instructions:
1. Fold fabric in half lengthwise (matching selvages) and cut on fold from top to bottom. You will have 2 pieces 36″ x 22.5″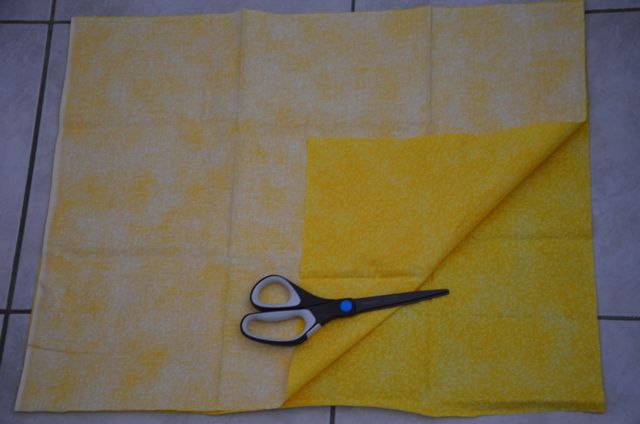
2. Lay one piece (36×22.5) aside. This will be your Table Runner.
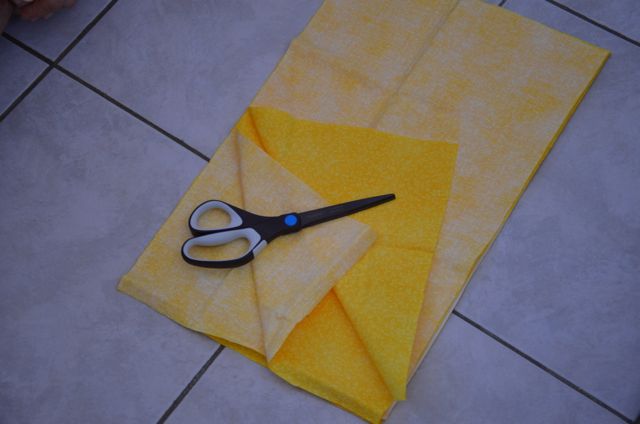 3. Fold other piece in half (width wise) and cut so you have 2 pieces 18″ x 22.5″.
4. Fold those two in half again (lengthwise this time) and cut so you now have 4 pieces each 11.25″ x 18″. These will be your 4 napkins.
5. Fold and iron 1/4 inch on all 4 unfinished edges of each of the napkins and table runner. Fold over 1/4 inch again to make finished hem and iron in place.
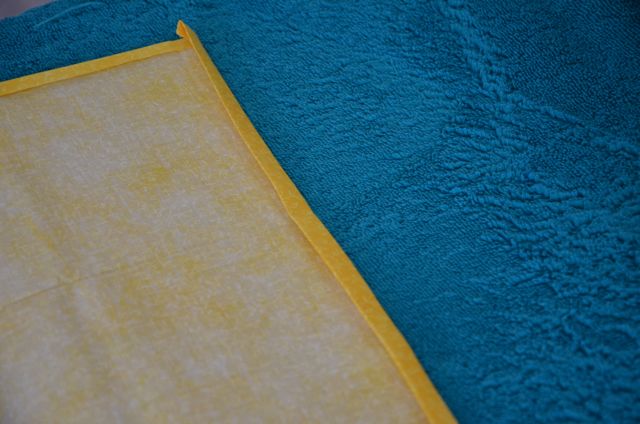
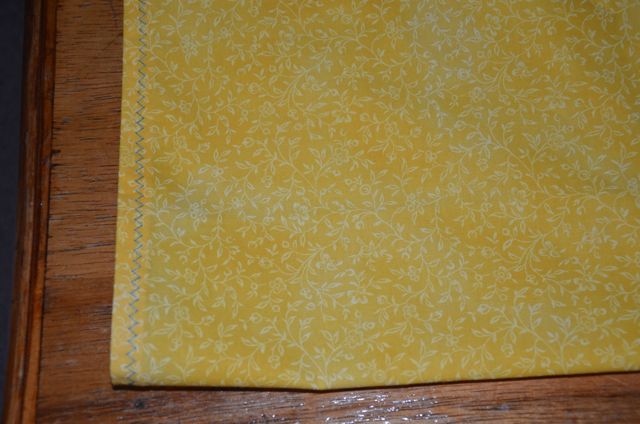
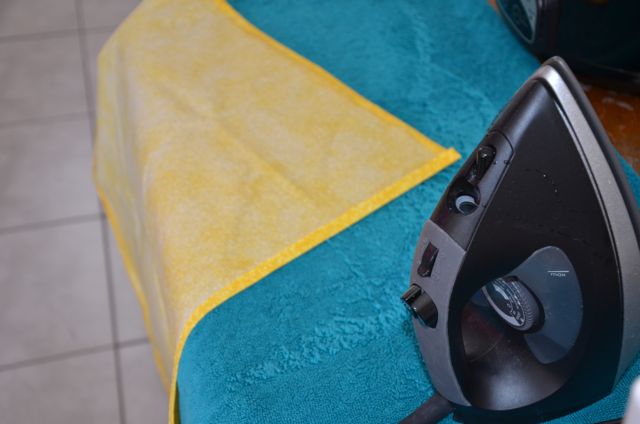 6. Put contrasting color thread in your machine and stitch with a zigzag setting on all 4 sides of table runner and all 4 napkins.
7. Press and place on your dining room table.
8. Set table with all your Easter decorations and treats!
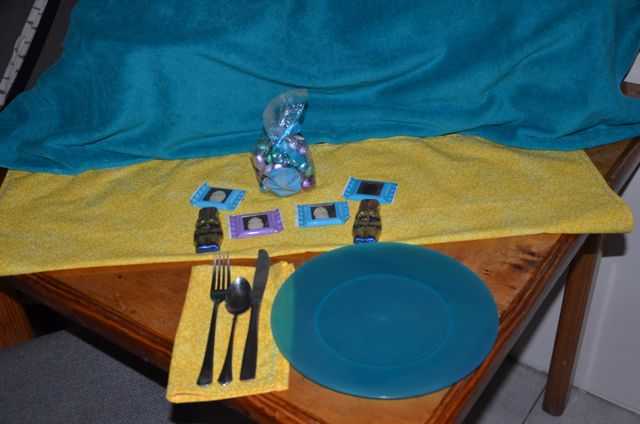
 What is your favorite way to decorate your Easter table?
Yummy Bunnies – A Bunny Treat You Can Eat
Many Easter treats and snacks are very sweet. I’m not complaining – I love Easter candy. However, I thought it would be fun to make a healthy Easter treat for Ellie and Hanna to eat with their friends. With the help of my creative team (my crafty mom and mother-in-law) we designed these “Yummy Bunnies.”
Ingredients:
Cuties
Large Strawberries
Raisins
Banana
Mini Marshmallows
Shredded coconut
Toothpicks
Butter and powdered sugar (paste for the raisins and coconut)
These treats were easy to make and would be lots of fun for your toddler (or older child) to make with you!
How To:
Peel the cutie. Place one toothpick lengthwise through the top middle of the cutie. Slice a large strawberry. Make a small cut at the top so that the strawberry piece resembles bunny ears. Slide the strawberry onto the toothpick. Place a second toothpick horizontally through the center of the cutie. Cut a small piece of banana for the nose and attach to the front of the toothpick. Attach a mini marshmallow on the back of the cutie for a fluffy bunny tail. Make a paste from a bit of butter and powdered sugar. Spoon a small amount on the back of two raisins for the eyes. Spoon a small amount of the paste next to the nose and attach the shredded coconut for whiskers. Admire your adorable Yummy Bunny and eat!
Here is how I displayed the Yummy Bunnies for an Easter party:
Read MoreFrom the Heart-Bible Verse Memory Card Holder
I have been reading the book I recommended a few weeks ago, The Well Versed Family, by Caroline Boykin, and was inspired to make my grandkids a bible verse memory card holder. Believe it or not, I do remember the days of trying to keep all four girls organized, papers in the proper place, backpacks ready for school each morning and the deep desire to make memorizing bible verses a top priority. We were fortunate to have the girls in a school where hiding God’s word in your heart was part of the curriculum and our home church, youth groups and Awana clubs emphasized that important skill as well. So I felt like I had the support from many angles. As I was reading this book I came to the awareness that even without the support from school, church or clubs, you can develop a great system in your own home for helping your kids learn God’s word by memorizing bible verses together as a family. So I decided to help my daughters from the organizational angle and encourage my grandkids in their pursuit of hiding God’s word in their heart. thus the Bible Verse Memory Card Holder idea described below. I will describe how to make one and you can double or triple the supplies if you plan on making more than one.
Supplies needed
scraps of fabric-you need two squares 12×12 inches
1 piece of notebook or construction paper to make your heart pattern
letter stencil for 2-3 inch alphabet
1 package of Warm White cotton batting
1 small piece of clear vinyl fabric
small square of felt
small piece of Wonder Under (one side fusible one side removable paper) or Stitch Witchery (double sided fusible material)
12 inches of grosgrain ribbon
Iron and ironing board
thread
Cut …
Read MoreJ-E-L-L-O
With two littles, I am always looking for crafts that are safe and/or edible for my one-year-old that loves to put everything in her mouth.
This week we had some fun with JELLO. It was so easy and yummy I just had to share.
What You Need:
a box of JELLO (let your kids pick the color or colors)
boiling water
cold water
a bowl and a wisk
a glass 9×13 dish
cookie cutter shapes
I did not do anything special with the making of the JELLO. I simply followed the directions on the box. However, I tried to make as many fun learning activities from the snack making as I could think of.
Learning Activities:
COLORS. I let Ellie pick the colors of JELLO at the store. MIXING and POURING. I let Ellie pour the JELLO powder in the bowl and mix once I added the water. HOT vs COLD. We talked about the hot water and that we don’t touch the hot water. We looked at the steam when I poured the hot water in the bowl. We talked about the difference between the hot water and the cold water when I added the cold water. COUNTING. We counted the cups of water as we poured them in and counted as we stirred. LIQUID vs SOLID. I didn’t do this one with Ellie, but with an older child you could observe the JELLO in the liquid state and then compare it to the solid state after it has been in the refrigerator. PATIENCE. The JELLO takes 4 hours at least to solidify, so you have to be patient with this activity. You can’t eat it right away. SHAPES. We talked about the different shapes we cut out of the JELLO with …
Read MoreDIY Turban Headband
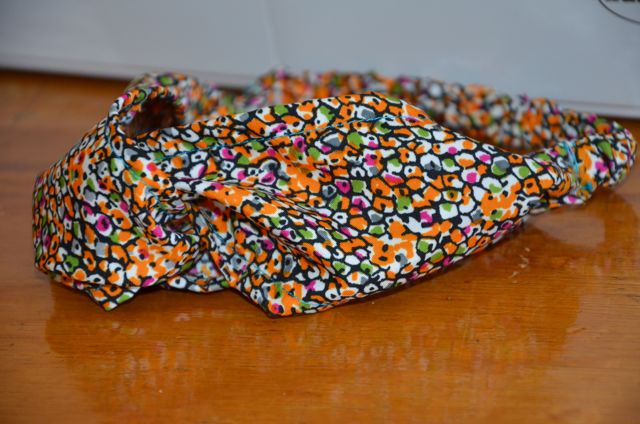
I love headbands! I have always bought them thinking that they look quite simple to make, yet cost so much. So, I finally decided to try to make my own! The newest style of headband is the “Turban Headband”. Two pieces of fabric come together to make a cute “knot” at the top. It is a very simple design and now you can learn how to make your own, too!
What You Need:
Cute Fabric — Elastic — Fabric Scissors — Pins — Measuring Tape — Thread to Match Your Fabric — Sewing Machine
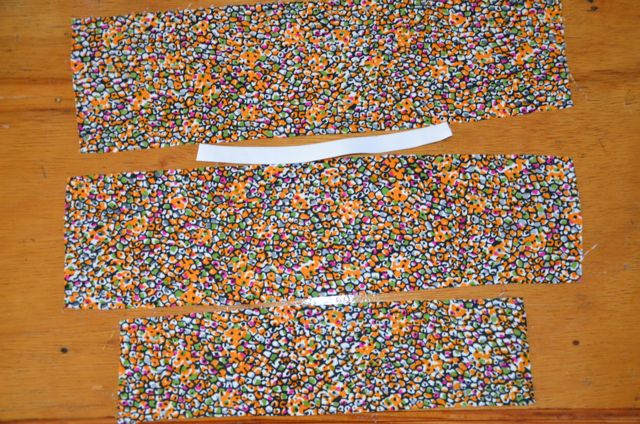
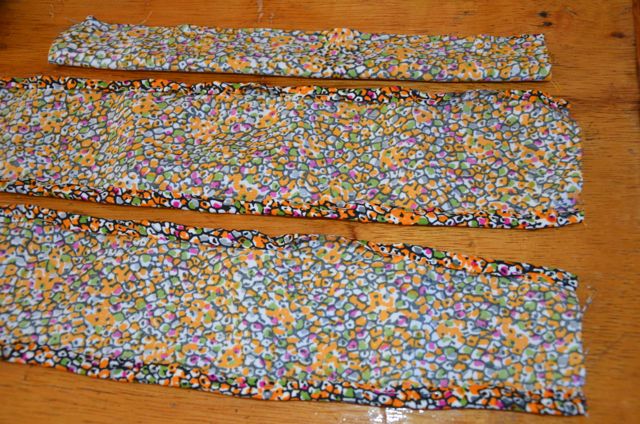
1. Cut three pieces of fabric (Two at 3 3/4 in by 14 3/4 in; One at 11 in by 1 1/2 in) and one piece of elastic (7 1/2 in).
2. The smaller piece will be the cover for the elastic. First, create a hem on both short ends to create a clean look for the casing. Then, put right sides of the smaller piece together and pin the long edge before sewing, leaving short ends open. The width may need to be adjusted depending on width of elastic used when sewing the seam because you want it to be taut around the elastic when you pull it through. Sew and trim the seam. Turn right side out to create the casing.
For the two larger pieces, fold in the long edges (1/4 in) to make a hem on both long sides. Sew hem.
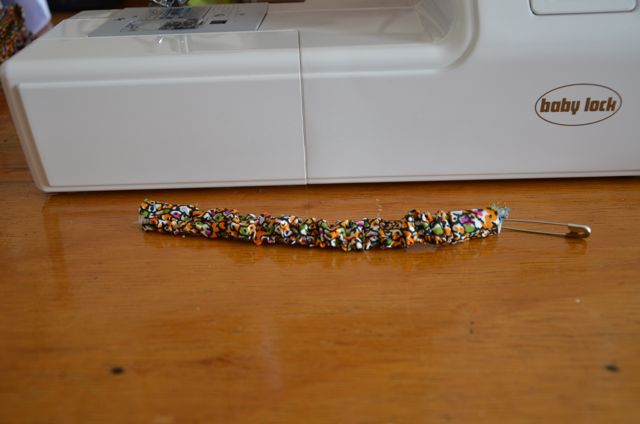
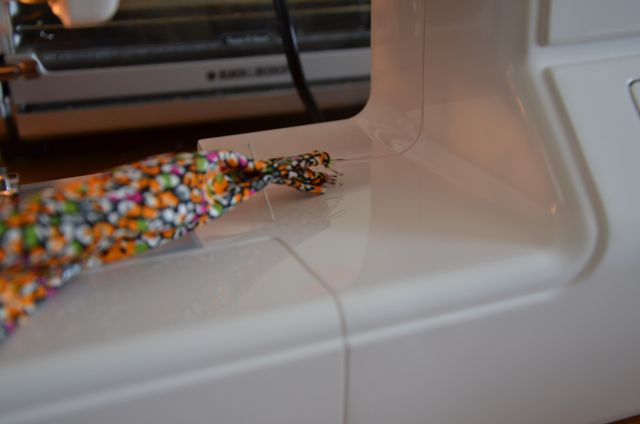
3. Secure a safety pin on one end of the elastic and thread through casing, holding on to the other end so the elastic does not slip out. Attach the other side of the elastic to the safety pin for the time being, creating a loop.
4. Take the larger pieces and accordion the short ends. Pin to secure the accordions.…
Read MoreA Spectacular Sewing Kit Solution
Have you ever had those simple sewing or mending projects that would only take a few minutes to complete if your supplies were right on hand and easy to access? Well, the Spectacular Sewing Kit is an easy organizational solution to a common problem. I have always had a large sewing basket and just recently added a sewing supply tote to my attempts to keep my sewing and mending supplies arranged in an easy grab and go container. But I still wanted something smaller with scissors, thread, pins and needles that I could keep in the kitchen or near my chair in the living room. I had resorted to a ziplock bag filled with essentials. But this morning I saw a great idea on Pinterest and decided to make one for myself. Thus, my Spectacular Sewing Kit Solution!!!
Supplies needed:
1 Quart Mason jar
1 scrap of cotton fabric 8×8 inches
1 piece of fiber fill batting 8×8 inches
1 hot glue gun
small scissors
1 or 2 spools of thread
pack of sewing needles
needle threader
safety pins
straight pins
measuring tape
seam ripper
any other sewing or mending supplies that you use regularly
Take the flat round seal piece of your mason jar and plug in your glue gun. When the glue gun is ready, place a generous amount of hot glue on the top of your mason jar seal. Fold your piece of batting in quarters and scrunch it on top of the glue on your flat round seal. Hold in place until secure. Take scrap of cotton fabric and cut out a circle about 2 inches wider than the top.
 Place the cotton fabric with wrong side on top of batting and stretch over the batting and glue in place on the back of the mason …


