Crafting
Christmas Fabric Garland
Christmas crafts abound during the month of December. I used to make it a hobby to attend many different holiday craft boutiques to gather ideas for ornament making and for decorating our home during the holidays. Now you do not even need to leave your home because of awesome websites like Pinterest where the creative ideas are everywhere to be found. My daughter, Bethany, just hosted a cookie exchange and we decided to try our hands at making a fabric garland to decorate for the party. She found the idea on a Pinterest site and we modified it to meet our needs.
Here is how we made our fabric garland. We actually have enough fabric to make 5 garlands total so I will be making one for each of her sisters as well as one for my house.
Supplies needed…
Assortment of christmas fabrics-(I bought one yard of 5 different Christmas fabrics)
twine or rope
2 inch wide burlap ribbon
2 inch wide assortment of christmas colored ribbon (optional)
fabric scissors …
…
Crafting With Old Christmas Cards
Do you love getting and sending Christmas cards in the mail? It is one of my favorite parts of the Christmas season. I love it so much I leave mine up all year.
I love looking at the cards all year long and Ellie and Hanna love to look at the pictures while they eat. It is a fun way to talk about our friends and family and keep them in our thoughts and prayers even after the Christmas season.
Each year as Christmas approaches I get excited for new cards to hang on my display, but it makes me so sad to get rid of the old ones. This is how I came up with the idea for a Christmas Card Book.
Supplies:
One-hole punch
Old Christmas Cards
Reinforcers
3″ multipurpose book ring
Step 1: Collect your cards
 Step 2: Arrange your cards by size and shape
 Step 3: Punch a hold in the left corner of each card…
Sending a Hug for Harvest
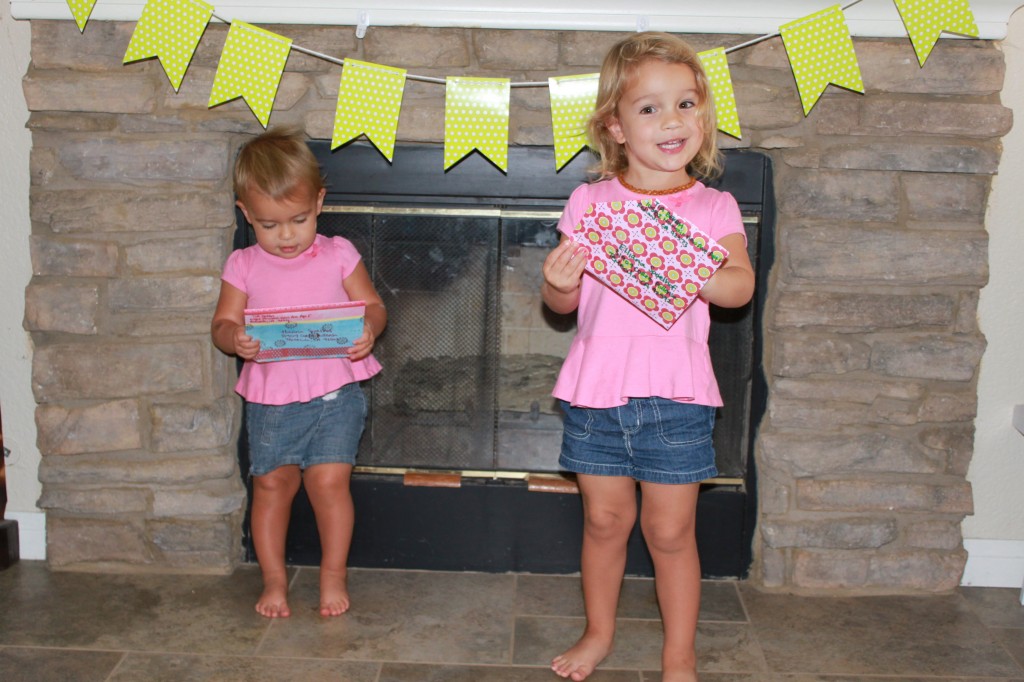
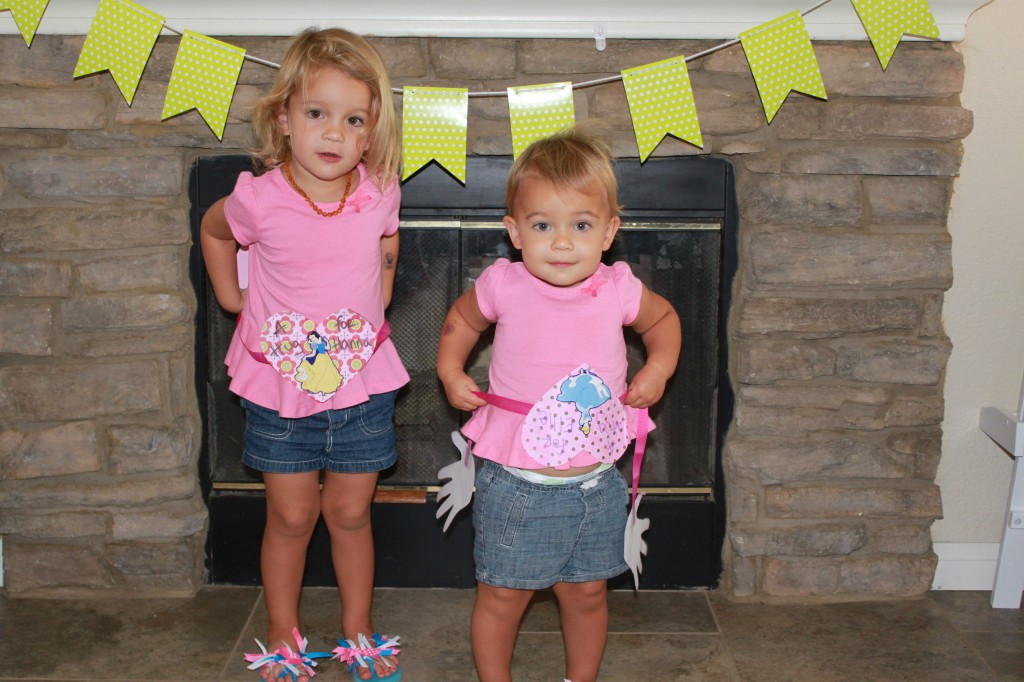
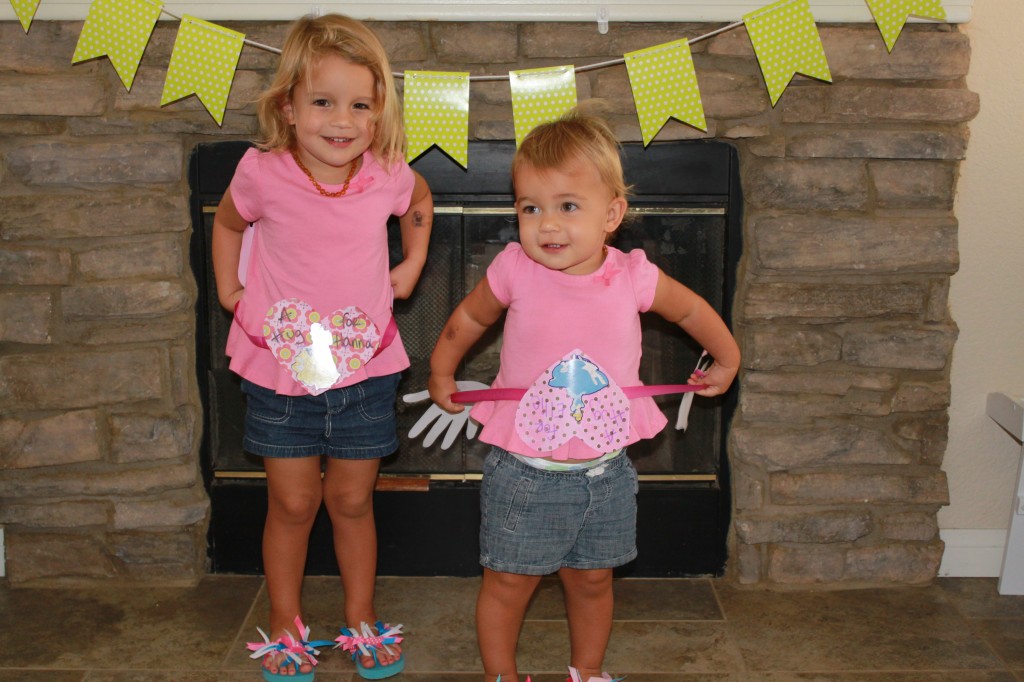
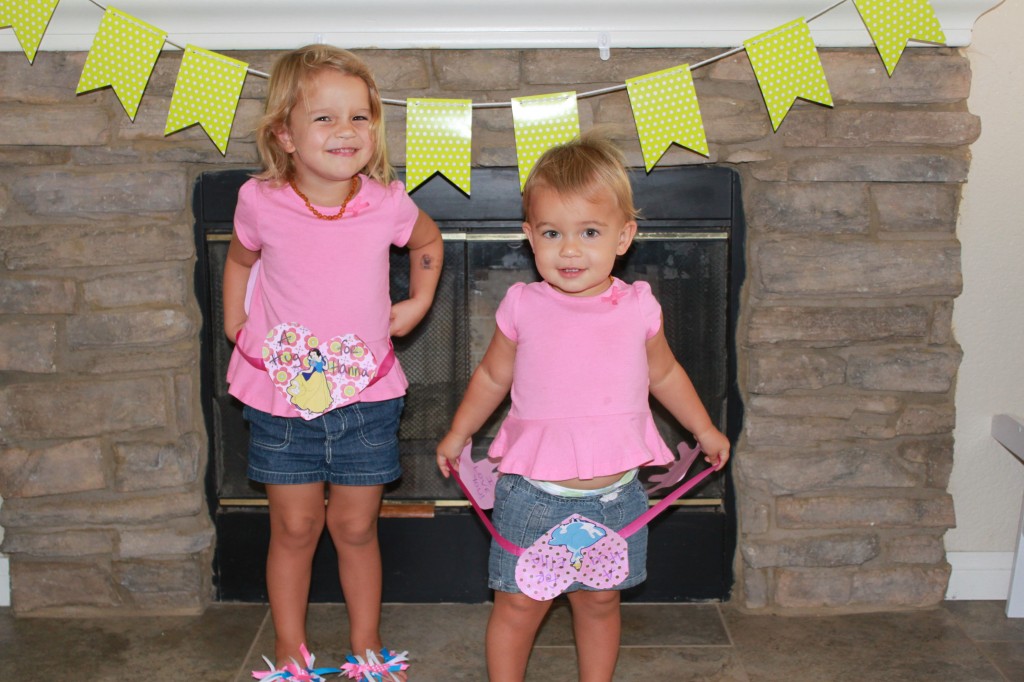
Harvest marks the end of growth, but hopefully growth never stops in your family! I know that technology is great and easy way to stay in communication with family and friends, but I hope and think that letter writing should never cease to exist! Sending mail shows a huge amount of effort and love and thoughtfulness! Because I love receiving mail, I like sending it as well, hoping that the receiver of my mail is as excited as I am to see real letters instead of junk mail or ads in the mailbox! Rachel has been teaching her girls about mail and how fun it can be to send and receive letters! So, I tried sending something a little less traditional to see what the girls would think…I sent them HUGS! Here’s how you do it…
What you Need:
Scrapbook or Construction Paper
Heart stencil (Optional- can always freehand)
Scissors
Markers
Stickers (Optional)
Ribbon
Tape or Glue
1. Choose some fun colors and/or patterns of scrapbooking or construction paper.
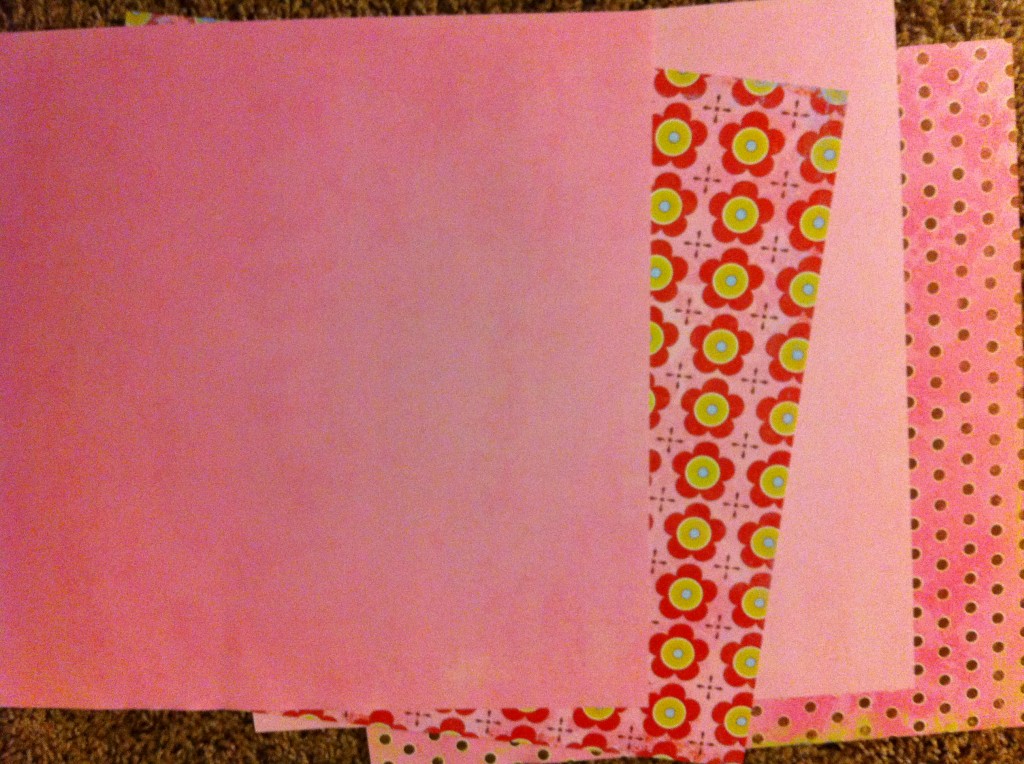
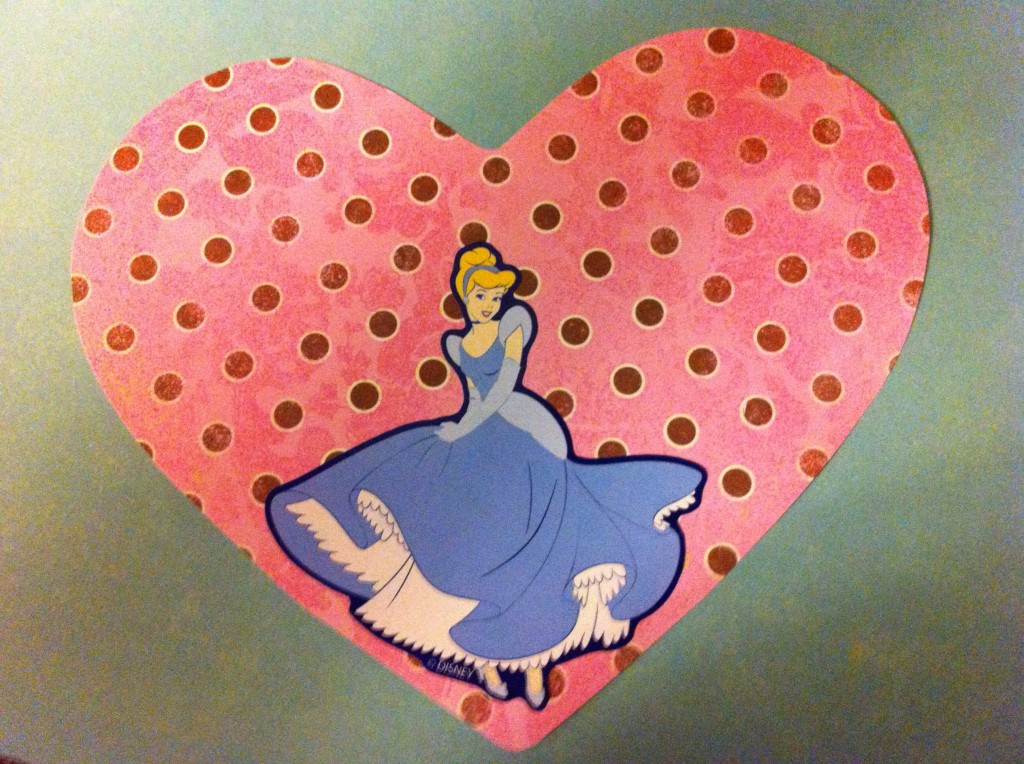
2. Cut out a heart. Write a fun message on the heart — I wrote “A Hug for (name)!” Add stickers to embellish.
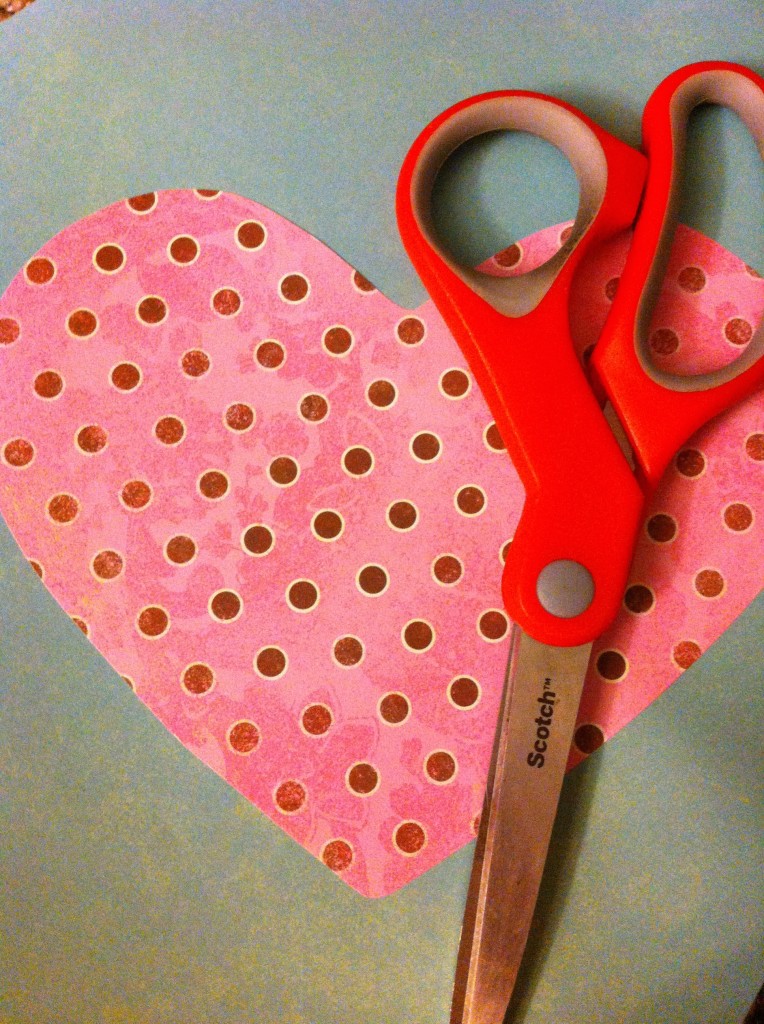
3. Trace each hand and cut. Write messages on each of the hands.
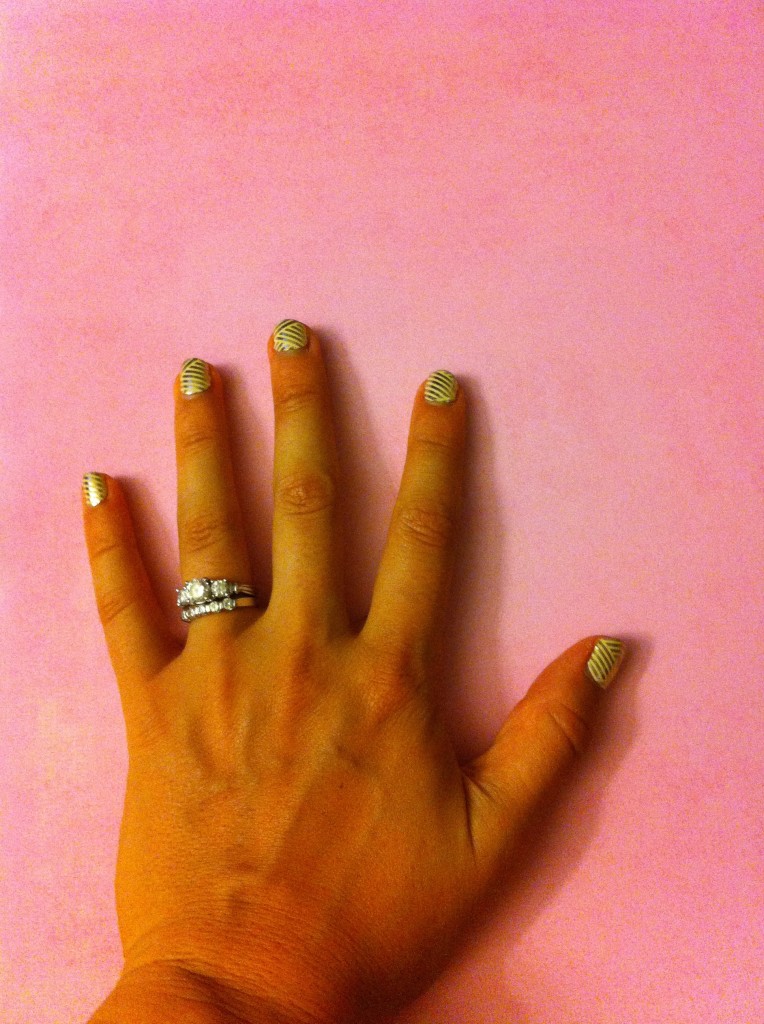
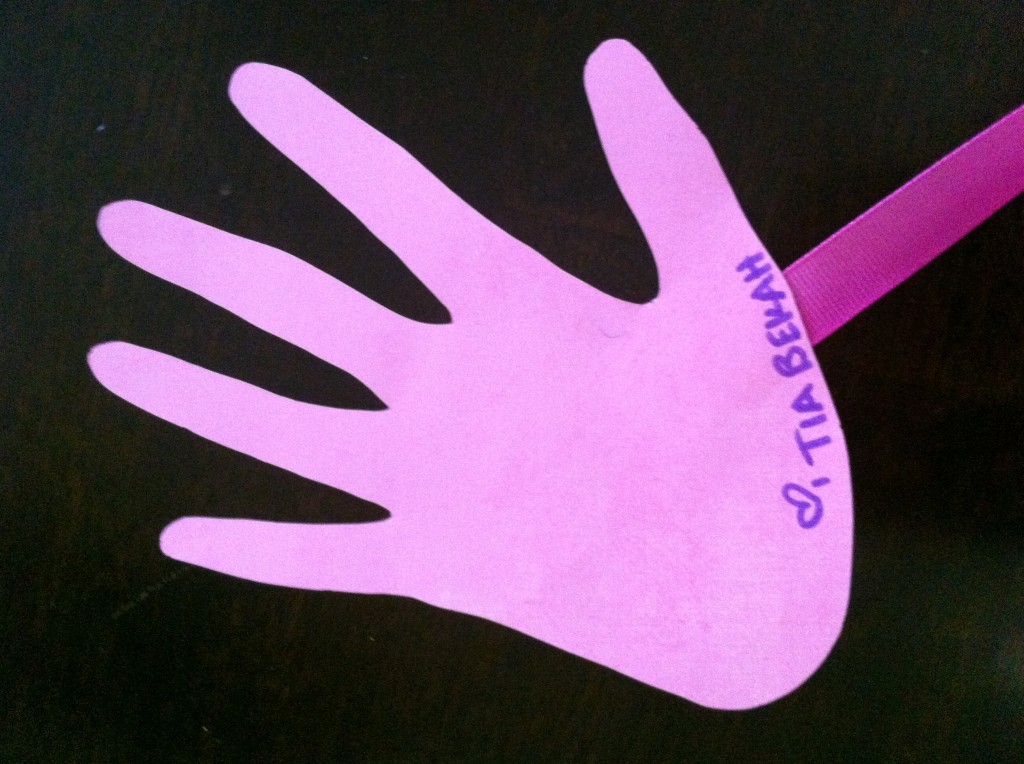
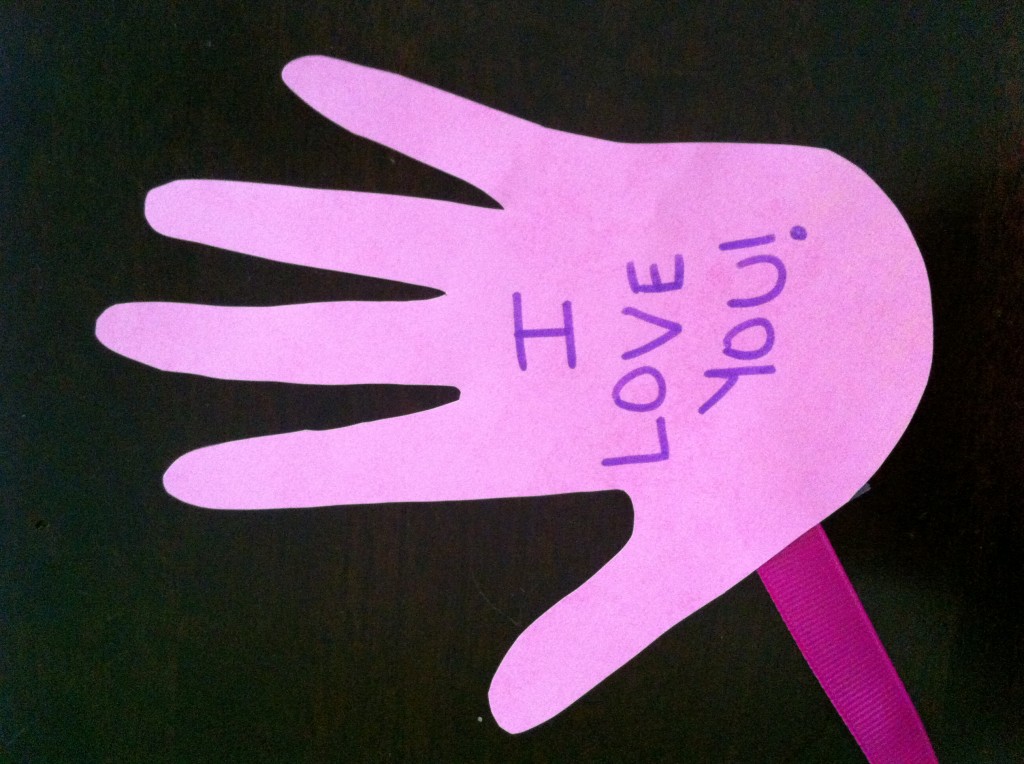
4. Cut out 2 pieces of the ribbon however long you want the hug to be. I think each of mine were 12 in.
5. Tape or glue the ribbon onto the back of the heart and each hand.
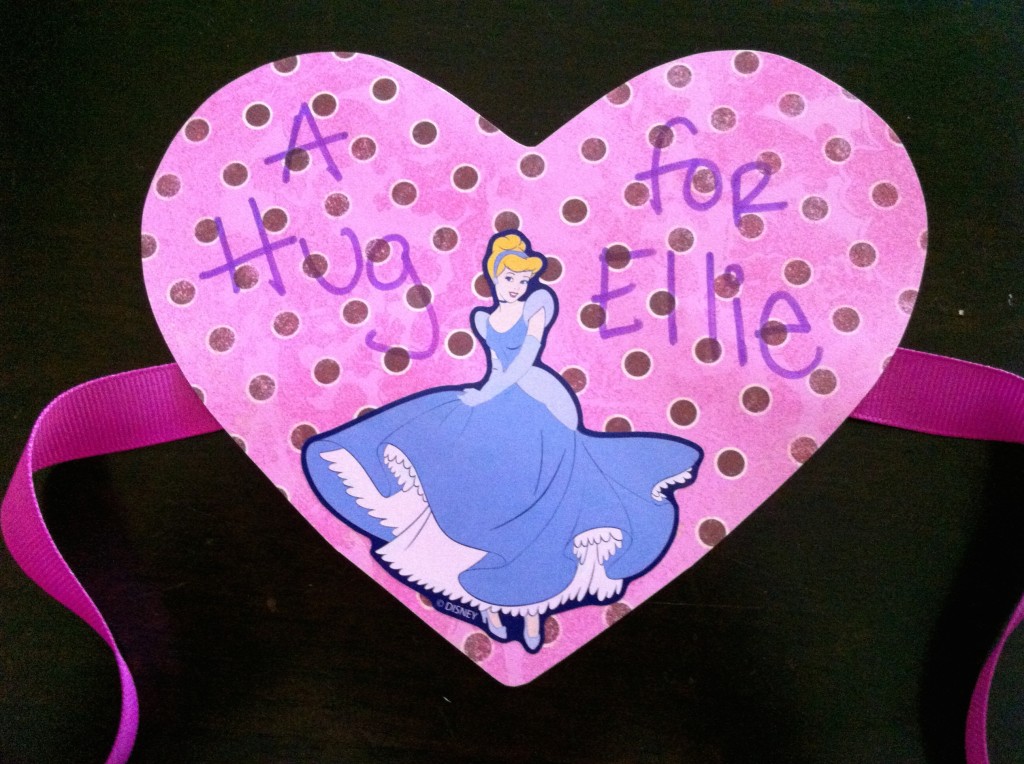
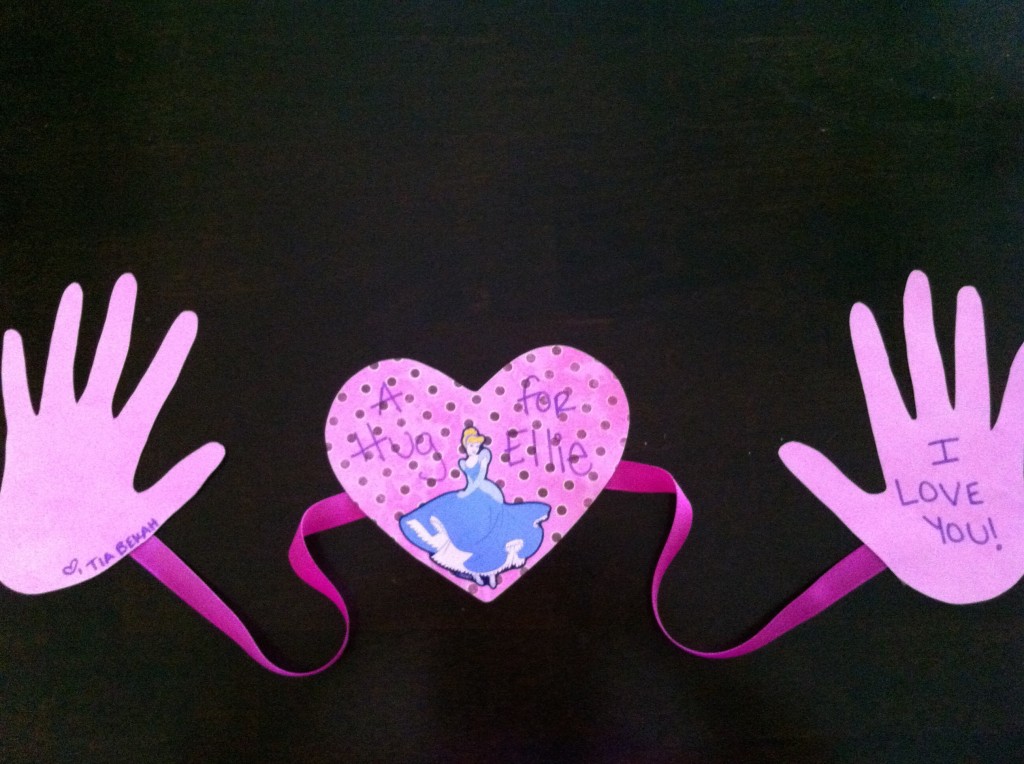
6. You can even use a fun piece of paper to fold into a unique envelope for your hug!
 7. Finally, send in the mail! And ask to be sent pictures once your recipients get their hugs or enclose the HOW-TO instructions and ask for a hug back!
Birthdays are for Spoiling Kids and Grandkids
What do you get when you combine a pack of Pinkalicious stickers with a piece of pink cupcake fabric, a pink t-shirt, some pink ribbon and a pink cupcake appliqué? Why a PINKALICIOUS BIRTHDAY PARTY-of course!!!!!
In the next few days or weeks this pile of supplies will be transformed into the dream outfit for one special grand daughter who will be turning 3 years old in November. The style of Personalized birthday outfit may change a bit from this throwback post from a year ago but the love that goes into the making of the outfit and the joy of wearing the outfit will be the same if not better. I hope to have pictures of this new 3 year old birthday outfit ready to share in a few days.
If you have a special someone who is about to celebrate their special birthday-check out this throwback blog post and head down to your favorite fabric store and start creating! A very special someone will be very glad you decided to spoil them.
What creative ways (that don’t necessarily cost a lot of money) have you used to spoil your kids or grandkids on their birthday?
…
Read MoreMemories Trunk
School is back in session! Sometimes you may be planning a mini party on the inside when this time of the year rolls around; in other moments, you may enjoy reminiscing on the fun family times from the summer or even think about the previous year and how your child has grown. A memories trunk is a fun craft to keep your child’s memories organized on the inside and the outside. It is also budget-friendly if you are willing to take the time! I decorated my trunk as a wedding gift that I gave to my now-husband with our engagement photos. Right now it is being used for storage, but eventually, when we have more space, I would love for it to be filled with memories of our love adventure! I am also now inspired to find one for each of our children in the future!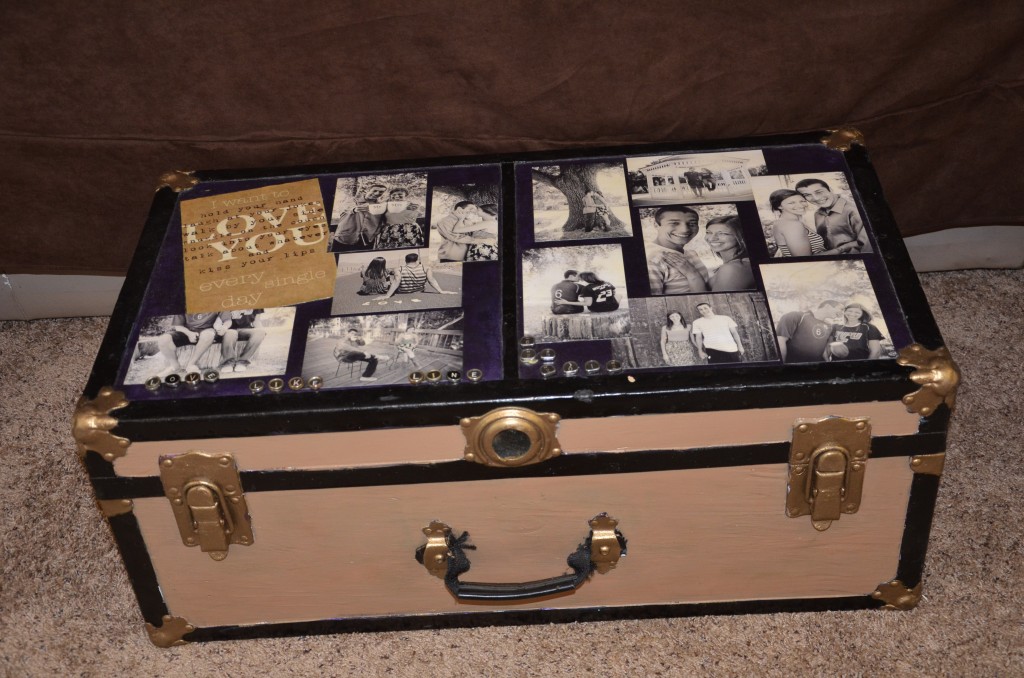
What you need:
Vintage Trunk
Paint and paintbrushes (Optional)
Stencils (Optional)
Photos
Mod podge
Embellishments (Optional)
How to:
1. Buy a trunk! It definitely took patience and determination to find a trunk in good shape for a reasonable price. But, I eventually found a great trunk at a thrift store for $60!
2. You may want to paint your trunk. My trunk started as a forest green color. I decided to paint the base of it as a more neutral color that would match better in our home. The top I painted purple to be more unique.
3. Embellish! Use stencils to put your child’s name. Find creative ways to spell our your child’s name – I used old typewriter keys, that I found at a swap meet, to spell out a phrase and date on my trunk.
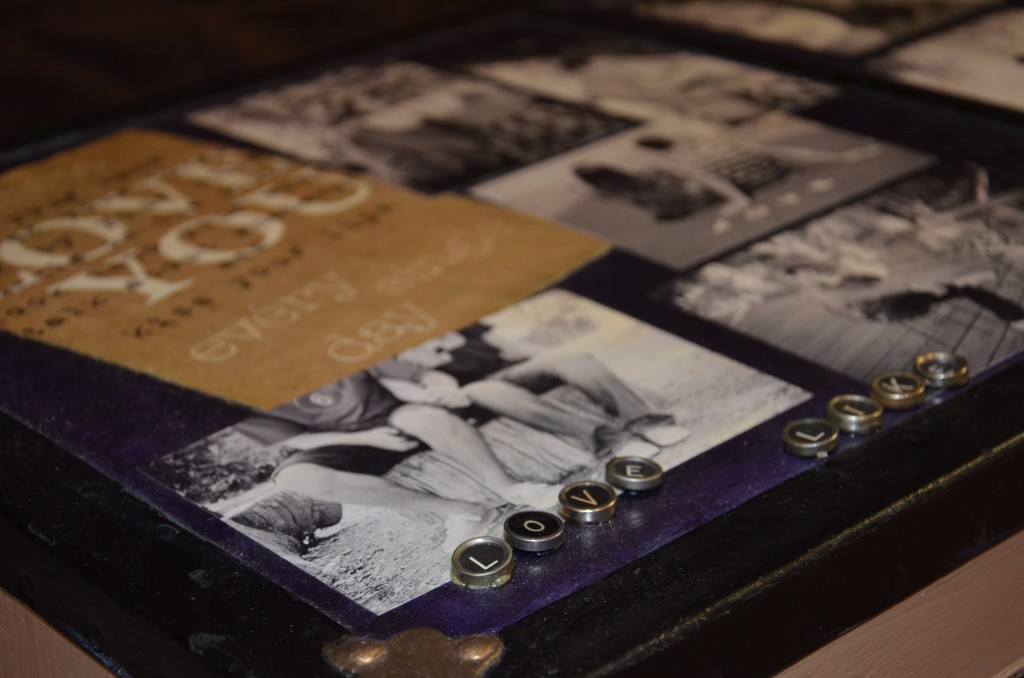
Put photos on the top of your trunk from your child’s first day of school each …
Read MoreLast Minute Moms…We Are Enough!
Today I am feeling compelled to encourage my fellow “last minute” moms. You know us as the ones always scrambling, always a bit frazzled, and rarely completely done up head to toe (I personally pick one thing whether it be “real” clothes, make-up on, hair done, etc.).
I know I have thousands of things pinned on Pinterest collecting dust. However, I do know that even when I don’t have great activities planned out or fabulous meals on the table, my kids are for the most part HAPPY.
Ellie’s new thing is to ask me each morning, “What are we doing today?” Usually I have one or two things to tell her, but after each activity it is always the same question: “What’s next?” I often feel bad or guilty that I don’t have something planned and ready to go in the afternoon. While there is nothing wrong with being a planned, Pinterest-worthy mom, (in fact, I salute you!) there is also nothing wrong with leaving room to be creative and come up with things on the fly.
Most of our activities stem from some interests the kids have that day or week. I whipped up our Mailbox activity one day that Ellie was curious and interested in mail. Yesterday we were putting together our new stroller and my husband turned the box into a spaceship that we filled with toys and then let the kids sit inside the box and color. Brilliant!
I think time that isn’t planned is great for the kids’ creativity too. Ellie will create elaborate tea parties or trips to the zoo all on her own. I’m having a lot of fun seeing what she can imagine.
In closing, I just wanted to encourage you that it is enough to just be present with your kids. …
Read MoreRedecorating on a Budget
Moving can be stressful, but it can also be fun. The challenge of creating an organized living space on a budget has reminded me of my first 15 years of marriage. We lived in 7 different cities and 13 different homes in those early years, so I became the queen of reorganizing and redecorating on a budget. Today the possibilities are endless with all the retail stores that focus on organizing closets, kitchens, bedrooms etc, but when you are on a tight budget you need to do your research and find the best deals possible.
My daughter and her husband are just settling into their new apartment and I came to give them a hand. They had found a fantastic deal on a dining room table and four chairs but the cushions on the chairs needed to be recovered. So we headed out to the local fabric store with coupons in hand. She chose some beautiful canvas style a pollsters fabric that was on sale and we headed home to recover the cushions.
Start to finish, the project took about 2-3 hours but it was worth the time because the new covers for the chair cushions completely changed the look of the table and chairs. Here are the tools you need.
2 yards heavy duty canvas or upholstery
Staple gun and light duty staples
Screw driver
Scissors
Remove the cushions from the frame work of the chair with your screw driver.
Place the cushions one by one, face down on wrong side of canvas fabric.

Cut out squares of fabric the size of the cushion plus 6 extra inches all the way around. ( a 16 by 16 seat cushion needs a piece of fabric cut into a 28 by 28 square)
Place the cushion onto the wrong side of …
Read More“You’ve Got Mail”
One of my favorite things to do is make and send hand-made or handwritten letters and cards. Ellie had developed a recent interest in mail and art, and I couldn’t be happier. We have had a blast the last few days making and sending cards to Ellie and Hanna’s friends.
Cultivate an interest:
We just happen to be reading books and watching shows about mail recently. I’ve received great advice from friends about learning at this early preschool age and that it should come naturally from play related activities. Because Ellie became interested in mail all on her own, this activity has been really fun for her.
Book we read: “I Miss You Every Day” by Simms Tabak
Show we watched: Elmo’s World “Mail”
Gather supplies:
Essential supplies are paper, crayons or markers, envelopes, and stamps. We had a lot of fun with stickers too.
Create a space:
Create a fun space that you can comfortably create your art. We tried a small table and also the dining room table.
Make your cards:
Let your kids be the artist. I only helped with writing names and the stickers.
Prepare the envelopes:
I briefly talked to Ellie about how to address the envelope. I said that her name goes on it because it is from her and then you write your friend’s name on it so the mail person knows where to send it.
The big thing Ellie was into (from Elmo and the book) was the stamps. I helped Ellie place the stamp on the envelop in the appropriate space.
Mail your letter:
We had a blast walking to the mailbox, but you can even go on a field trip to the post office to mail your letters. I prefer activities that don’t require a lot of in and out …
Read MoreHow to make a “Bored” Board
How to beat summer boredom in kids is a common theme in many homes. It is not that the children are ready for summer to be over but the reality of school starting is just a bit too far away and the novelty of the freedom from structure has worn off.
Yesterday, Kerry wrote about boredom and gave you many ideas of things to do to break the “I’m Bored” mentality. Today, I am going to give you one more creative idea: how to make a Bored Board.
Here are the supplies you need:
One large frame-I bought a 16×24 inch frame (with a hard back and no glass) on the clearance shelf at Marshalls for $7.
1 bottle of chalkboard paint (any color but darker is better)
paint brush or sponge brush
chalkboard pens


I painted the hard purple back of my frame but if you buy a frame with glass you can either paint the glass or take the glass out and paint the back of the frame (or cover the back of the frame with poster board and paint the poster board).
Paint one coat and let it dry completely. Decide if you need to paint a second coat. Once your board is dry, you can start writing your list and hang it in a place where the kids can see it and add to it as they come up with new ideas and erase the ones you have accomplished. Here are the chalkboard pens we use. They come is all colors and cost about $3.50.
 This style of “Bored Board” is just one idea that might be fun for you to try.
  The possibilities are endless and you can use anything from a piece of blank paper that you laminate, scrapbooking paper that …
Sponge Ball Water Play
My first encounter with a Sponge Ball was at a splash pad. A mom and her son had brought them as a fun toy to play with in the water. They were so cool because they are made out of sponges and create fun effect when you squeeze them or throw them. Furthermore, because they are just sponges, they are soft and I don’t have to worry too much about the kids throwing them around.
I have been meaning to make them every since I first saw them, but life happened and I never got around to it. I went on Pinterest to remind myself how to make them. If you search “sponge balls” you will come across a variety of posts and activities, or you can just use my suggestions!
Materials Needed: Sponges, scissors, and hair bands
Actually, the hardest part for me was finding sponges without the hard scrubbing side. You want the soft colored sponges. I was only able to find wavy sponges at Walmart, but that just meant I had some fun wavy pieces in the sponge balls.
A three pack of sponges will make 1 ball. So buy according to how many sponge balls you want to make.
Any type of hair rubber band will do. I used goody brand “ouchless” hair bands because I had them at my house and they don’t have the metal part that some hair bands have.
What to do:
My sponges came in a pack of 3. New sponges come slightly damp so it is easy to cut them and assemble the sponge balls. I cut each sponge into 4 equal strips. Then I bunched the strips together (all 12 of them) and tied the rubber band tightly around the bunch.
DONE!
Have some fun:
Take your sponge …
Read More