Crafting
Learning Through Play
We LOVE our crates from Koala Co. They are science and learning based subscription kits that come with all the materials you need for some great learning time. My 5 year old loves the Koala Crates, and every other month we get a Kiwi Crate for my 2 older daughters. I love that the girls can have hands-on learning time with me and I don’t have to do any prep!!
Our latest Koala Crate came with everything we needed for a play campout. It was a huge hit!!
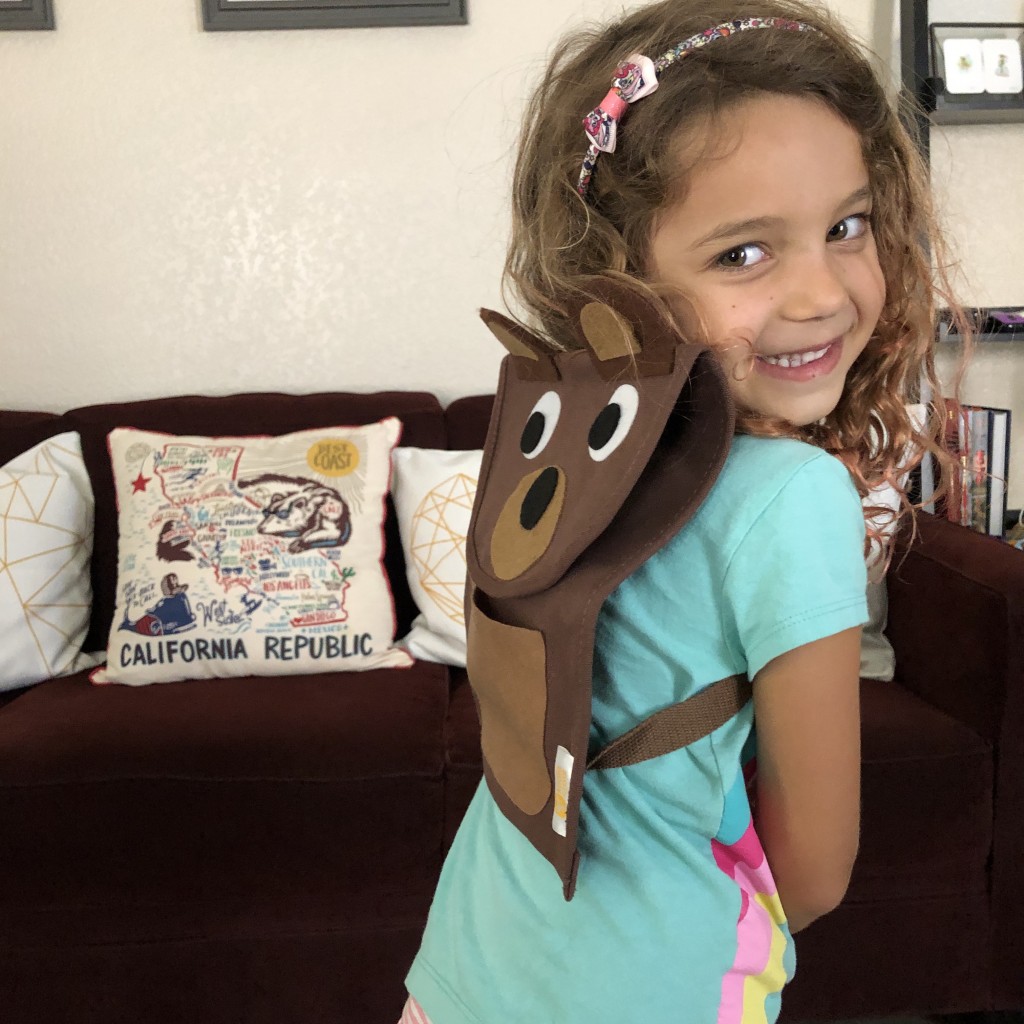
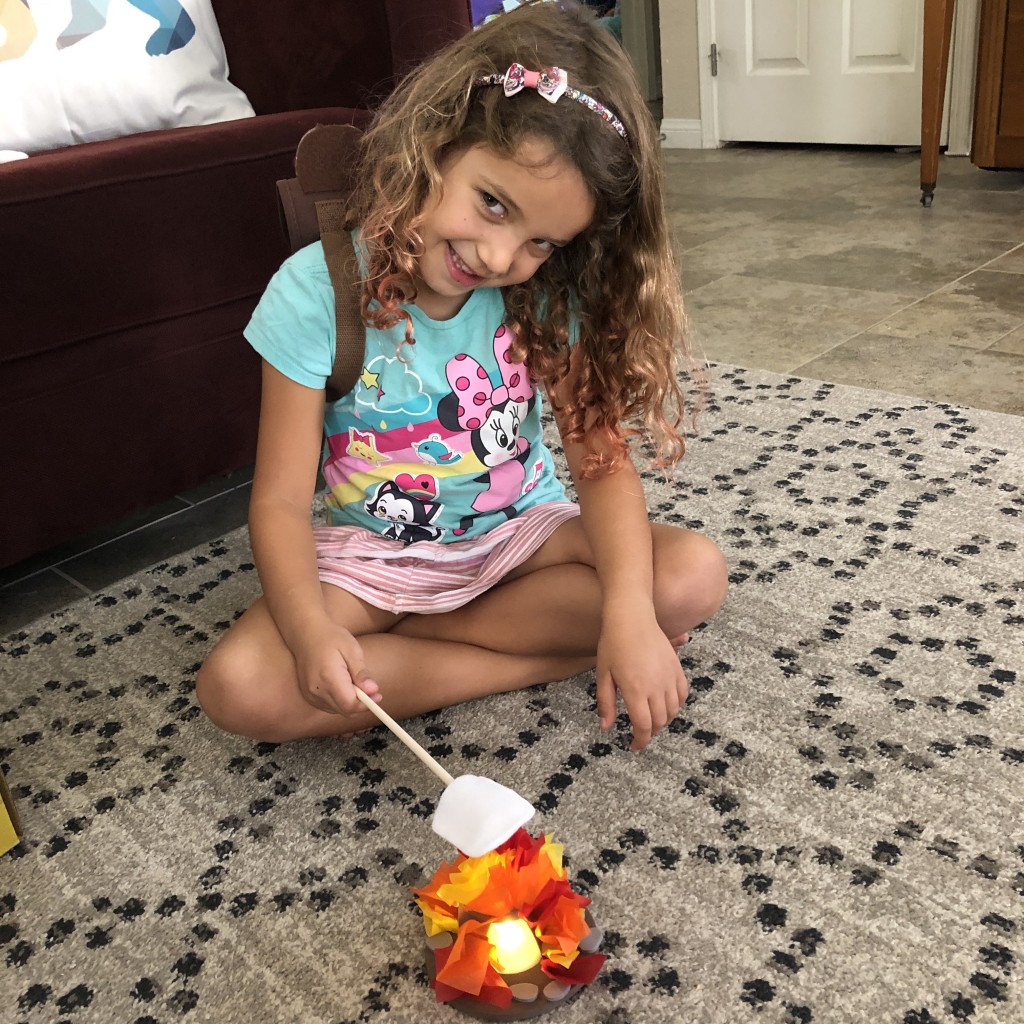
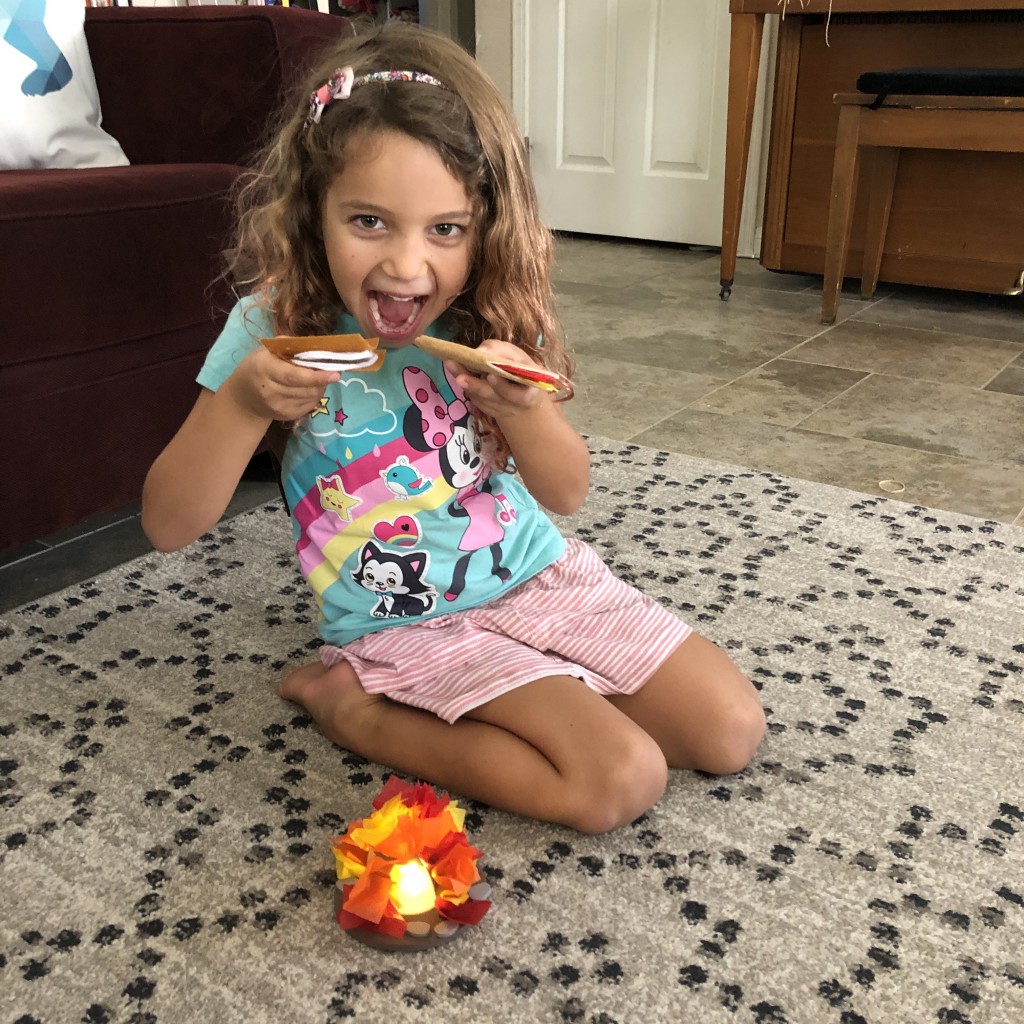
Focused playtime with the kids is super important, and these crates make it really easy to have a fun activity to do that keeps us entertained and working together. It is also a great way for me to teach the girls how to follow directions, work together, and let them learn how to do the steps themselves.
Do your kids get a monthly subscription box? What are your favorites?
 …
…
Try a New Fall Craft- Coloring Pumpkins
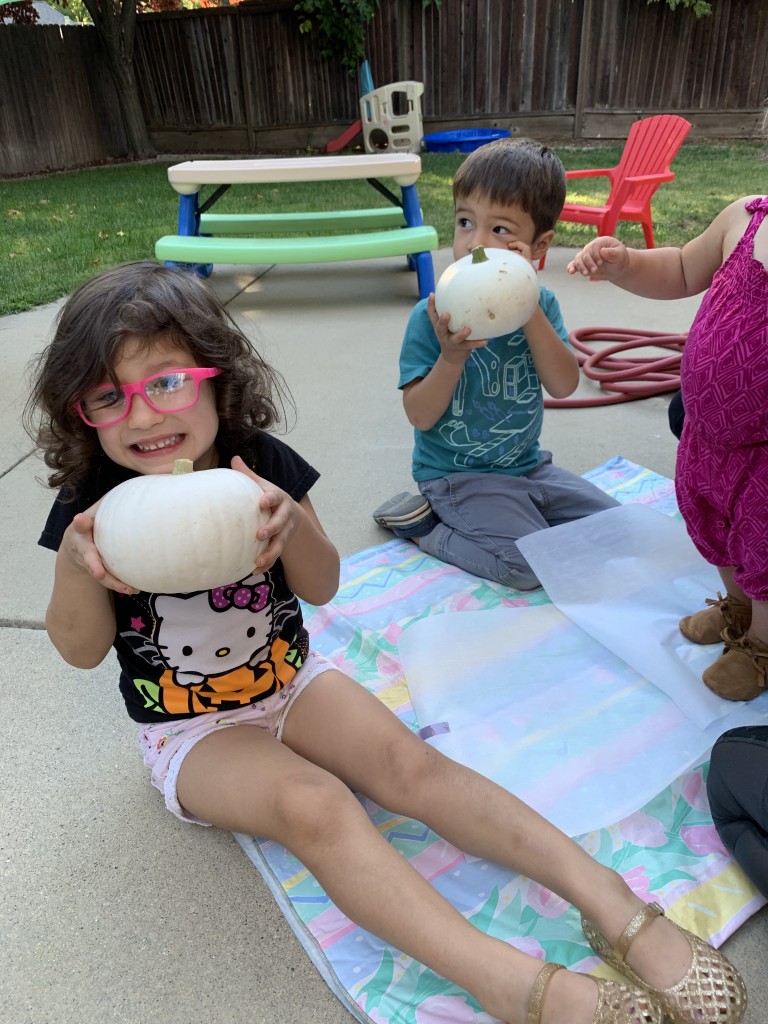
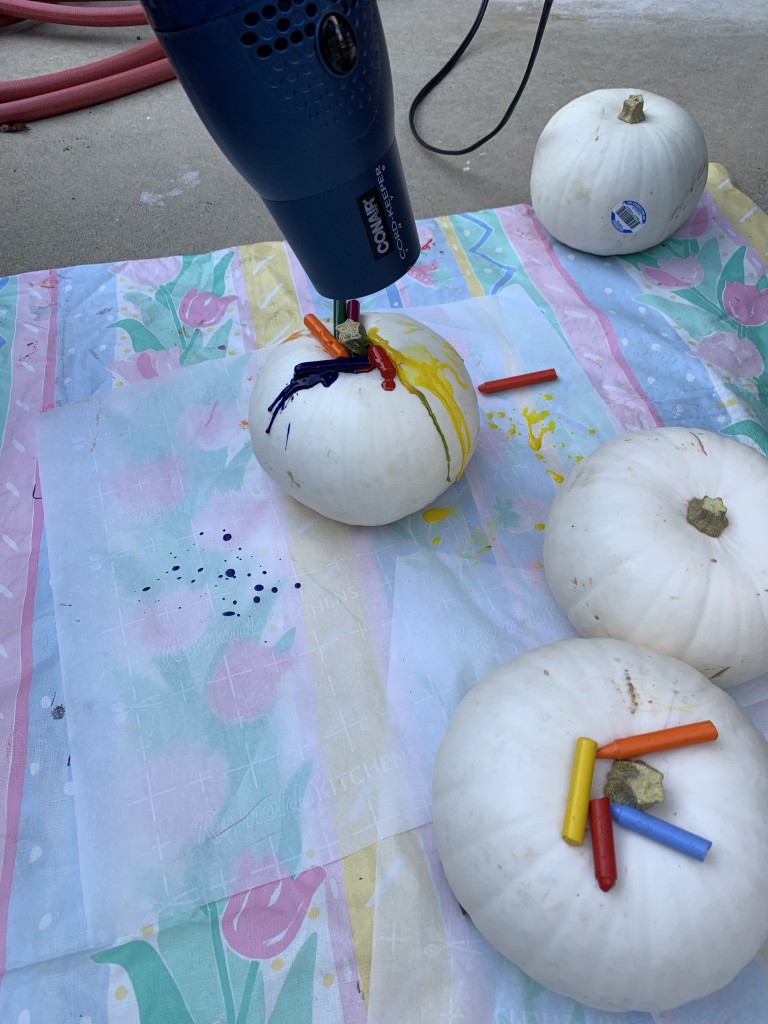
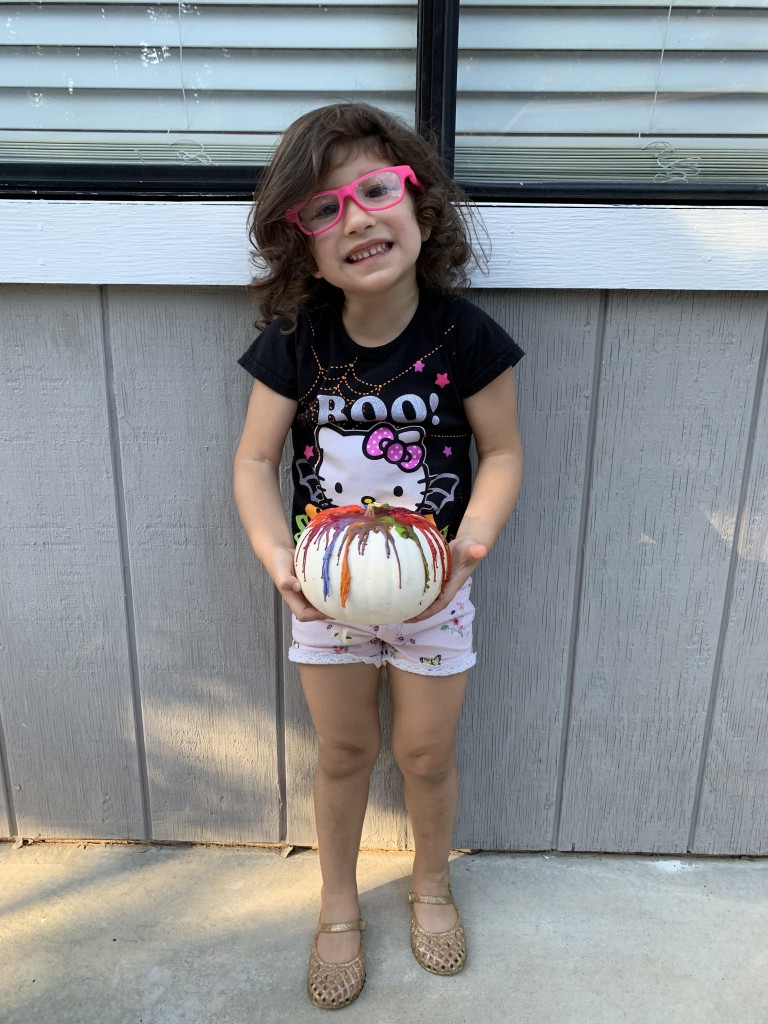
When I saw the idea for coloring pumpkins, I thought we must incorporate this into one of our preschool days for our color theme that we have been working on the last couple of weeks. It was very simple- only needing white pumpkins, crayons (old, broken ones worked well for the smaller pumpkins), and a blow dryer- but the end result was so unique!
At first, we were a little discouraged because the crayons kept blowing off of the pumpkins. But, we stuck with it and realized that the crayons needed to melt a little to get grounded into the pumpkin to start dripping down to make the melted colored strips. It did take longer than we expected for the crayons to melt so the little ones did lose interest after the first pumpkin, but they loved seeing how the colors mixed together and melted down the pumpkin.
Another check off our Bucket List! 🙂
Check out our instagram @growingweisser to see a Time-lapse video of the process!
Read MoreDIY Kitchen made of Cardboard Boxes
Our DIY cardboard kitchen was one of the best grandkid creation I have ever made. The directions are below. It was durable, lasted through the first batch of grandkids and I am sad to see it go. Our second youngest granddaughter, Madi, is ready for a wooden play kitchen and Gammie is finally ready to retire the DIY Cardboard Kitchen that I made 6 years ago. So this week when she and her brother came for a visit I surprised them with a red wooden kitchen that we bought on Facebook marketplace. The new kitchen was a hit but brother Garrett could not understand why we had to say goodbye to the original DIY one I made. I would highly recommend this project because it was fun and our family made many wonderful memories together playing with it for years.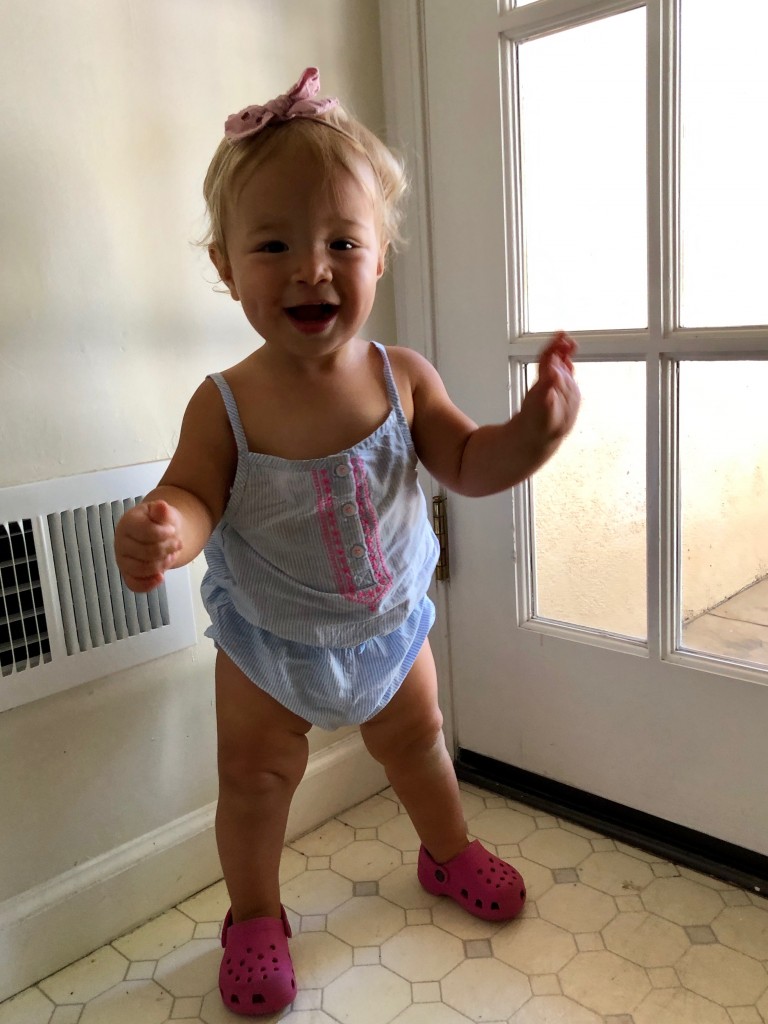
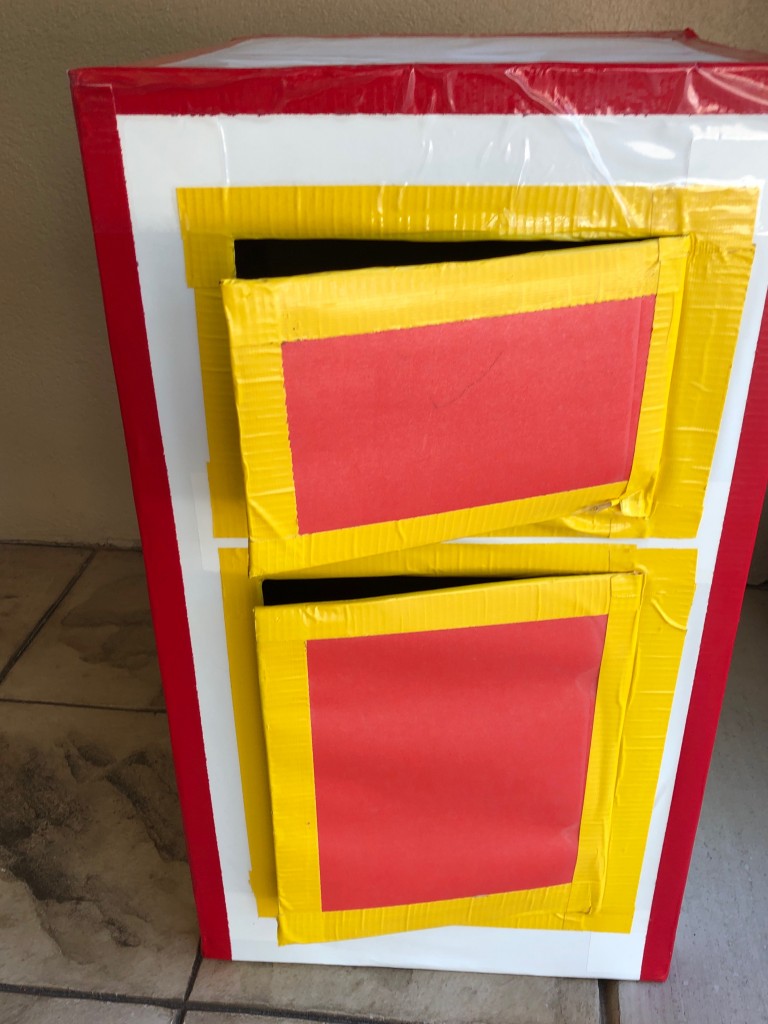 The refrigerator, stove and sink after 6 years of fun with Jorde, Reese, Zeke, Calvin, Ellie, Hanna and Mikah.
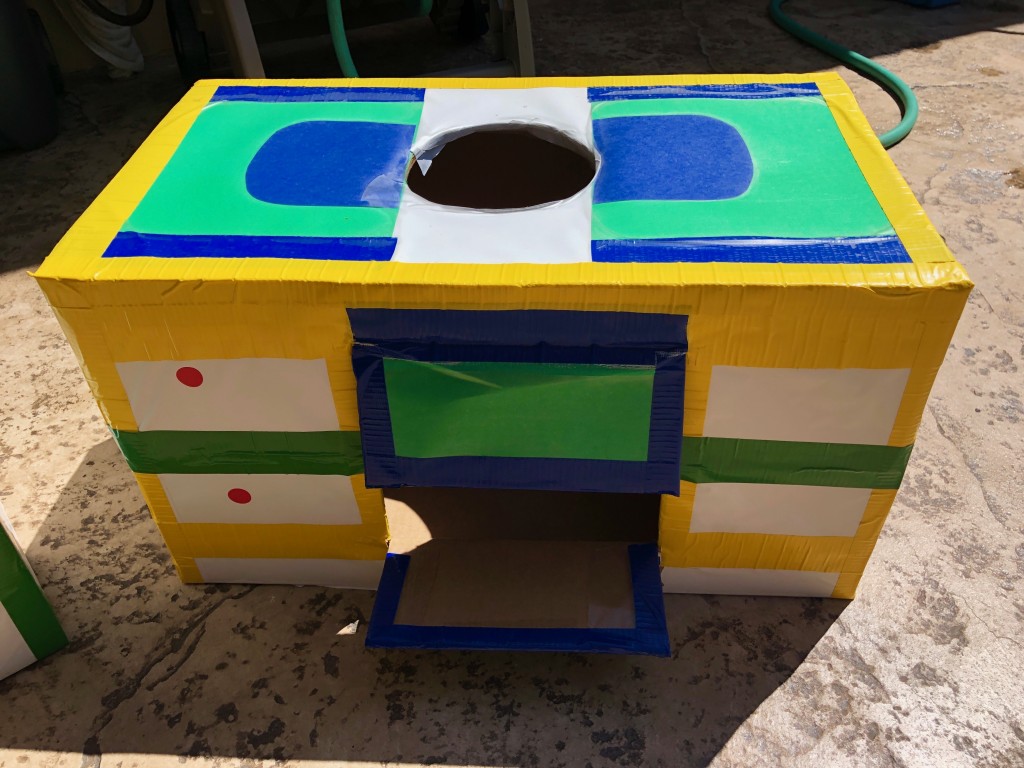
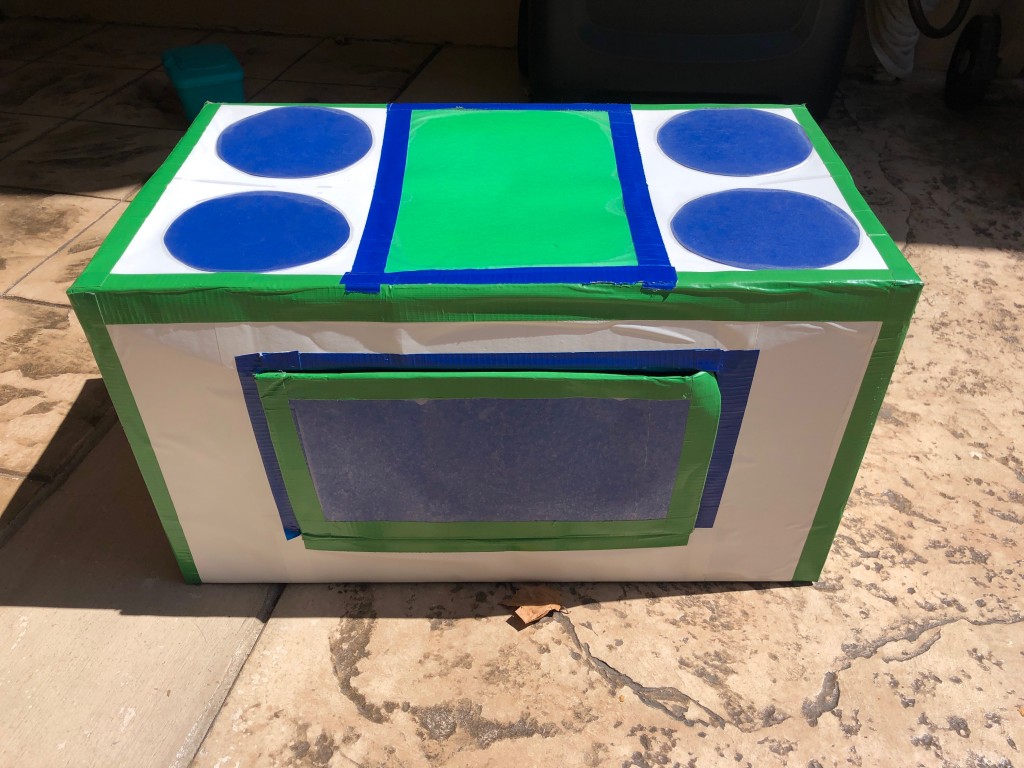
Here is the new kitchen, ready for the second batch- Garrett, Madi, Sophie, Hezi and Selah!!!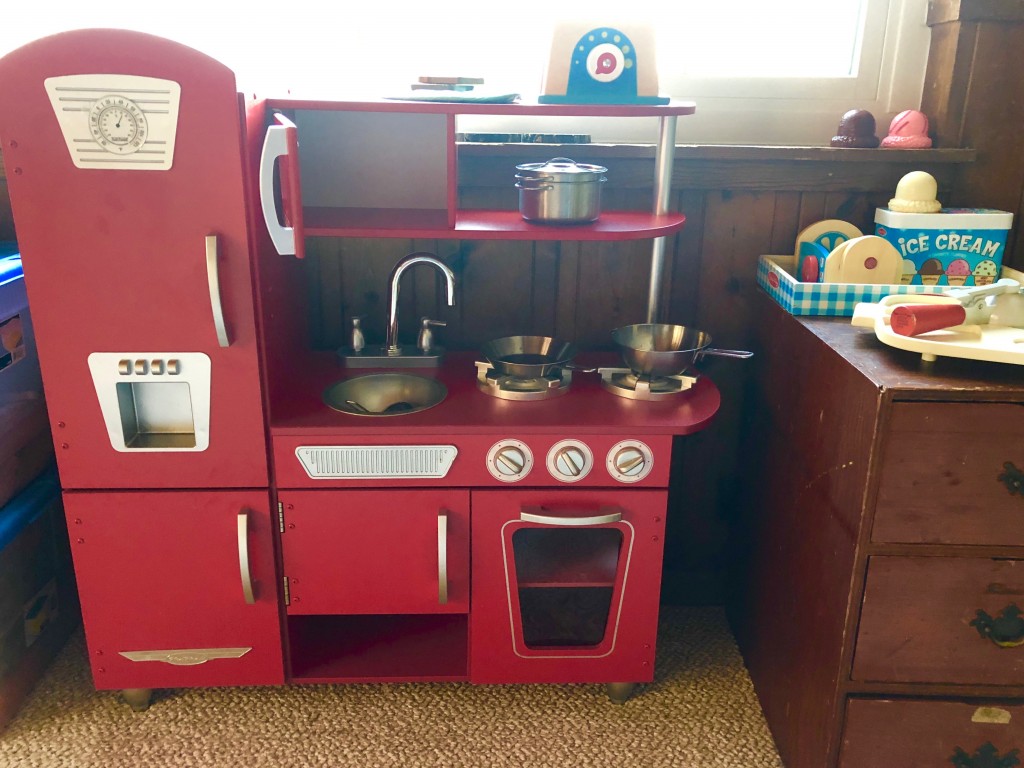
DIY Cardboard Kitchen
3 Large sturdy boxes (whatever number of appliances you choose to make)
2 rolls white contact paper
2 rolls clear contact paper
3 colored poster boards – 1 red, 1 blue, 1 green (choose any colors that go together)
3-4 rolls colored duct tape – 1 red, 1 blue, 1 green, 1 yellow ( choose coordinated colored tape)
clear packing tape
scissors
exacto knife or retractable box cutter blade
plastic glad/ziplock/tupperware disposable round container with lid
pen or pencil…
The Gift of TIME
I was reminded this weekend that kids spell LOVE………TIME!!! Spending time with children is one of the very best gifts you can give. I had the privilege of babysitting my 3 grand daughters this weekend. They love to talk about their lives and engage in conversation. They have so much to share and often times are competitive as we are talking and interacting (all because they have SO MUCH TO TELL!) They love to be silly! The best thing I have observed as they are growing up is that my time is NEVER wasted on them. They value the time I spend with them. They love the attention and they love having me be a part of their lives.
I make it a priority to listen attentively, ask open ended questions and try to challenge them to work out their differences rather than solve their problems for them. I see them practicing the things we talk about regarding kindness and sharing and showing true love to others by serving and caring. Time is one of my most precious commodities and I will never pass up an opportunity to be an influencer in the lives of my grand children if I am invited to spend time with them.
Children are like little sponges. They listen and usually try to obey..(even when they act like they haven’t heard you when you ask them to stop playing and get ready for school or bed). I try to find out their newest passions and always ask what they are learning in school or in their friendships, clubs or at church. When I invest time intentionally listening to them with out judgment or correction, they are eager to tell me what they are thinking and what they are learning. There is a time for correction …
Read MoreSock Puppets
How many of us wonder why we have so many orphaned socks throughout the years, as we do our laundry? I seem to loose one sock of a pair (usually my new favorite pair) on a regular basis? So for years when the girls where at home and younger, I would use the orphaned socks to curl their hair-in old school ringlets. Now that they are grown and gone and at this point all but one of my grand daughters has curly hair, I needed another option for “what to do with the orphaned socks???”…VIOLA, SOCK PUPPETS!!!!! It is easy and fun to do when your grandkids come for a visit. We made some this last week when Rachel and her husband and daughters were visiting. The girls got to design their own puppets and Gammie did the sewing. You can actually let the kids do some of the sewing if you have more time and the kids are a bit older.
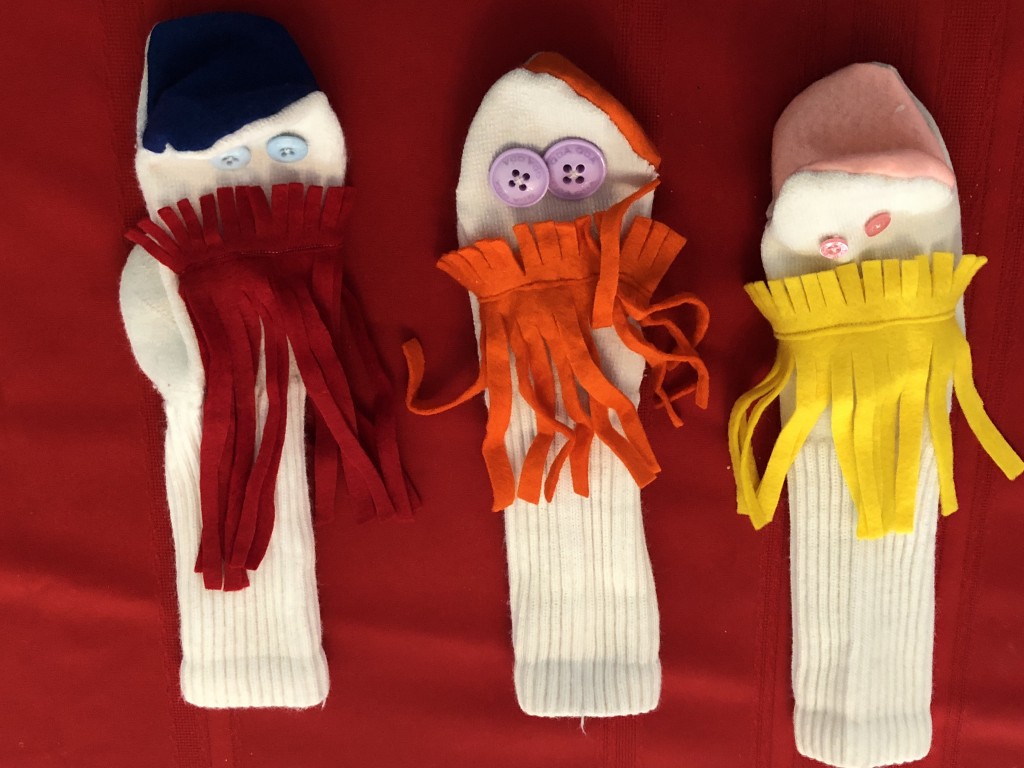
Supplies needed
1. old socks
2. felt in assorted colors
3. colorful buttons for eyes
4. fabric scissors
5. fabrics scraps
6. thread
Take each sock and cut a slit at the end of the toe box, big enough for a mouth. We cut our slits in the adult women’s white tube socks about 2-3 inches on each side from the middle point of the toe box. Lay the open mouth on top of the color of felt that each child picks and trace an oval shape that will be he mouth. Cut about 1/4 inch larger on all sides than the oval you traced. Turn the sock inside out and pin the oval right sides together inside the mouth cut so that edges of oval meet edges of the cut in the sock. Sew on the machine …
Read MoreMom Hacks for Easter
Easter is coming up next week! Busy mom life gotten in the way of your desired Pinterest worthy ideas? Don’t stress – here are some tips and tricks to having a great, simple, and still adorable, Easter!
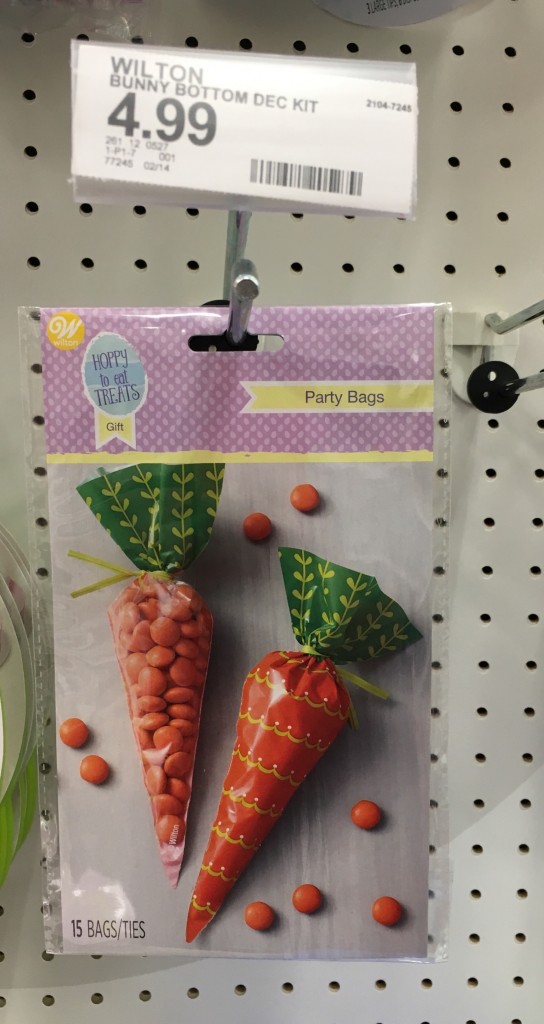
If your time is limited, but you want to do something cute for your kids’ buddies or classmates – this is perfect for you! These bags are so cute! All you have to do is fill them with an orange treat (Goldfish, Cheddar Bunnies, Orange M&M’s), tie them off, add a cute label and you’re set!
EASTER BASKETS
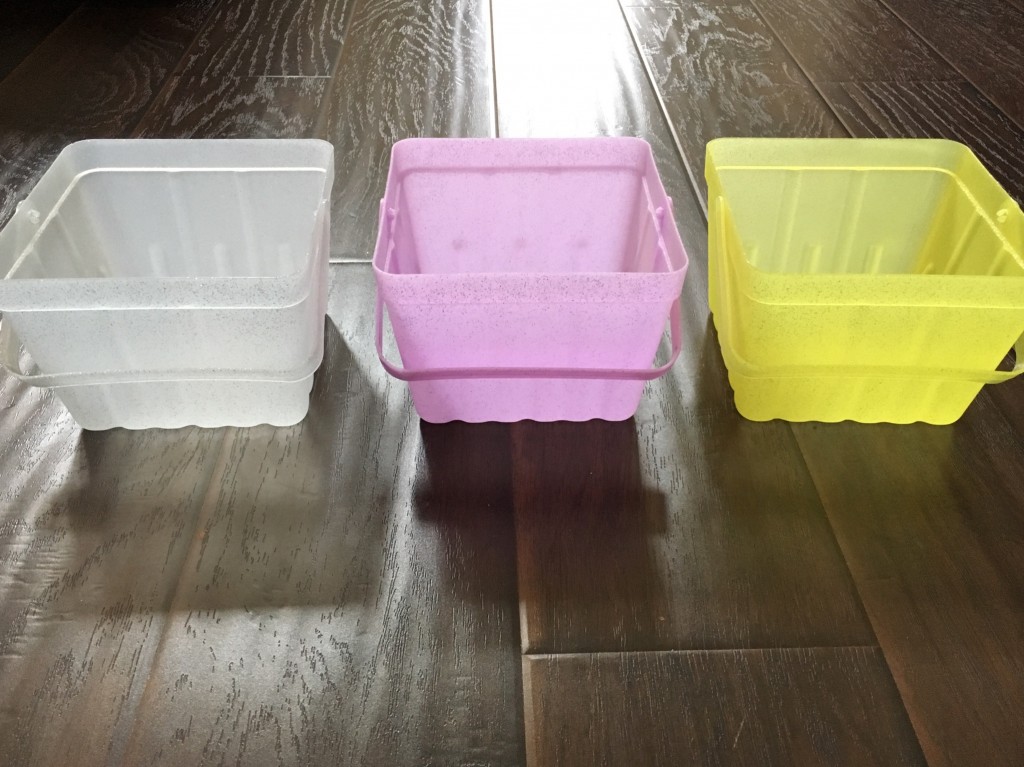
Find cute containers or baskets that can be used after Easter. These are $1 at Target and I plan to use them for toy organization and storage after they are filled with some fun Easter goodies.
Tip for Easter Baskets
Fill Easter baskets with things your kids NEED, not just candy and trinkets.
Clothes and shoes for the warmer weather, an Easter outfit (that can be worn throughout Spring and Summer, too), new school supplies, a craft idea with all the supplies that will give you and your child some quality time together!
Check out some of our favorite (and always simple) ideas to have a super fun, Jesus-filled Easter!
https://www.growingweisser.com/2017/04/05/what-easter-is-really-all-about/
https://www.growingweisser.com/2017/04/04/easter-craft-to-share-love/
https://www.growingweisser.com/2016/03/09/planting-jelly-beans-in-home-grown-easter-grass/
https://www.growingweisser.com/2017/04/14/easter-egg-ercise-get-your-bunny-tails-moving/
https://www.growingweisser.com/2017/04/05/donut-forget-jesus-on-easter-the-empty-tomb/
Read More
Food Science – St. Patrick’s Day Themed
This week is Girl Scout Week, where we celebrate the birthday of Girl Scouts by participating in different activities each day. I love being a part of Girl Scouts, and being a leader for my daughters.
One of the activities to choose this week was to do a food science activity.
I found an activity for “Leprechaun Sand” that looked fun, simple, and I had all the ingredients on hand. PLUS, it is holiday themed, so MOM WIN!!!
You can find the original post here along with fun questions to ask the kids during and after the experiment.
Warning: This activity is really messy. And you do use green food coloring, which stains. So I recommend washing hands immediately following your fun with the sand!!
You will need:
baking soda
vinegar
green food coloring
droppers
a baking pan (with sides to keep the liquid in)
aprons or play clothes
First, pour out the baking soda into the pan. We used A LOT and probably could have used more! Add the vinegar to a bowl or cup and add the food coloring. Use the droppers to slowly add vinegar to the baking soda.


(This took a REALLY long time, so eventually I just slowly poured the vinegar over the baking soda). Don’t use too much though, you want the mixture thick enough to play with. That’s what make the “Sand!”
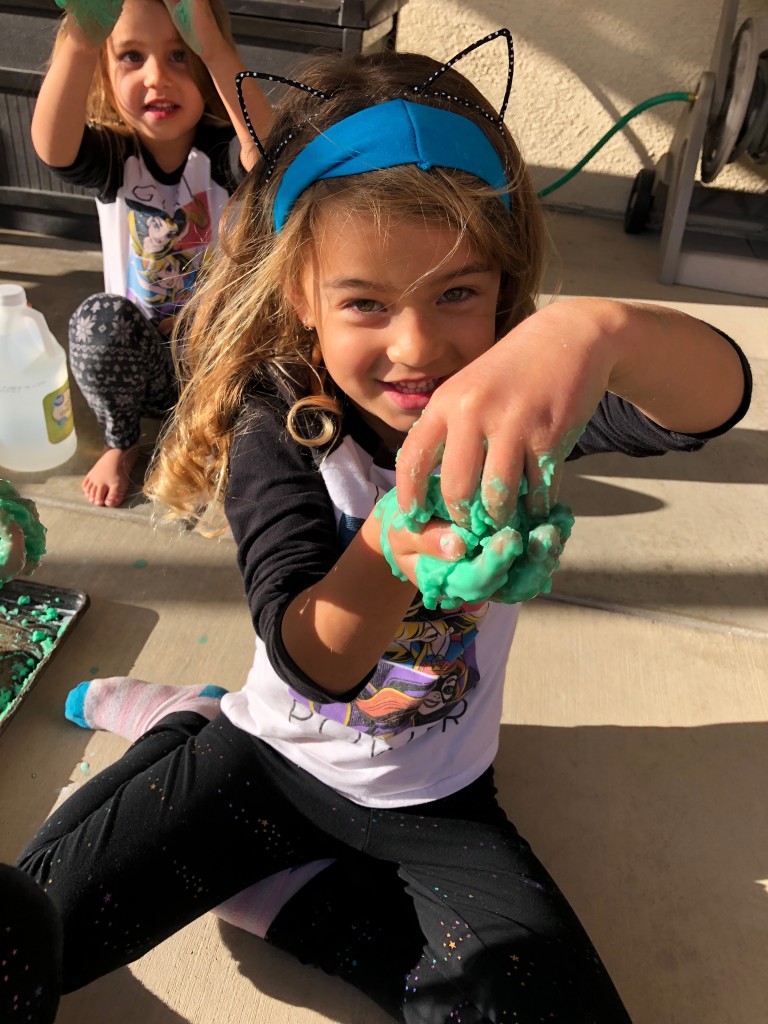
The girls had a lot of fun with this and it was very easy for me to set up!
Mom approved!!
 …
…
Sharing the Real Meaning of Easter with your Children and Grandchildren
Easter is the celebration of the resurrection of Jesus Christ.
The whole Christian faith is based on Easter
Easter is a season when we reflect on the suffering, sacrifice, and resurrection of Jesus Christ.
It is impossible to reflect upon Easter and all of its hardships without letting it reflect in and through us. The beauty of the Lenten season is that it encourages the development of a humble heart. In Lent, we are invited to look deeply inside, identify what is impeding our ability to follow Christ along the path of humility, and ask God to help us begin to make changes.
Jesus said, “I am the resurrection and the life.
Whoever believes in me, though he die, yet shall he live, and everyone who lives and believes in
me shall never die. Do you believe this?” (John 11:25-26)
We have always used the resurrection eggs help our children and grandchildren understand the true meaning of Easter. If you have never used Resurrection eggs to tell the Easter story to your kids, here is the link to purchase a set of eggs or you can make them yourselves. To buy them click here Resurrection Eggs. To make your own, click here DIY Resurrection Eggs.
Here are some other great resources for Moms young and old to use with their kids or grandkids to prepare them for Easter.
http://familylifetoday.com/program/making-preparations-for-easter/
http://familylifetoday.com/program/creative-ideas-for-easter/
This year I thought it would be fun to try something new. I found a wonderful resource called The Easter Story Egg, www.StoryEgg.com is the website. This year I purchased an Easter Story Egg for each of my daughters to use with their children.
Here is the creator’s explanation of this tool….
“The Easter Story Egg™ is a tradition that celebrates the true meaning of …
Read MoreA Sticker Chart for a New Year
My focus for the year is to get more organized. This “organized” is all encompassing, including organizing the things in my home, my scheduling with a better routine, and my mindset as a mom. The “mindset as a mom” is a big one for me as I have often felt recently like I am always catching up instead of being ahead of the kids’ new transitions and phases. As a result, I am wanting to do more intentional parenting this year so that I can feel more on top of what my kids are going through and have a more smooth ride through each phase.
Lately, Sophie has been as curious as ever and testing more and more with each new day. It is sometimes hard to remember that just as I am learning everyday more of how to be a mom, she is learning how to go about life and how to grow and develop through different stages of life. And with that comes a lot of frustration and days filled with “No”. I was tired of having the same day over and over again and not doing anything to make a change.
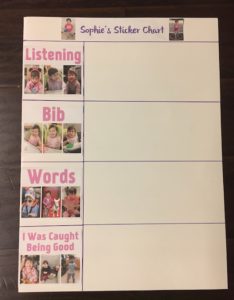
Sophie has been very into stickers recently! She loves to make cards with stickers to send to her cousins and she loves to put stickers on her shirt. I decided to take this new interest and match it with something to encourage good behavior- A Sticker Chart! It is so simple to make and, so far, quite effective!
Here’s what I did…
- Choose your categories – Find a few tasks that your child can work on where you know they will be able to have some success. This is important for them to understand the concept of the sticker chart and to feel encouraged to continue
Christmas Crafting 101-Christmas Garlands, Super Easy, Super FUN!!!
Do you have a box full of Christmas fabric scraps? You have never had the heart to just throw them away and you are sure that someday you will figure out a cool Christmas crafty project to make with those scraps. Well today is the day!!! We are going to show you the 5 easy steps to making a Christmas fabric garland. Get out that box of Christmas fabric scraps and let’s get started. (IF you do not have a box of scraps, zip on out to your favorite fabric store and buy ¼ yard of 5-10 fun Christmas fabrics that look good together and buy a ball of twine and then zip on home and join in on this fun craft project. This is great to do with your kids or grandkids because there is something for everyone to do. Kids of all ages will love this craft project.
What you need for this project:
About ¼ yard of 5-10 Christmas fabrics that match or coordinate to create a nice arrangement of colors
1 ball of twine
fabric scissors
ruler
lots of excited participants to share in the fun
1. Cut your fabric scraps into fabric strips that are each 1 ½ inches wide by 7 inches long.
2. Cut a length of twine as long as you want your garland and add 12 inches(that leaves 6 inches at the ends of your garland so you have options to hang up your garland or use it for a hearth or table runner). 
3. Tie one end of your twine to a chair rail or something stable to make tying knots easier. Stretch out the twine and tie the other end to another chair or something stable.
Begin tying knots of fabric at one end of the twine and continue …
